How to Craft and Style Custom Guitar Pick Earrings
Learn how to craft, assemble, and style custom guitar pick earrings. Discover drilling techniques, hypoallergenic findings, and lobe-saving tips.

The Intersection of Music and Alternative Jewelry
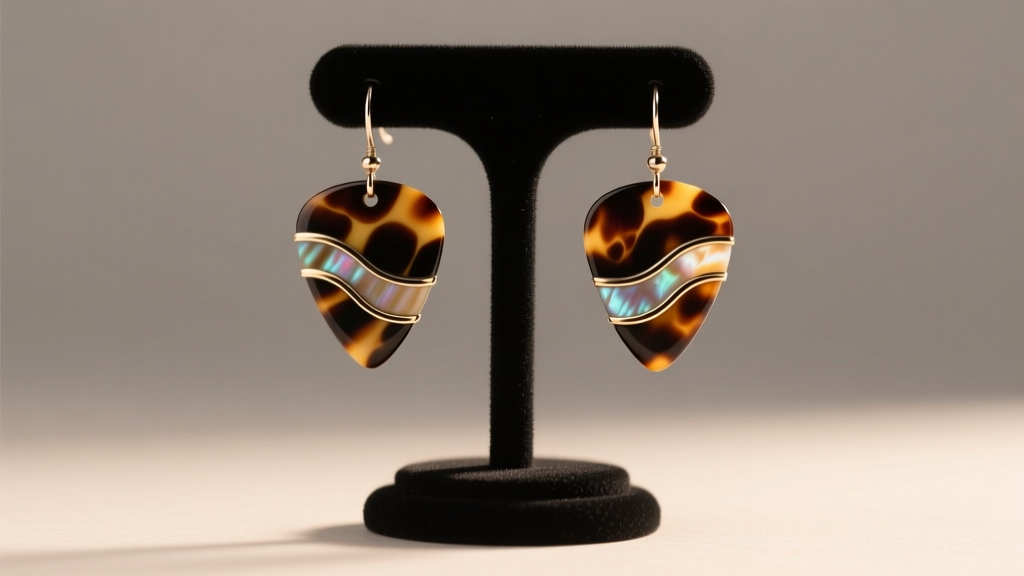
As alternative and grunge-inspired fashion continues to dominate the 2026 style landscape, musicians and fans alike are blending their passion for audio with wearable art. Guitar pick earrings have emerged as a staple in this movement, offering a sharp, angular aesthetic that stands out from traditional hoops and studs. However, transforming a standard plectrum into a safe, comfortable, and durable piece of ear jewelry requires more than just a dab of superglue. Whether you are working with vintage celluloid, modern Delrin, or heavy brass picks, this comprehensive guide will walk you through the exact fabrication, assembly, and styling techniques needed to create professional-grade guitar pick earrings.
Material Breakdown: Which Picks Work Best?
Not all guitar picks are created equal. According to Jim Dunlop's material science archives, plectrums are manufactured from a wide variety of polymers and metals, each reacting differently to jewelry-making processes like drilling and heat exposure. Choosing the right material is your first critical step.
| Pick Material | Average Weight | Drillability & Risks | Recommended Finding |
|---|---|---|---|
| Celluloid | ~1.0g | High risk of melting/smoking; requires very low RPM drilling. | 20-gauge Titanium Fishhook |
| Delrin (Acetal) | ~1.5g | Excellent; machines cleanly with sharp diamond bits. | 20-gauge Sterling Silver Wire |
| Ultem / Polyetherimide | ~1.8g | Very rigid; can crack if drilled without pilot indentation. | 18-gauge Niobium Hook |
| Brass / Copper | 5.0g - 8.0g | Requires HSS metal bits and cutting fluid; heavy on the lobe. | 18-gauge Surgical Steel + Support |
Pro Tip: Avoid using cyanoacrylate (super glue) to attach findings to celluloid or acrylic picks. The chemical reaction can cause a white, cloudy frost on the pick's surface and the bond will eventually fail due to skin oils and temperature changes.
Step-by-Step Guide: Precision Drilling and Assembly
If you want a clean, professional look, drilling a hole for a jump ring is superior to gluing a bail. Here is the exact workflow used by custom jewelry fabricators.
Step 1: Marking and Preparation
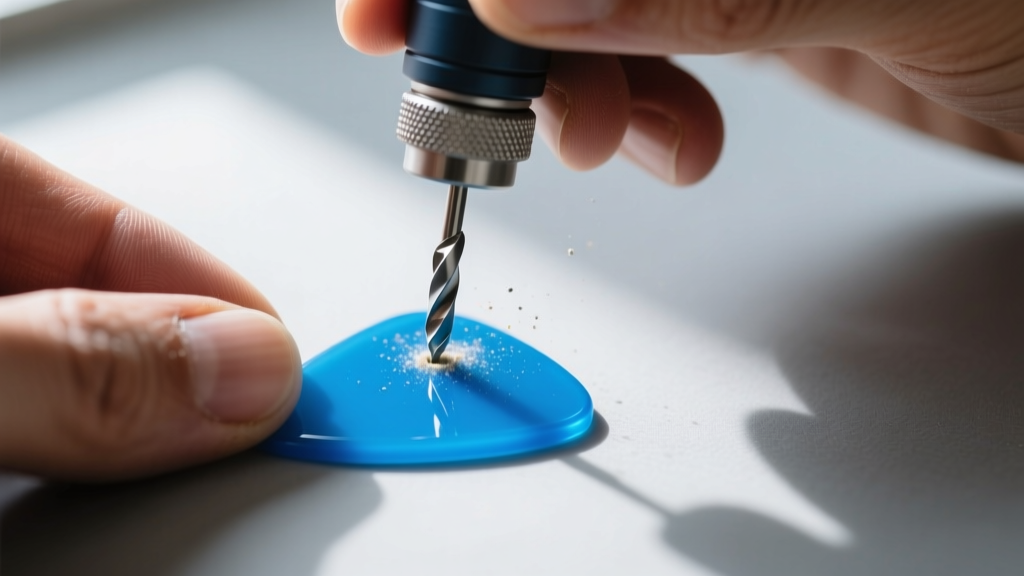
Use a fine-point sharpie to mark your drill spot, typically 3mm to 5mm from the top edge of the pick. Apply a small piece of blue painter's tape over the mark. This tape prevents the drill bit from "walking" or scratching the glossy finish of the pick when it first makes contact.
Step 2: The Micro-Motor Drilling Technique
Do not use a standard hardware store power drill; the torque is too high and will shatter acrylic or melt celluloid. Instead, use a flex-shaft micro-motor or a rotary tool set to a low speed (approximately 3,000 to 5,000 RPM). Equip the tool with a 1mm diamond core twist bit. Apply zero downward pressure—let the diamond grit do the cutting. For metal picks, use a high-speed steel (HSS) bit and a drop of cutting oil to prevent overheating.
Step 3: Attaching Hypoallergenic Findings
Once the hole is drilled, gently clear any burrs with a 1mm needle file. Next, attach a 4mm or 5mm jump ring. Critical Rule: Always open jump rings by twisting the ends laterally using two pairs of chain-nose pliers. Never pull the ring apart, as this distorts the circle and weakens the metal. Thread your chosen ear wire onto the jump ring, twist it closed, and ensure the seam is completely flush so it doesn't catch on hair.
The No-Drill Alternative: UV Resin Encapsulation
If you are working with a rare, vintage, or signed guitar pick that you refuse to drill, UV resin encapsulation is your best alternative. This method involves creating a custom silicone bezel tray slightly larger than the pick. You pour a thin base layer of clear UV jewelry resin, cure it under a 36W UV lamp for 60 seconds, place the pick face-up, and pour a second layer to seal it. Before the final cure, embed a sterling silver glue-on bail or a looped headpin into the top edge of the resin. This creates a durable, waterproof casing that protects the pick from skin acids and friction while providing a secure attachment point for ear wires.
Styling Guide: Matching Picks to Face Shapes
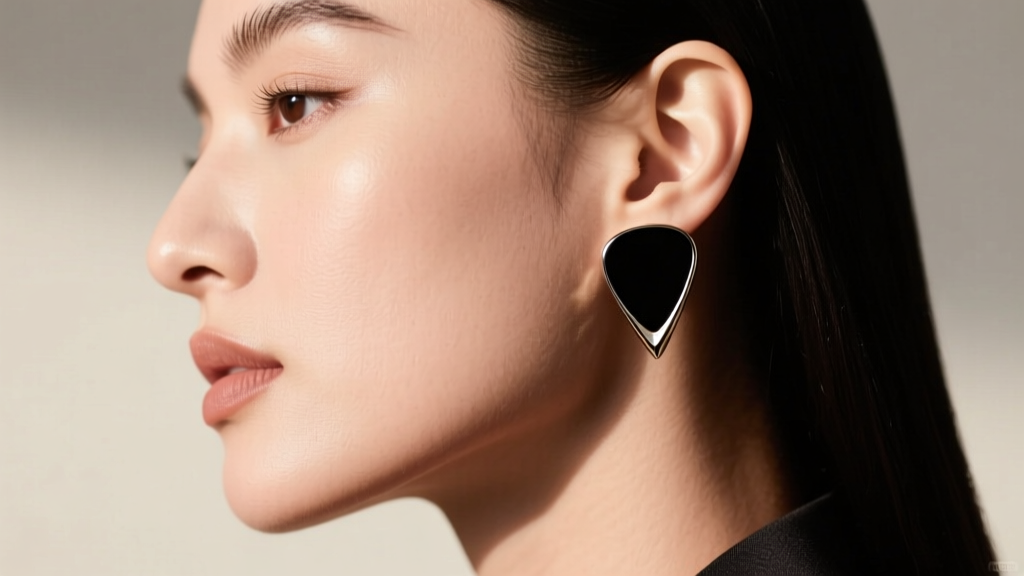
The sharp geometry of guitar pick earrings makes them a powerful tool for balancing facial proportions. Here is how to style them based on face shape and pick profile:
- Round Faces: Opt for standard 351 teardrop picks (like the classic Fender shape). The elongated, pointed bottom draws the eye downward, creating the illusion of a longer, more angular jawline.
- Heart-Shaped Faces: Choose smaller, wider picks, such as the Dunlop Jazz III profile. The compact, triangular shape complements a wider forehead and narrower chin without overwhelming the lower half of the face.
- Oval Faces: You have the versatility to pull off almost any shape, but oversized, thick acrylic picks (like V-Picks) make a bold, avant-garde statement that highlights balanced proportions.
- Cartilage & Helix Placements: For upper ear piercings, use miniature jazz picks or custom-cut metal picks. Standard picks are too long and will interfere with the natural folds of the helix or tragus.
Earlobe Health: Managing Weight and Tension
While celluloid and Delrin picks are virtually weightless (under 2 grams), metal picks and resin-encapsulated designs can easily exceed 6 to 8 grams per earring. The average human earlobe begins to experience micro-tearing and permanent stretching when subjected to continuous loads greater than 4 to 5 grams.
If you are crafting or wearing heavy metal guitar pick earrings, you must incorporate earlobe support. Medical-grade silicone earlobe support patches (often sold under brand names like Lobe Wonder) distribute the weight of the earring across a wider surface area on the back of the lobe. Additionally, always opt for 18-gauge or thicker ear wires for heavy picks; a standard 20-gauge or 22-gauge wire will act like a cheese wire, slowly slicing through the piercing channel under the weight of a brass plectrum. For those with sensitive skin or a history of contact dermatitis, the American Academy of Dermatology strongly recommends using pure titanium or niobium findings, as cheap alloy wires often contain hidden nickel that causes severe localized reactions.
Sourcing Quality Components
To ensure your guitar pick earrings last for years, source your findings from reputable jewelry suppliers rather than generic craft stores. Platforms like Fire Mountain Gems offer bulk packs of hypoallergenic titanium fishhook wires, niobium jump rings, and sterling silver headpins that are essential for professional-grade assembly. Investing a few extra dollars in high-quality, nickel-free metal components ensures that your custom musical jewelry remains comfortable, tarnish-resistant, and safe for daily wear.
Final Thoughts
Crafting guitar pick earrings is a rewarding project that bridges the gap between musical passion and personal style. By respecting the material properties of different polymers, utilizing precision drilling techniques, and prioritizing earlobe health, you can create a pair of custom earrings that are as durable as they are distinctive. Whether you are making a gift for a touring musician or adding an edgy piece to your own 2026 wardrobe, the right technique will ensure your picks stay securely in place, gig after gig.


