Crafting Christmas Earrings: Polymer Clay Masterclass
Learn how to make stunning Christmas earrings with polymer clay. This step-by-step guide covers tools, baking, and assembly for festive holiday jewelry.

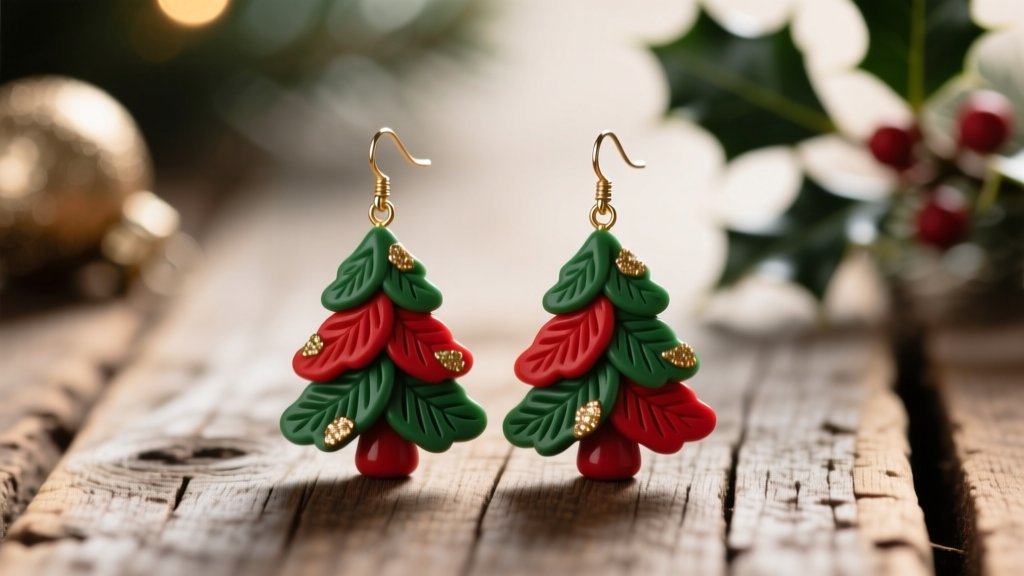
The Rise of Handmade Holiday Jewelry
As we navigate the 2026 holiday season, the demand for lightweight, hypoallergenic, and uniquely crafted jewelry continues to outpace mass-produced alternatives. Polymer clay has emerged as the premier medium for artisan jewelers and hobbyists alike, offering unparalleled versatility, vibrant color palettes, and a featherlight finish that is essential for comfortable statement earrings. Crafting your own Christmas earrings from polymer clay allows for complete customization—from miniature gingerbread men to intricate snowflake mandalas—without the heavy metal costs or skin-irritation risks associated with cheap holiday novelty jewelry.
This comprehensive masterclass will walk you through the exact material grades, hardware specifications, and baking protocols required to produce professional-grade festive earrings that can withstand daily winter wear.
Essential Materials and Hardware Specifications
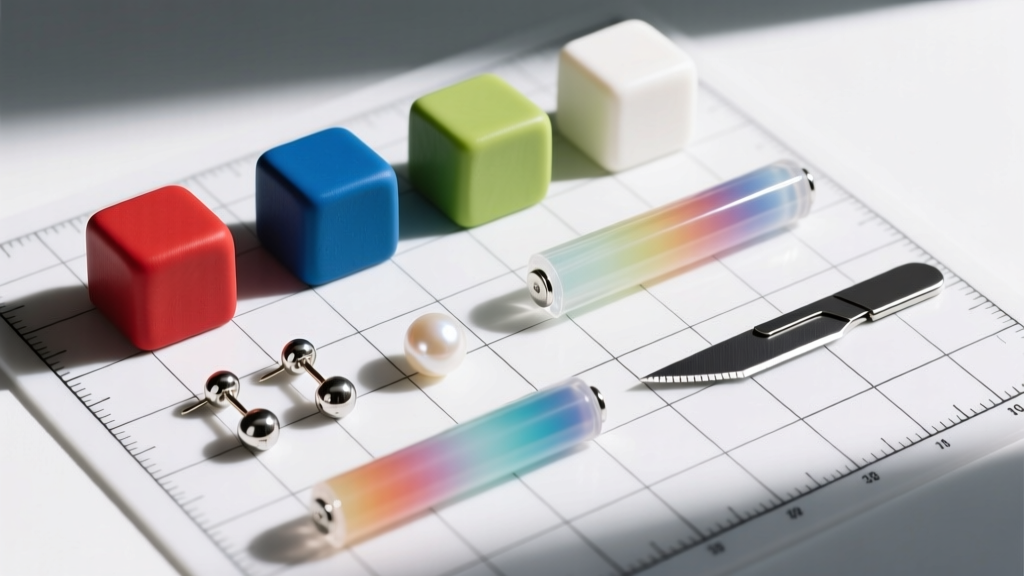
The foundation of any durable polymer clay earring lies in selecting the correct clay body and pairing it with appropriate jewelry findings. Not all polymer clays are created equal; some are formulated for flexibility, while others prioritize fine detail retention.
Choosing the Right Polymer Clay Grade
- Sculpey Premo: The industry standard for earring making. It conditions easily, holds a slight flexibility after baking (reducing drop-breakage), and offers a vast array of festive metallics and translucent shades. Bakes at 275°F (135°C).
- Fimo Professional: A firmer clay that excels at holding razor-sharp edges and intricate cane slices (like tiny holiday peppermint patterns). It requires more conditioning but yields a highly durable, rigid finish. Bakes at 230°F (110°C).
- Cernit Number One: Known for its porcelain-like finish and exceptional translucency, ideal for creating faux-ice or frosted glass snowflake effects.
Hardware: Gauge Sizes and Metal Grades
For the earring posts, you must prioritize biocompatibility, especially for holiday gifts where the recipient's metal sensitivities may be unknown. Always source findings from reputable suppliers like Rio Grande or specialized hypoallergenic wholesalers.
- Gauge Size: 20-gauge (0.81mm) is the universal standard for standard lobe piercings. Avoid 22-gauge, as it is too thin and can easily bend when inserting into the ear.
- Post Pad Diameter: Use 4mm flat pads for lightweight studs and small dangles. For larger, heavier Christmas tree or wreath dangles, upgrade to 6mm pads to distribute the adhesive weight and prevent the clay from snapping off the post.
- Material: Implant-grade titanium (ASTM F136) or 316L surgical stainless steel. Avoid nickel-plated brass, which frequently causes contact dermatitis.
Step-by-Step: Crafting Miniature Holiday Dangles
Let’s break down the process of creating a classic, gradient-blend Christmas tree dangle earring. This technique, known as a Skinner Blend, creates a seamless color transition that mimics the depth of real holiday foliage.
Step 1: Conditioning and Blending
Begin by conditioning your green and yellow-green clay. Run each block through a dedicated pasta machine on the thickest setting (usually #1) about 20 times until the clay is pliable and free of cracks. Cut a triangle of dark green and a triangle of light green, placing them together to form a rectangle. Fold the rectangle in half and run it through the machine again. Repeat this folding and rolling process 30 to 40 times until the color transition is completely seamless.
Step 2: Precision Cutting and Texture
Lay your blended clay sheet on a glass or acrylic work surface. Use a flexible, razor-sharp tissue blade to cut out symmetrical tree silhouettes. To add a festive texture, press a piece of crumpled aluminum foil or a specialized silicone texture mat lightly over the surface of the clay. This creates the illusion of pine needles and catches the light beautifully once sealed.
Step 3: Baking Protocols and Tenting
Proper baking is the most critical step to prevent brittle earrings. According to the official Polyform guidelines, Sculpey Premo requires 30 minutes at 275°F (135°C) per 1/4 inch of thickness. Because earring components are thin, bake them for a full 45 minutes to ensure complete polymer chain fusion, which maximizes durability.
Pro Tip: Always use an independent oven thermometer. Built-in oven dials are notoriously inaccurate and can spike, scorching your clay. "Tent" your clay by placing an aluminum foil pan upside down over your baking tile. This prevents the oven's heating elements from directly scorching the surface of your festive designs.
Post-Baking: Sealing and Finishing
Polymer clay is naturally matte and slightly porous. To protect your Christmas earrings from winter moisture, makeup, and skin oils, a protective sealant is mandatory. Below is a comparison of the top sealants used by professional polymer clay jewelers.
| Sealant Type | Finish | Durability | Best Application |
|---|---|---|---|
| UV Resin (Epoxy Acrylate) | High Gloss, Glass-like | Extremely High | Doming snowflakes, creating faux-enamel berries |
| Water-Based Polyurethane (Varathane) | Satin or Matte | High | Sealing textured Christmas trees, preserving natural clay look |
| Dimethicone Spray (DuraGloss) | Semi-Gloss | Medium | Quick sealing of intricate, hard-to-brush crevices |
For a classic, elegant holiday look, brush on two thin coats of Varathane Water-Based Polyurethane (Satin). Allow 30 minutes of drying time between coats. Avoid aerosol sprays like Krylon, which can react chemically with the plasticizers in the clay, resulting in a permanently sticky surface.
Assembly: Bonding Hardware to Clay
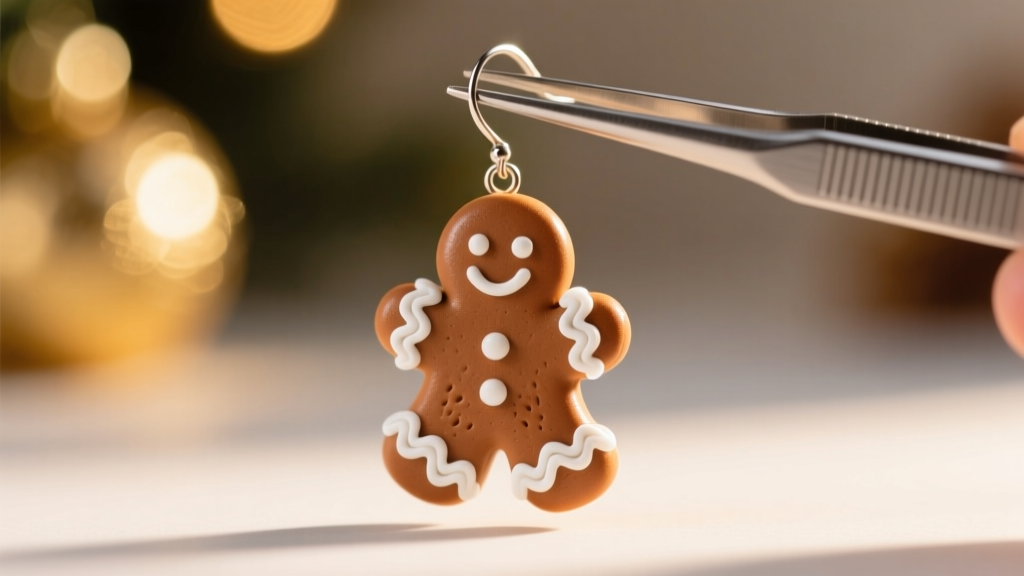
The most common failure point in handmade polymer clay earrings is the detachment of the metal post from the clay body. To ensure a permanent bond, follow this industrial-grade assembly protocol:
- Surface Preparation: Use 400-grit sandpaper to lightly scuff the back of the baked clay piece where the post will sit. Also, scuff the flat metal pad of the earring post.
- Degreasing: Wipe both sanded surfaces with a cotton swab dipped in 91% isopropyl alcohol to remove all dust and skin oils.
- Adhesive Selection: Apply a micro-drop of E6000 jewelry adhesive or a two-part clear epoxy to the metal pad. Press firmly onto the clay.
- Curing: While E6000 sets in minutes, it requires a full 72-hour cure time to reach maximum tensile strength. Do not package or wear the earrings before this window has elapsed.
Troubleshooting Common Polymer Clay Issues
Even experienced jewelers encounter issues when working with polymer clay. Here is how to troubleshoot the most common holiday crafting mishaps:
- Brittle or Snapping Clay: This is almost always caused by underbaking. If your thin snowflake branches are snapping, your oven is likely running cooler than the dial indicates. Increase baking time by 15 minutes and verify with a standalone thermometer.
- White "Plaques" or Cloudy Spots: These appear after baking and are caused by trapped moisture or air bubbles. Ensure your hands and tools are completely dry before conditioning, and avoid using water to smooth the clay surface.
- Frosting from Super Glue: If you use cyanoacrylate (super glue) to attach posts, the fumes can leave a white, chalky "frost" on your glossy clay. Always use E6000 or UV resin in a well-ventilated area to maintain a pristine finish.
Final Thoughts on Holiday Craftsmanship
Mastering the art of polymer clay jewelry takes patience, but the result is a collection of bespoke, lightweight, and deeply personal Christmas earrings that stand out in a sea of generic holiday accessories. By adhering to strict material grades, precise baking temperatures, and professional assembly techniques, your handmade creations will easily rival high-end boutique jewelry, making them perfect for gifting or scaling your own holiday craft business.


