Master Beaded Earring Designs: A Step-by-Step Wire Wrapping Guide
Learn how to craft professional beaded earring designs with our step-by-step wire wrapping guide. Master gauges, materials, and durable finishes.

Introduction to Professional Beaded Earring Designs
Transitioning from hobbyist jewelry making to crafting professional-grade beaded earring designs requires a deep understanding of metallurgy, structural integrity, and precision tooling. While stringing beads on a pre-made headpin and bending a simple loop might suffice for casual wear, it inevitably leads to structural failure, bead spin, and wire fatigue in a commercial or fine jewelry context. To create heirloom-quality dangles and drops that withstand daily wear, jewelers must master the wrapped loop technique, understand wire temper, and select the correct gauge for specific bead hole sizes. This comprehensive guide breaks down the exact specifications and step-by-step methodologies required to engineer durable, high-end beaded earrings.
Essential Materials: Wire Gauges and Metal Grades
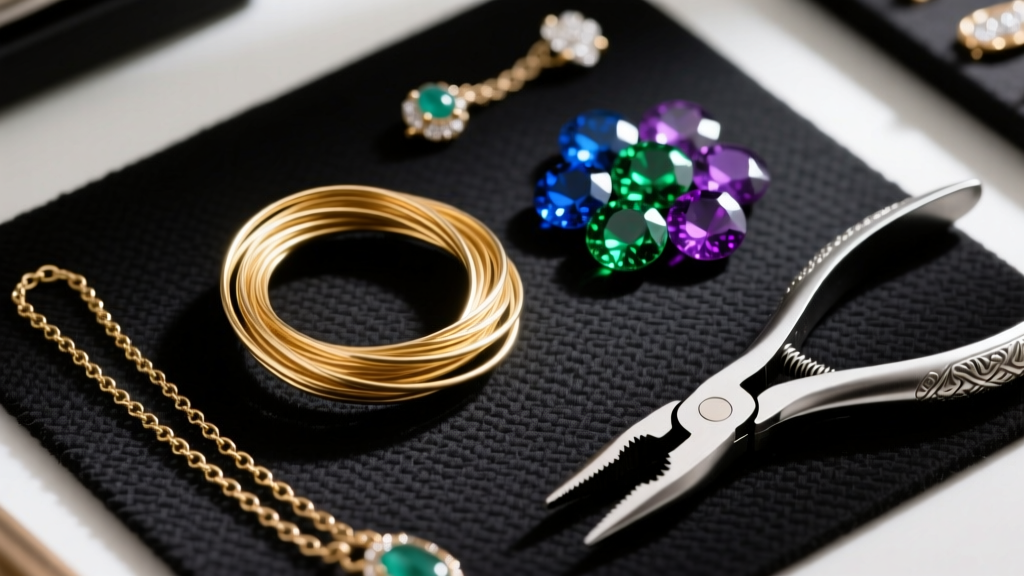
The foundation of any successful beaded earring design lies in selecting the correct wire gauge and temper. Wire temper refers to the metal's hardness and malleability, which dictates how it will behave when bent and wrapped.
- Dead Soft: Highly malleable and bends with minimal resistance. It work-hardens quickly, making it ideal for intricate wire weaving but poor for structural loops that need to hold their shape under tension.
- Half-Hard: The industry standard for ear wires, headpins, and wrapped loops. It offers the perfect balance of malleability for wrapping and rigidity for maintaining structural integrity.
- Full-Hard: Extremely stiff and brittle. It will snap if bent at a sharp angle and is generally reserved for making clasps or rigid structural frameworks, not bead wrapping.
When sourcing materials from reputable suppliers like Rio Grande, you will typically work with 14k gold-filled, niobium, or .925 sterling silver. Sterling silver work-hardens faster than gold-filled wire, requiring careful tension management during the wrapping process to prevent micro-fractures.
Wire Gauge Application Chart
| Wire Gauge | Diameter (mm) | Primary Application | Compatible Bead Types |
|---|---|---|---|
| 20 Gauge | 0.81mm | Ear wires, heavy structural jump rings | N/A (Findings only) |
| 22 Gauge | 0.64mm | Standard headpins, simple loops | Most gemstones, glass, metal beads |
| 24 Gauge | 0.51mm | Wrapped loops, pearl headpins | Pearls, smaller gemstones (0.8mm holes) |
| 26 Gauge | 0.40mm | Fine wrapping, micro-macrame, weaving | Tiny seed beads, micro-faceted stones |
Step-by-Step: Crafting a Wrapped Loop Dangle
The wrapped loop is the gold standard for securing beads in beaded earring designs. Unlike a simple loop, which can easily pull open when snagged on clothing, a wrapped loop anchors the wire tightly against itself, creating a permanent, secure connection.
Step 1: Preparing the Headpin and Bead Stack
Begin with a 22-gauge half-hard sterling silver headpin. Thread your beads in the desired order, ensuring the total stack leaves exactly 1.5 inches (38mm) of exposed wire above the top bead. This specific length is critical: too little wire will result in an incomplete wrap, while too much will create a bulky, unmanageable coil. If your bead stack is too short to leave 1.5 inches, use a small 2mm metal spacer bead at the top to bridge the gap and provide a flush surface for the wire to rest against.
Step 2: Executing the 90-Degree Bend and Wrap
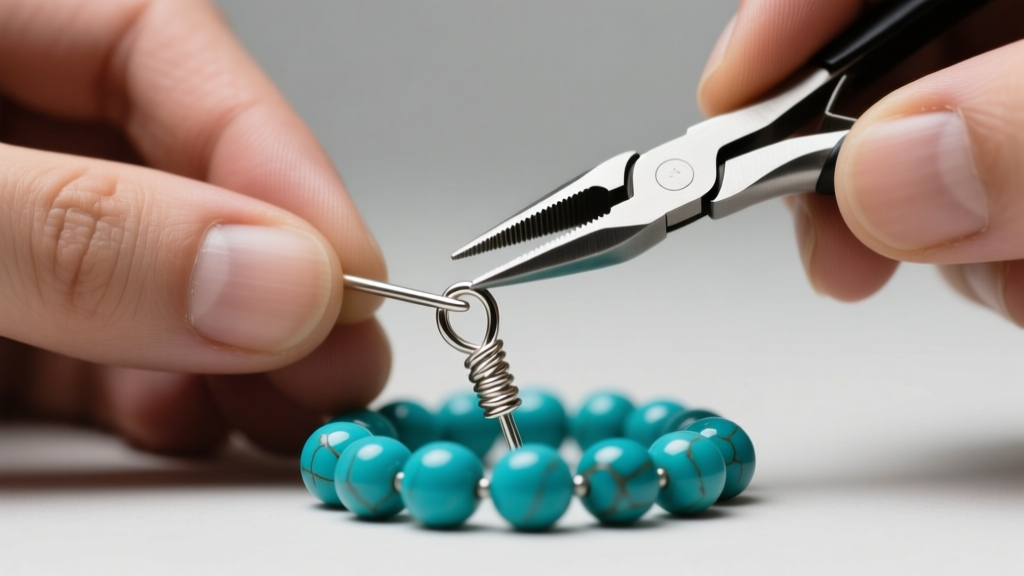
Using smooth-jawed chain-nose pliers (never serrated, which will mar the metal and create stress points), grip the wire flush against the top bead. Bend the wire to a precise 90-degree angle. Next, switch to round-nose pliers. Grip the wire about 3/8 of an inch from the bend and roll the pliers toward the bead to form a complete, centered loop. Before closing the loop, ensure it is perfectly round and aligned with the bead stack. Take the remaining wire tail and begin wrapping it tightly down the neck of the wire, directly below the loop. Use nylon-jaw pliers to pull the tail taut after each coil to ensure the wraps sit flush against one another without overlapping or gapping. According to tutorials from Fire Mountain Gems, a professional wrap should consist of exactly 3 to 4 tight, uniform coils. Finish by trimming the tail with flush cutters and tucking the sharp end into the coil using a burnishing tool or the tip of your chain-nose pliers.
Troubleshooting Common Structural Failures
Even experienced jewelers encounter structural issues when engineering complex beaded earring designs. Understanding the failure modes allows you to preemptively engineer solutions into your workflow.
- Bead Spin: When a bead rotates freely on the headpin, it causes the wire to twist and eventually snap from torsional fatigue. The Fix: Never rely on friction alone. If the bead hole is slightly larger than the wire, thread a 1.5mm micro-crimp bead or a tiny metal spacer above and below the main stone to lock it in place. For high-end pieces, apply a microscopic drop of GS Hypo Cement to the wire before threading the bead.
- Wire Fatigue at the Bend: Repeatedly bending wire back and forth causes work-hardening, leading to a brittle snap. The Fix: Commit to your bends. Use high-quality tools that allow you to achieve a perfect 90-degree angle in a single, fluid motion. If you miss the angle, discard the headpin and start over; attempting to correct it will weaken the metal's crystalline structure.
- Loop Distortion: Heavy stones (like large quartz or beryl cabochons) can pull a simple loop into an oval shape, eventually slipping off the ear wire. The Fix: Always mandate wrapped loops for any bead stack weighing more than 4 grams.
Advanced Finishing Techniques for Longevity
The difference between amateur and professional jewelry often lies in the finishing process. Once your beaded earrings are assembled, the wire has undergone significant stress and work-hardening. To relieve internal stresses and polish the metal simultaneously, professional jewelers use a rotary tumbler.
Place the finished earrings in a barrel tumbler filled with stainless steel shot, distilled water, and a few drops of mild dish soap or specialized burnishing compound. Run the tumbler for 45 to 60 minutes. The steel shot will gently peen the surface of the silver or gold-filled wire, compressing the outer layer of the metal. This process, known as burnishing, dramatically increases the wire's tensile strength and leaves a brilliant, mirror-like polish without removing any metal mass. Note: Never tumble soft stones like turquoise, opal, or pearl, as the steel shot will pit and scratch their surfaces. Mask these beads with plastic wrap or tumble the wire components before assembly.
Final Assembly and Ear Wire Selection
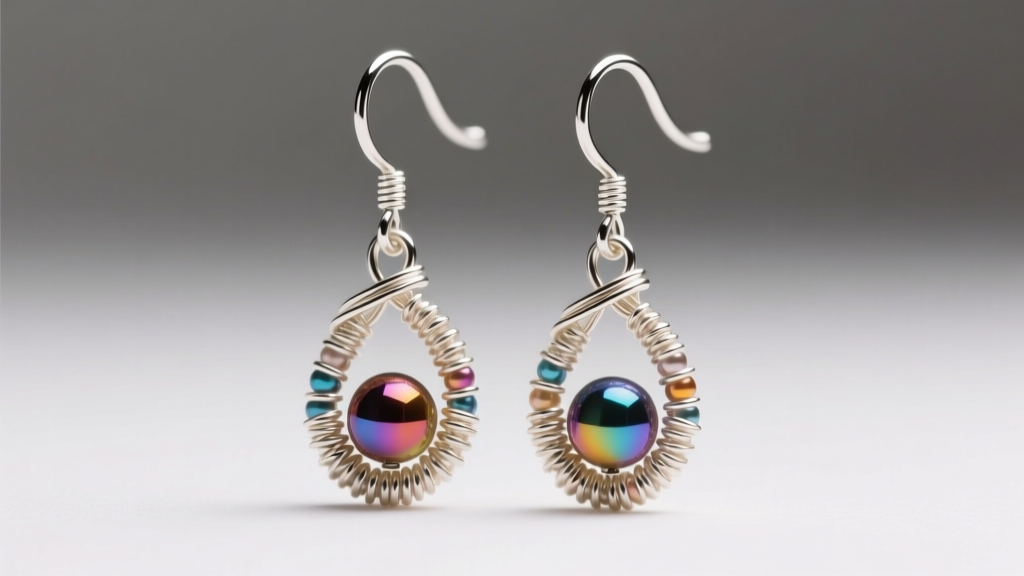
The final step in finalizing your beaded earring designs is attaching the dangle to the appropriate ear wire. The ear wire must be proportionate to the weight and visual scale of the bead stack. For heavy, statement-making dangles, a standard 20-gauge French hook may bend under the weight, causing the earring to hang at an awkward angle and potentially tearing the client's earlobe over time.
For heavy designs, upgrade to a 20-gauge leverback or a reinforced kidney wire, which distributes the weight more evenly across the ear. For clients with extreme metal sensitivities, swap sterling silver or gold-filled ear wires for anodized niobium or implant-grade titanium (ASTM F136). As noted by wholesale findings experts at Halstead Bead, titanium and niobium are completely nickel-free and biocompatible, ensuring that your custom designs remain wearable for those with severe contact dermatitis. Always open the loop on the ear wire laterally (twisting it side-to-side like a jump ring) rather than pulling it apart, which permanently distorts the circular geometry and weakens the finding.
By adhering to these strict material specifications, mastering the wrapped loop, and implementing professional finishing techniques, you elevate your beaded jewelry from fragile crafts to durable, retail-ready accessories designed to last a lifetime.


