How to Curate an Ear Stack Using Gold Mini Earrings
Learn how to curate a flawless ear stack with gold mini earrings. Master sizing, gauge selection, threadless insertion, and 14k vs 18k metal choices.

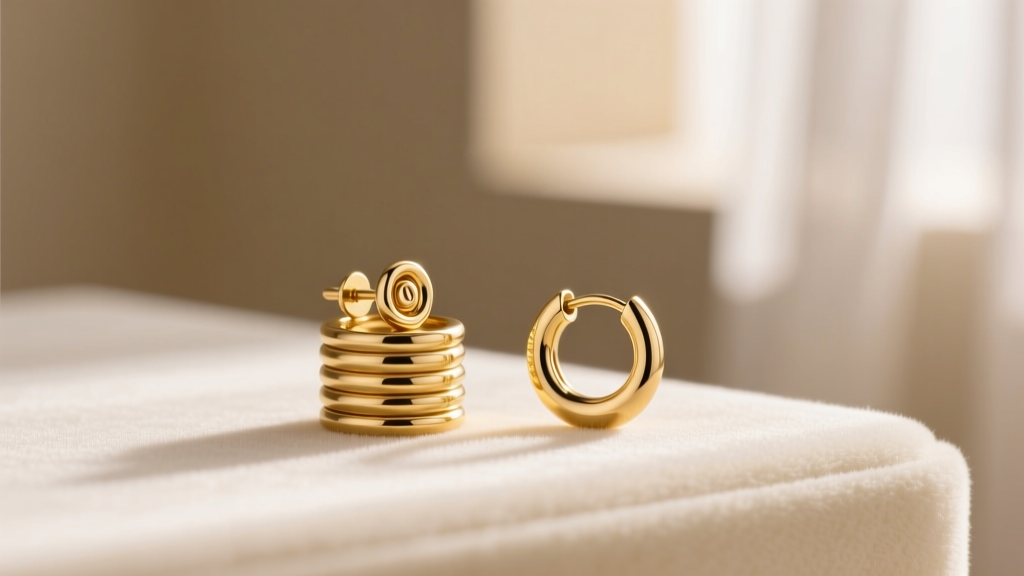
The Anatomy of a Gold Mini Earring Stack
The transition from wearing a single stud to sporting a fully curated ear stack is one of the most exciting evolutions in personal jewelry styling. At the heart of every balanced, sophisticated ear curation lies a strategic selection of gold mini earrings. These diminutive pieces—ranging from micro-huggies and threadless studs to seamless clickers—allow you to build visual rhythm across multiple piercings without overwhelming your natural anatomy. However, curating a stack is not simply about buying the smallest jewelry you can find. It requires a deep understanding of metallurgy, gauge mechanics, and spatial mapping to ensure both aesthetic harmony and long-term tissue health.
In this comprehensive guide, we will break down the exact steps to designing, sizing, and installing a gold mini earring stack that looks intentional, feels comfortable, and lasts a lifetime.
Step 1: Understand Karats, Alloys, and Gauges
Before selecting your pieces, you must understand the material science of gold jewelry. According to the Gemological Institute of America (GIA), pure 24k gold is far too soft for body jewelry. Therefore, gold is alloyed with other metals to increase durability. For ear stacks, you will primarily choose between 14k and 18k solid gold.
- 14k Solid Gold (58.5% Gold): The industry standard for everyday body jewelry. It is highly durable, resistant to scratching, and holds intricate shapes (like tiny starburst or floral mini studs) exceptionally well. Ensure it is nickel-free, as nickel allergies are common in cartilage piercings.
- 18k Solid Gold (75% Gold): Offers a richer, warmer yellow hue and is generally hypoallergenic due to its higher gold content. However, it is softer and more prone to denting if you sleep on your huggies.
Equally critical is the wire gauge. The Association of Professional Piercers (APP) strongly advises against ultra-thin wires for long-term wear due to the "cheese-cutter effect," where thin wire can slowly slice through the tissue under pressure.
| Gauge Size | Millimeter (mm) | Best Use in Ear Stacking | Warning / Risk Factor |
|---|---|---|---|
| 22g | 0.64mm | Temporary fashion jewelry only | High risk of cheese-cutter effect and tearing |
| 20g | 0.81mm | Standard for mini hoops, huggies, and lobe rings | Safe for healed lobes; use caution in tight cartilage |
| 18g | 1.02mm | Ideal for threadless mini studs and helix pieces | Highly stable; standard for most cartilage piercings |
| 16g | 1.29mm | Conch, daith, and industrial anchor pieces | Too thick for most standard mini huggies |
Step 2: Map Your Piercing Layout and Visual Weight
A common mistake in ear curation is clustering too many heavy pieces in one zone while leaving another bare. Gold mini earrings excel at creating "visual bridges" between larger anchor pieces.
The Anchor and Satellite Strategy
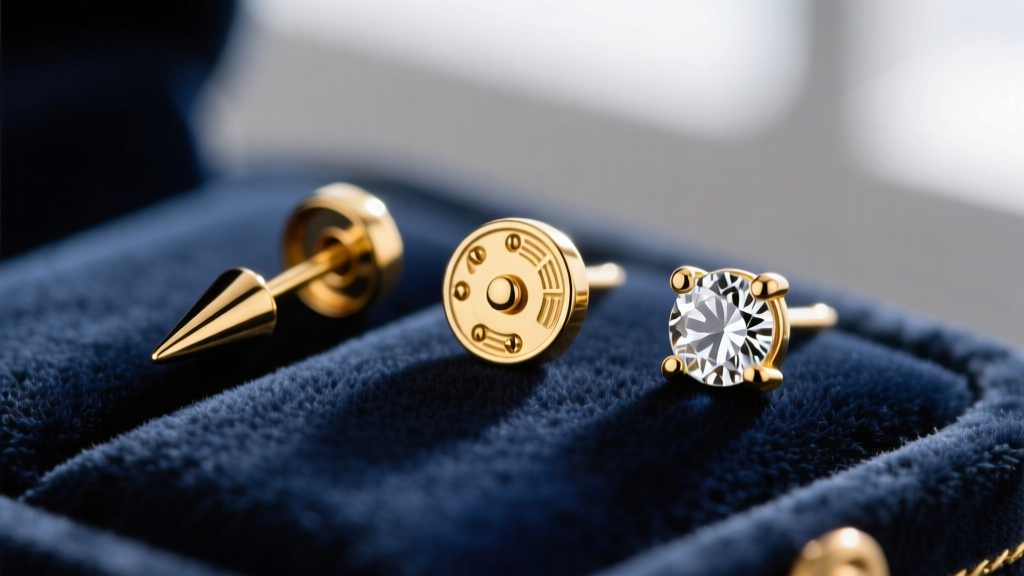
Every ear stack needs an anchor. This is typically a larger piece, such as a 4mm bezel-set diamond stud in your primary lobe piercing or a textured gold shield in your conch. Once your anchor is set, you use gold mini earrings as satellites.
- Lobe Pairing: Anchor (3-4mm stud) + First hole (2mm micro stud) + Second hole (8mm gold mini huggie).
- Helix Progression: Flat-back 2.5mm star stud (upper helix) + 1.5mm micro dot (mid helix) + 10mm seamless mini hoop (lower helix).
By alternating between reflective gemstones and textured gold metal, you prevent the stack from looking flat or monotonous.
Step 3: Size Your Huggies and Micro-Hoops Correctly
Nothing ruins the illusion of a bespoke ear stack faster than a huggie that droops too low or a continuous hoop that chokes the fistula (the piercing channel). Sizing is dictated by the inner diameter (ID) of the jewelry and the thickness of your specific anatomy.
Inner Diameter Cheat Sheet for Gold Mini Earrings
- 8mm ID: The ultimate mini huggie. Perfect for a snug fit on the tragus, upper helix, or a tight, minimalist hug on a standard lobe piercing.
- 10mm ID: The versatile standard. Ideal for standard lobe piercings where you want a slight drop, or for thicker helix folds where an 8mm would pinch.
- 12mm ID: Best reserved for the daith, snug, or rook piercings, or for a deliberate, relaxed dangle effect on the primary lobe.
Pro-Tip: If you are buying a continuous (seamless) mini hoop rather than a hinged huggie, always size up by 0.5mm to 1mm. Continuous hoops require a slight gap to open and close, and a too-tight seamless hoop will put lateral pressure on the piercing channel, leading to irritation bumps.
Step 4: Master Threadless Insertion Techniques
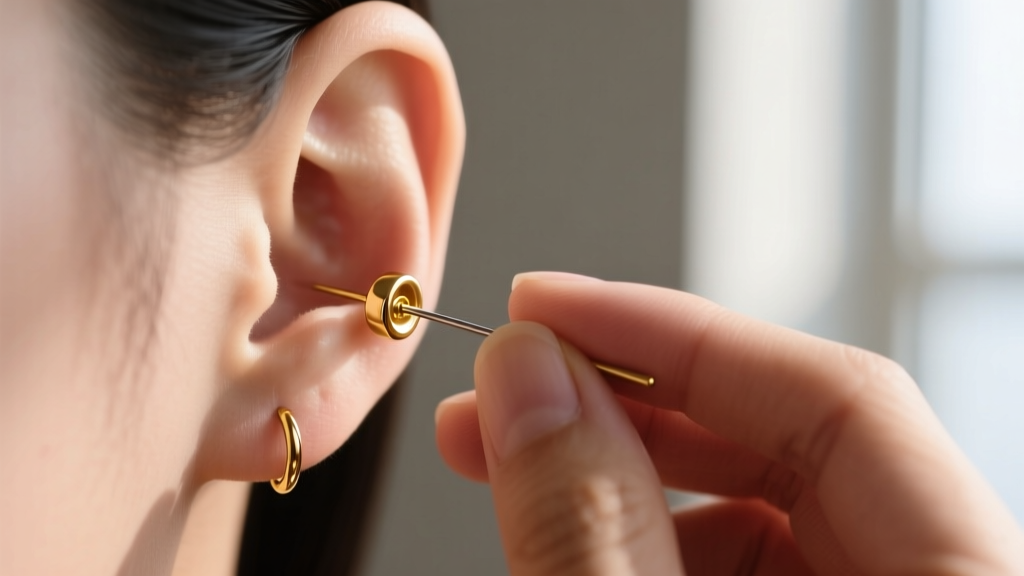
For cartilage piercings, threadless gold mini earrings are the gold standard for security and comfort. Unlike threaded jewelry, which can strip or harbor bacteria in the screw mechanism, threadless jewelry relies on the tension of a bent pin inside a hollow shaft. Many beginners struggle with insertion, but the mechanics are simple once understood.
How to Bend and Insert a Threadless Pin
- Align: Insert the gold pin into the hollow shaft of the earring post about one-third of the way.
- Bend: Apply gentle lateral pressure to the pin to create a slight bend. You are aiming for a 10-to-15-degree angle. If you bend it too sharply, it will not fit; if you do not bend it enough, the earring will fall out.
- Insert: Push the bent pin all the way into the shaft until the decorative end sits flush against the post.
- Secure: The tension of the bent gold pin pressing against the inner wall of the shaft creates a friction lock that is incredibly secure, even for active lifestyles.
Troubleshooting Common Mini Earring Issues
Even with high-quality 14k or 18k gold, mechanical failures can occur if the jewelry is mishandled. Here is how to troubleshoot the most common issues encountered with mini ear stack components:
- Huggie Hinge Stiffness: If your hinged mini huggie refuses to click shut, do not force it. Forcing can warp the micro-clasp. Instead, use a soft microfiber cloth to grip both ends and gently align the pin with the clasp hole. If it remains stuck, the hinge may be clogged with sebum or soap residue; soak it in warm water and mild dish soap for 10 minutes.
- Threadless Pin Slipping: If your mini stud keeps falling out, your pin bend has likely relaxed over time. Remove the jewelry, pull the pin out slightly, and add a few more degrees to the bend using your fingernails or a pair of nylon-jaw jewelry pliers (never use metal pliers directly on solid gold, as they will mar the finish).
- Irritation Bumps: If you develop a localized bump near a mini hoop, check the gauge. If you are wearing a 22g or 20g wire in a cartilage piercing that was originally pierced at 16g, the jewelry is moving too much inside the channel. Upsize to an 18g or 16g flat-back stud to allow the fistula to settle.
Maintenance: Keeping Your Gold Stack Pristine
Because mini earrings sit close to the skin and hair, they are magnets for lotions, oils, and hair products. To maintain the brilliant luster of your 14k and 18k gold pieces, establish a weekly cleaning routine. Avoid harsh chemical dips or ultrasonic cleaners, especially if your mini earrings feature delicate gemstones like opals or emeralds, which can fracture or lose their hydration in ultrasonic baths.
Instead, create a simple cleaning solution using warm water and a few drops of mild, fragrance-free dish soap. Soak your gold mini earrings for 5 to 10 minutes, then gently brush them with an extra-soft baby toothbrush to dislodge debris from the microscopic crevices of the hinges and gemstone settings. Rinse thoroughly with distilled water and pat dry with a lint-free cloth before reinserting them into your curated stack.
Final Thoughts on Ear Curation
Curating an ear stack with gold mini earrings is a deeply personal process that blends anatomical awareness with artistic styling. By prioritizing proper gauge sizing, understanding the mechanics of threadless tension, and strategically balancing your anchor pieces with delicate micro-studs and huggies, you can achieve a sophisticated, lifelong ear curation. Invest in high-quality, nickel-free solid gold, respect the healing timelines of your cartilage, and let your unique anatomy dictate the flow of your stack.


