How to Curate Multiple Earring Piercings: A Step-by-Step Guide
Learn how to map, space, and heal multiple earring piercings with our expert step-by-step guide on gauge sizes, titanium grades, and layout planning.

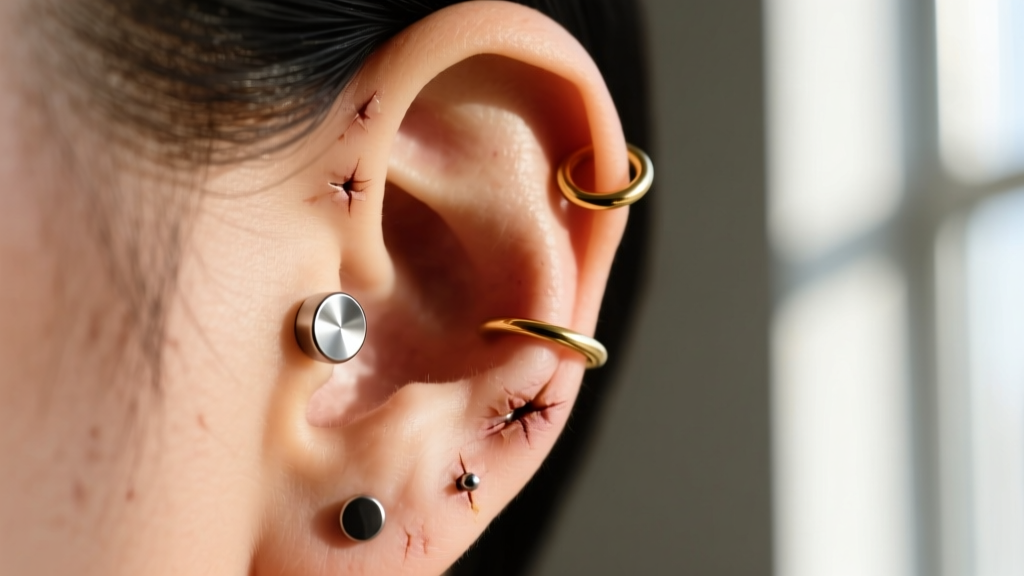
The art of ear curation has evolved significantly. As we move through 2026, the trend has shifted away from random, clustered placements toward intentional, anatomical mapping. Curating multiple earring piercings is no longer just about collecting holes; it is about understanding the structural geometry of your ear, the metallurgy of your jewelry, and the biological timelines of cartilage healing. Whether you are building a constellation lobe setup or a full scaffolding of helix, flat, and conch piercings, a strategic approach is mandatory to avoid migration, rejection, and prolonged healing.
This step-by-step guide will walk you through the exact process of planning, executing, and maintaining a curated ear, utilizing professional standards set by the Association of Professional Piercers (APP).
The Anatomy of a Curated Ear: Planning Your Layout
Before you sit in the piercing chair, you must understand the canvas. Every ear has unique ridges, folds, and flat planes. A professional piercer will assess your anatomy to determine which earring piercings are physically viable. For instance, a snug or anti-tragus requires a very specific outer ridge that not everyone possesses. Attempting to force a piercing onto unsuitable anatomy is the leading cause of rejection.
Below is the foundational data table for standard ear curation. Note that gauge sizes and healing times are biological averages; individual variance is common.
| Piercing Location | Standard Gauge | Typical Healing Time | Recommended Starter Jewelry |
|---|---|---|---|
| Standard Lobe | 18g or 16g | 6 - 8 Weeks | Flat-back labret (Titanium) |
| Upper Lobe | 16g | 8 - 12 Weeks | Flat-back labret (Titanium) |
| Helix | 16g | 6 - 12 Months | Flat-back labret (Titanium) |
| Flat | 16g | 6 - 12 Months | Flat-back labret (Titanium) |
| Conch | 14g or 16g | 6 - 12 Months | Flat-back labret or Hoop |
| Tragus | 16g | 4 - 8 Months | Flat-back labret (Titanium) |
Step-by-Step: How to Space and Map Earring Piercings
Spacing is the difference between a chaotic ear and a curated masterpiece. The golden rule of anatomical mapping is maintaining consistent negative space between each piece of jewelry. If your jewelry touches when swollen, the piercings are too close, which will trap bacteria and cause irritation bumps.
Step 1: Establish the Lobe Foundation
Begin with the lobes. If you are planning a three-hole lobe setup, the spacing must account for the jewelry diameter. A standard 5mm lobe stud requires at least 8mm to 10mm of space between the puncture sites to allow for future upsizing to hoops or larger gem clusters. Always pierce the standard lobe first, allow it to heal, and then map the second and third holes relative to the healed first hole. Piercing all three simultaneously often results in uneven spacing once the initial swelling subsides and the tissue settles.
Step 2: Build the Upper Scaffold (Helix and Flat)
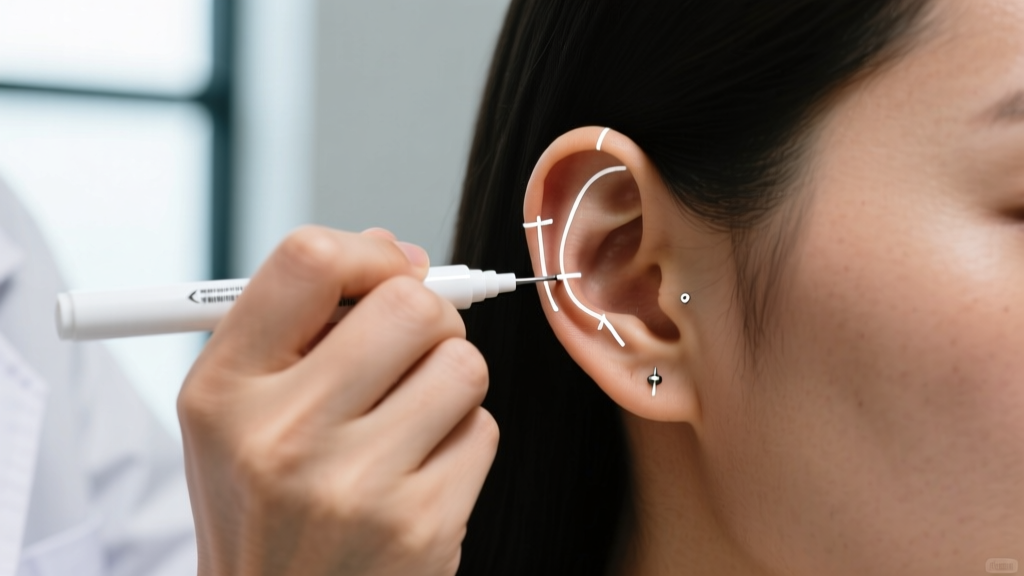
The helix and flat piercings form the outer scaffolding of the ear. When mapping a double or triple helix, your piercer will use a surgical marker to draw the dots while you are sitting upright. Gravity affects the skin; marking while lying down can result in skewed placements. The flat piercing sits in the inner scapha fossa and requires a broad, flat cartilage shelf. It is typically placed to visually balance a helix piercing, creating a diagonal or triangular flow across the upper ear.
Step 3: Add Dimensional Depth (Conch and Tragus)
Once the outer rim is established, the conch and tragus provide inner depth. A conch piercing acts as the centerpiece of the ear. If you plan to wear a conch hoop, the puncture must be placed precisely on the edge of the conchal bowl so the hoop wraps flush against the helix rim. If placed too deep in the bowl, a hoop will pull at an aggressive angle, causing chronic irritation. For the tragus, ensure the jewelry will not interfere with in-ear headphones or earbuds, which are a major source of trauma for fresh tragus earring piercings.
Selecting the Correct Jewelry Materials and Mechanisms
The material sitting inside your fresh fistula (the piercing tunnel) dictates your healing outcome. In 2026, the industry standard has firmly moved away from mystery metals and surgical steel toward verified, biocompatible alloys.
Why Implant-Grade Titanium (ASTM F-136) is Non-Negotiable
For fresh earring piercings, ASTM F-136 implant-grade titanium is the absolute gold standard. Unlike "surgical steel," which contains nickel that can trigger contact dermatitis and delay healing, F-136 titanium is entirely nickel-free and highly polished. The mirror finish prevents plaque and dead skin cells from adhering to the post. According to the APP Jewelry Materials Guide, only materials verified for long-term internal implantation should be used in fresh piercings. Solid 14k or 18k nickel-free gold is also acceptable, but titanium remains the safest bet for those with sensitive skin or metal allergies.
Threadless vs. Internally Threaded: The Modern Standard
The mechanism of your jewelry matters just as much as the metal. Threadless (press-fit) jewelry, pioneered by brands like Neometal and BVLA, utilizes tension rather than screw threads to hold the decorative end onto the post. The pin on the decorative end is slightly bent before insertion, creating a secure friction fit inside the hollow post. This eliminates the sharp, bacteria-harboring threads that can tear the delicate fistula during jewelry changes. Internally threaded jewelry (where the screw is on the post, not the decorative end) is also acceptable, but threadless is widely preferred for its ease of use and seamless aesthetic.
The Professional Aftercare Protocol
Healing cartilage earring piercings is a marathon, not a sprint. Cartilage is avascular, meaning it lacks a direct blood supply. It relies on surrounding tissues for oxygen and nutrients, making it notoriously slow to heal and highly susceptible to irritation bumps (hypertrophic scarring).
The Saline and "Leave It Alone" Method
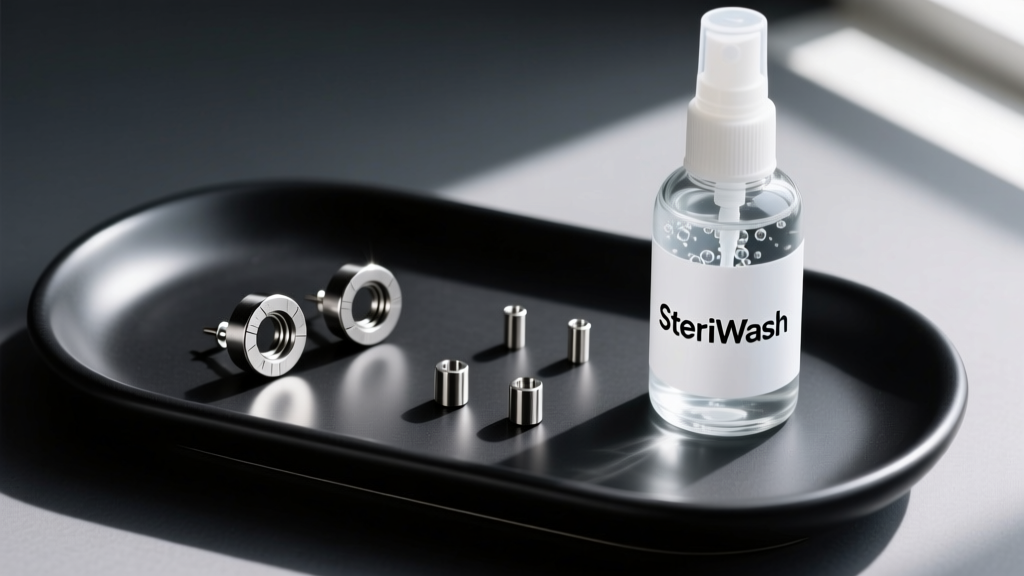
Forget the tea tree oil, aspirin pastes, and rubbing alcohol. These harsh chemicals destroy the fragile new cells forming your fistula. The only thing you need is a sterile saline wound wash (0.9% sodium chloride with no additives). Spray the front and back of the piercing once or twice daily, and gently pat dry with non-woven gauze. Avoid cotton swabs, which can leave microscopic fibers tangled around the post. The most critical step, however, is what you don't do. Do not twist the jewelry. Do not sleep on the piercing (use a travel neck pillow to keep pressure off your ear), and do not touch it with unwashed hands.
The 12-Week Downsizing Rule
When you receive a fresh flat-back labret, the post will be intentionally long to accommodate the initial swelling. Once that swelling subsides (typically between 4 to 12 weeks, depending on the location), the long post becomes a liability. It can catch on hair, clothing, and masks, pulling the jewelry at an angle that forces the body to grow an irritation bump to protect the trauma. You must return to your piercer for a "downsize" appointment, where they will swap the long post for a shorter, snug-fitting one. This is non-negotiable for the long-term health of your earring piercings.
Troubleshooting Common Healing Complications
Even with perfect aftercare, complications can arise. Here is how to identify and address the most common issues:
- Irritation Bumps (Hypertrophic Scarring): Usually caused by pressure (sleeping on it), improper angles, or long posts. Solution: Downsize the jewelry, stop sleeping on it, and apply warm saline compresses. Do not pop or pick at them.
- Embedding: Occurs when the skin swells over the flat-back disc, usually due to a post that is too short for the initial swelling phase. Solution: See your piercer immediately to have a longer post installed. This is a time-sensitive issue.
- Crusting: Normal lymph fluid drying on the jewelry. Solution: Soften it in the shower or with a warm saline soak, then gently wipe away with non-woven gauze. Never pick dry crusts off, as this re-opens the wound.
"Patience is the primary tool for healing cartilage. A helix piercing may look healed on the outside at three months, but the internal fistula can take up to a year to fully mature and stabilize."
Conclusion
Curating multiple earring piercings is a deeply personal and rewarding process that blends anatomical science with aesthetic design. By respecting your ear's unique geometry, insisting on ASTM F-136 titanium, utilizing threadless mechanisms, and adhering to a strict, minimalist aftercare routine, you set the stage for a lifetime of beautiful, healthy ear curation. Always prioritize a certified professional piercer who uses single-use, sterilized needles and an autoclave—never a piercing gun, which causes blunt force trauma to cartilage and guarantees complications. Plan your layout, respect the healing timeline, and enjoy the evolution of your curated ear.


