Earring Men Left Ear: Step-by-Step Piercing & Styling Guide
Discover the ultimate step-by-step guide to choosing, piercing, and styling an earring men left ear. Learn gauge sizes, materials, and modern rules.

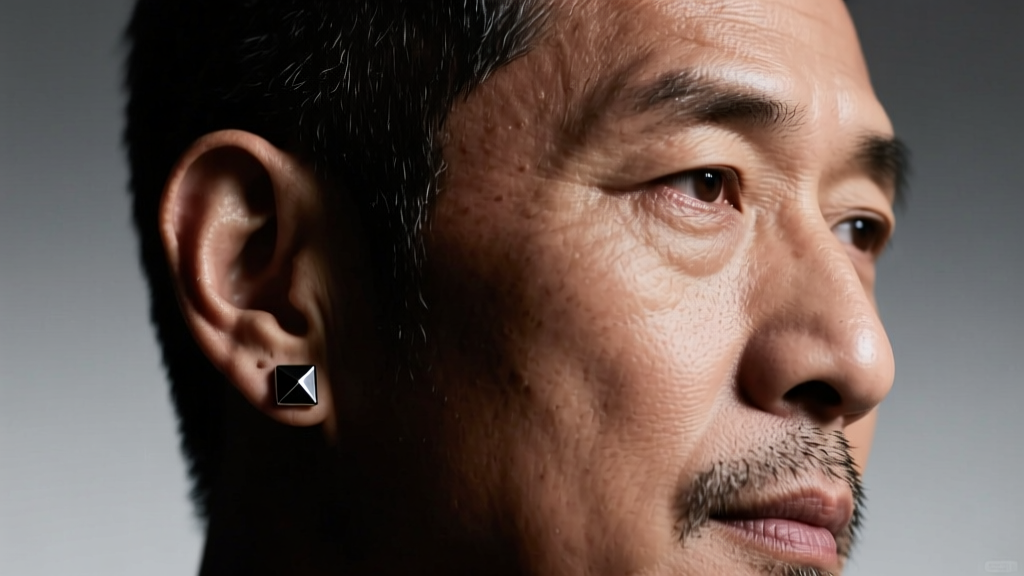
The Evolution of the Earring Men Left Ear Tradition
For decades, the concept of the earring men left ear carried heavy cultural coding. In the 1970s and 1980s, a popular societal trope dictated that a left-ear piercing on a man signaled a specific sexual orientation or subcultural affiliation, while the right ear carried a different meaning entirely. Fast forward to 2026, and these outdated codes have been entirely dismantled. Today, men wear earrings on the left, right, or both ears purely as an expression of personal style, facial symmetry, and aesthetic preference.
However, the left ear remains the most common entry point for men exploring body jewelry. Whether you are stepping into a piercing studio for the first time or looking to upgrade an existing lobe piercing, navigating the world of men's jewelry requires an understanding of anatomy, metallurgy, and proportion. This comprehensive, step-by-step guide will walk you through everything from selecting implant-grade metals to mastering the aftercare protocol, ensuring your left ear piercing heals perfectly and looks exceptionally sharp.
Step 1: Selecting the Correct Gauge and Material
The foundation of any successful piercing lies beneath the surface. Choosing the wrong metal can lead to contact dermatitis, hypertrophic scarring, or chronic irritation bumps. According to the Association of Professional Piercers (APP), only specific, biocompatible materials should be used for fresh piercings or long-term wear in sensitive tissue.
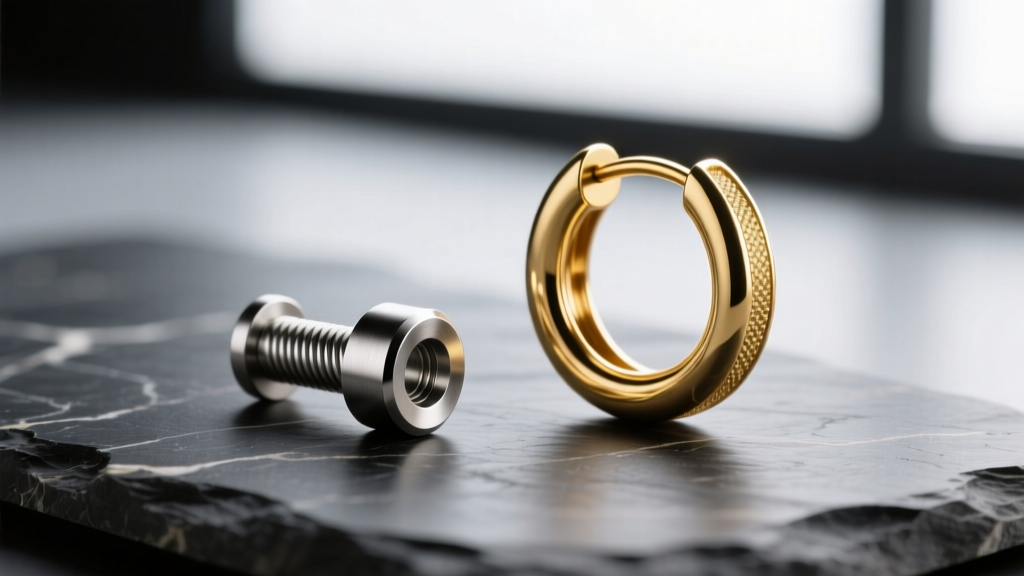
Understanding Gauge Sizes
The 'gauge' refers to the thickness of the jewelry post. Most standard mall-kiosk piercings are done at 20-gauge (0.8mm) or 18-gauge (1.0mm). However, professional piercers strongly recommend 16-gauge (1.2mm) or even 14-gauge (1.6mm) for men's lobe piercings. A thicker gauge provides structural stability, reduces the risk of the 'cheese-cutter effect' (where thin jewelry slowly migrates and tears through the lobe tissue), and offers a more masculine, substantial aesthetic.
Material Breakdown for Men's Jewelry
| Material | Grade/Specification | Pros | Cons | Price Range |
|---|---|---|---|---|
| Titanium | ASTM F-136 Implant-Grade | Hypoallergenic, lightweight, nickel-free, ideal for healing. | Limited color options without anodizing. | $30 - $80 |
| Gold | 14k or 18k Solid (Nickel-Free) | Premium aesthetic, high value, excellent for healed lobes. | Expensive, soft metal can scratch easily. | $80 - $300+ |
| Surgical Steel | 316L ASTM F-138 | Affordable, widely available in varied designs. | Contains trace nickel; not recommended for fresh piercings. | $15 - $40 |
Pro Tip: Avoid 'gold-plated' or 'gold-filled' jewelry for everyday wear. The plating will eventually wear off, exposing the base metal to your skin and causing severe allergic reactions. Always opt for solid 14k or 18k gold from reputable brands like BVLA or Maria Tash.
Step 2: Matching Earring Styles to Face Shapes
Once you have established a healthy, healed piercing, the next step is curating the jewelry to complement your facial structure. An earring should balance your features, not overwhelm them.
- Round Faces: Avoid small, tight hoops that mimic the circular geometry of your face. Instead, opt for angular studs, geometric shapes, or short, structured drop earrings that add vertical length and definition to your jawline.
- Square Faces: Strong, angular jawlines benefit from softening elements. Medium-sized seamless hoops, curved huggies, and circular cabochon studs help balance the sharp angles of your bone structure.
- Oval Faces: The most versatile face shape. You can effortlessly pull off everything from minimalist titanium barbells to statement diamond studs and larger gauge tunnels.
- Heart Faces: Wider foreheads and narrower chins pair beautifully with teardrop-shaped dangles or bottom-heavy geometric studs that draw the eye downward, adding visual weight to the lower half of the face.
Step 3: The Piercing Process (Needle vs. Gun)
If you are getting your left ear pierced for the first time, the method of piercing is just as critical as the jewelry. Never use a piercing gun. Piercing guns use blunt force trauma to push a dull stud through the tissue, which causes unnecessary pain, massive swelling, and tissue damage. Furthermore, the plastic housings of piercing guns cannot be properly sterilized in an autoclave.
Instead, visit a licensed professional who uses a single-use, hollow bevel needle. A hollow needle cleanly removes a microscopic crescent of tissue, creating a smooth channel that heals significantly faster and with less scarring. The piercer will mark the placement with a surgical pen while you are sitting up (to account for gravity and facial asymmetry) and allow you to approve the exact angle and position before proceeding.
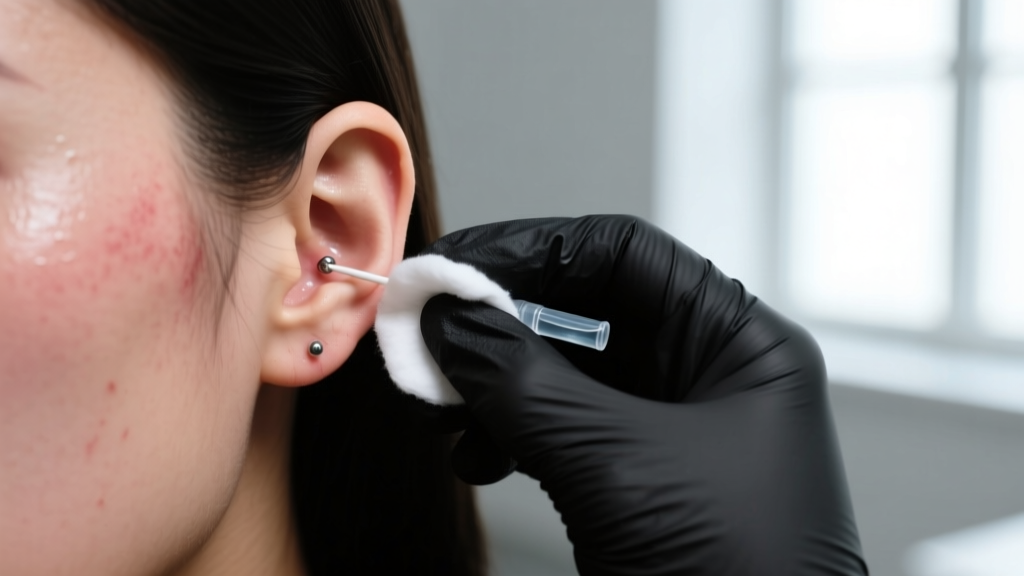
Step 4: The 6-Week Aftercare Protocol
According to the Mayo Clinic, proper aftercare is essential to prevent localized infections and ensure the fistula (the tube of healed skin inside the piercing) forms correctly. Earlobes typically take 6 to 8 weeks to heal, though cartilage can take up to a year.
Your Daily Cleaning Routine
- Wash Your Hands: Always use antibacterial soap before touching your ear or the jewelry.
- Spray with Saline: Use a sterile, canned 0.9% sodium chloride wound wash (with no additives or preservatives). Spray the front and back of the lobe twice daily.
- Gently Dry: Use a disposable, non-woven gauze or a paper towel to gently pat the area dry. Avoid cotton swabs or bath towels, as the fibers can wrap around the jewelry post and cause irritation.
- Leave It Alone: Do not twist, turn, or rotate the jewelry. The old advice of 'twisting the stud' is a myth that actually tears the delicate healing tissue and introduces bacteria into the wound.
Step 5: Downsizing and Long-Term Styling
When you are initially pierced with a flat-back labret stud, the piercer will use a longer post to accommodate the swelling that occurs during the first two weeks. Once the swelling subsides (usually around the 3-to-4-week mark), you must return to the studio for a 'downsize.' Leaving a long post in the ear increases the risk of the jewelry snagging on shirts or pillows, which can lead to irritation bumps and crooked healing angles.
After your piercing is fully healed and downsized, you can begin experimenting with different styles. For a rugged, masculine aesthetic, consider threadless push-pin jewelry with matte black PVD-coated titanium ends, or simple bezel-set black onyx studs. If you prefer a more refined look, a 16-gauge seamless gold clicker hoop offers a timeless, sophisticated edge that transitions seamlessly from the boardroom to a night out. Ultimately, the earring men left ear tradition has evolved into a canvas for modern masculinity, allowing you to define your own rules of style.


