Mastering Custom Jewelry Design Earrings: A Beginner's Material Guide
Learn the fundamentals of crafting custom jewelry design earrings. Discover hypoallergenic metals, wire gauges, and essential tools for beginners.

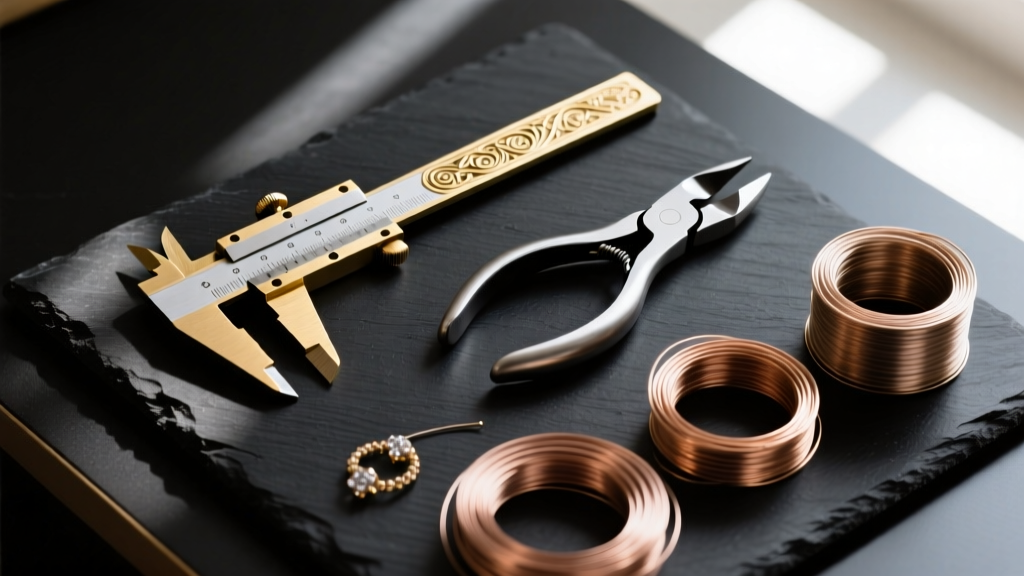
When you first begin exploring the world of custom jewelry design earrings, the sheer volume of material options, gauge sizes, and structural requirements can feel overwhelming. Unlike necklaces or rings, earrings interact directly with one of the most sensitive and biologically reactive parts of the human body: the piercing fistula. As we navigate the jewelry landscape in 2026, the standard for high-quality, bespoke ear adornments has shifted heavily toward verified biocompatible metals and precision engineering. Whether you are crafting delicate lobe studs or structural cartilage cuffs, understanding the intersection of anatomy, metallurgy, and wire mechanics is non-negotiable. This beginner-friendly explainer will demystify the core components of earring construction, giving you the actionable data needed to design pieces that are as safe as they are stunning.
The Foundation of Jewelry Design Earrings: Understanding Ear Anatomy
Before selecting your metals or sketching your designs, you must understand the canvas. The ear is divided into two primary piercing zones: the soft tissue lobe and the dense cartilage of the upper ear (helix, tragus, conch, etc.). These zones dictate the structural requirements of your jewelry design earrings.
Standard lobe piercings are typically done at 20-gauge (0.81mm) or 18-gauge (1.02mm). Because the lobe is highly vascular and flexible, it can accommodate intricate, heavier dangle designs without rejecting the jewelry. However, cartilage is avascular and prone to irritation bumps (hypertrophic scarring) if subjected to uneven pressure. Cartilage piercings generally require thicker, more rigid posts, typically starting at 16-gauge (1.29mm) or 14-gauge (1.63mm). When designing custom cartilage pieces like flat-back labrets or seamless hoops, the tolerance for error is virtually zero; a poorly angled post or an overly tight hoop diameter will cause immediate migration and discomfort.
Decoding Metals: What Works for Sensitive Piercings?
The most successful jewelry design earrings prioritize both aesthetic brilliance and biocompatibility. Nickel allergies affect roughly 10% to 20% of the global population, making nickel-free materials an absolute necessity for professional designers. According to the Association of Professional Piercers (APP), only specific grades of metal are considered safe for long-term wear, especially in healing or sensitive piercings.
| Material | Standard / Grade | Pros | Cons | Approx. Cost (per ft) |
|---|---|---|---|---|
| Implant-Grade Titanium | ASTM F136 | Hypoallergenic, lightweight, anodizable, highly corrosion-resistant. | Gray color cannot be polished to true silver/white; difficult to solder. | $4.00 - $8.00 |
| Niobium | Commercially Pure (99.9%) | Nickel-free, easily anodized to vibrant colors, highly malleable. | Heavier than titanium, softer metal prone to scratching. | $3.00 - $6.00 |
| Solid Gold | 14k or 18k (Nickel-Free) | Premium aesthetic, excellent longevity, holds complex shapes. | Very expensive, 22k/24k is too soft for structural posts. | $40.00+ |
| Surgical Steel | ASTM F138 | Inexpensive, widely available, takes a high polish. | Contains trace nickel; not recommended for fresh or highly sensitive piercings. | $1.50 - $3.00 |
For beginners, ASTM F136 titanium and 14k solid gold offer the best balance of workability and end-user safety. Avoid 'gold-plated' or 'gold-filled' wires for any component that passes through the fistula, as the plating will eventually wear away, exposing reactive base metals to the skin.
Essential Tools for Aspiring Earring Designers
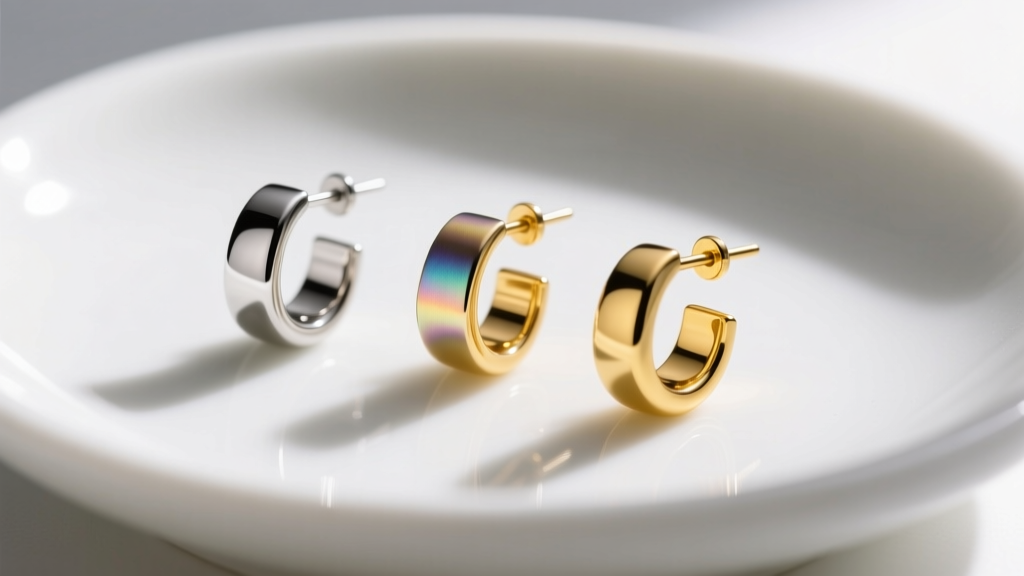
You do not need a fully equipped bench to start making jewelry design earrings, but you do need precision tools. Cheap hardware store pliers will mar your metal and leave deep gouges. Invest in the following essentials:
- Flush Cutters: Brands like Lindstrom or Swanstrom offer micro-flush cutters that leave a perfectly flat cut on wire up to 18-gauge, minimizing the need for heavy filing.
- Nylon Jaw Pliers: Essential for gripping and bending wire without scratching the metal's surface finish.
- Cup Bur (or Wire Rounder):strong> A vital tool for smoothing the sharp edges of cut ear wires. A 2.3mm cup bur used in a flex shaft or pin vise will create a perfectly rounded, tissue-safe tip.
- Digital Calipers: Accurate to 0.01mm, calipers are necessary for verifying wire gauges and measuring the internal diameter of hoops.
Wire Gauges and Hardness Explained
In earring design, wire is categorized not just by thickness (gauge), but by its temper, or hardness. Understanding this crystalline structure is what separates amateurs from professionals.
- Dead Soft: The wire has been annealed and is incredibly pliable. It is ideal for intricate wire-weaving or wrapping around gemstones, but it lacks the structural integrity to hold a shape. Never use dead soft wire for ear hooks, as they will pull open under the weight of the earring.
- Half-Hard: The industry standard for French ear wires, jump rings, and structural loops. It offers a balance of malleability for bending and stiffness for retaining its shape.
- Full-Hard / Spring-Hard: Extremely stiff and brittle. Used almost exclusively for making clasps, pin stems, or components that require high tension.
Step-by-Step: Drafting Your First Wire-Wrapped Drop Earring
Let us apply these concepts to a practical exercise. We will design a classic gemstone drop earring using 20-gauge half-hard wire.
- Measure and Cut: Using your digital calipers, verify your wire is exactly 20-gauge (0.81mm). Cut two 3-inch lengths of half-hard sterling silver or niobium wire using your flush cutters.
- Create the Bottom Loop: Grip the tip of the wire with round-nose pliers and roll a small, simple loop (approx. 2mm in diameter). Ensure the loop is perfectly centered.
- Thread the Bead: Slide on a 6mm faceted quartz bead. Quartz ranks at a 7 on the Mohs hardness scale, making it durable enough for daily earring wear without scratching easily.
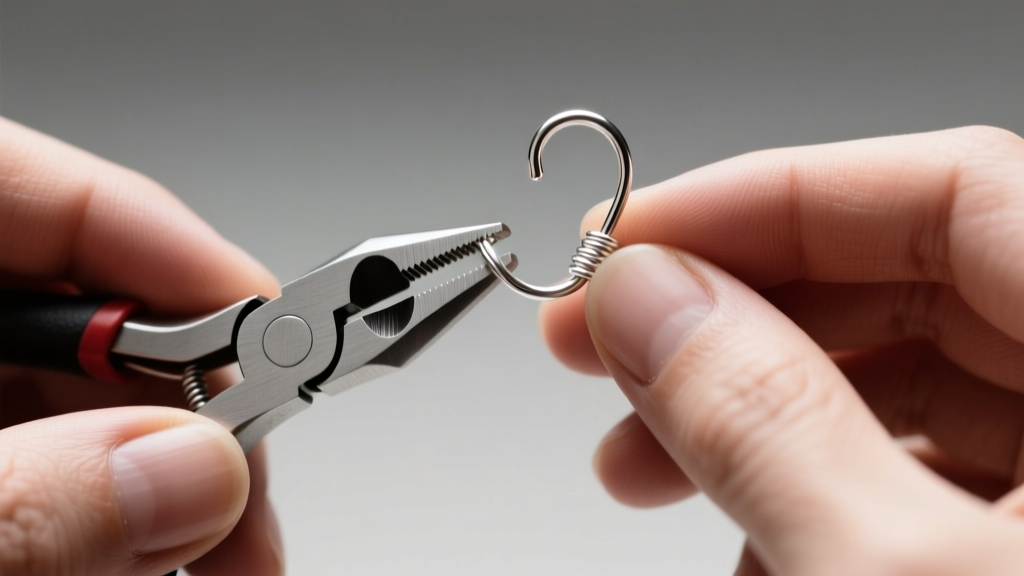
- Wire Wrap the Top: Bend the remaining wire at a 90-degree angle directly above the bead. Grip the bend with your round-nose pliers and wrap the tail tightly around the base stem three times. The Gemological Institute of America (GIA) notes that secure mechanical wraps like this prevent bead loss without relying on potentially irritating chemical adhesives.
- Finish the Ear Wire: On a separate piece of 20-gauge half-hard wire, cut a 2.5-inch length. Form a large loop at the bottom to connect to your drop component, then wrap the wire around a 6mm mandrel to create the French hook curve. Use your cup bur to smooth the insertion tip.
Sourcing Quality Components and Gemstones
The integrity of your jewelry design earrings is only as strong as your weakest component. When sourcing gemstones, always consider the Mohs scale of mineral hardness. Earrings are frequently subjected to accidental impacts, hair brushing, and friction. Soft, porous stones like turquoise (Mohs 5-6), opal (Mohs 5.5-6.5), and pearl (Mohs 2.5-4.5) require protective settings, such as bezels or deep halos, rather than exposed prong settings. As of 2026, lab-grown sapphires and rubies have become highly accessible for beginners, offering a Mohs rating of 9 (second only to diamond) at a fraction of the cost of mined stones, allowing for intricate, exposed wire-wrapping designs without fear of scratching.
Common Beginner Mistakes in Earring Construction
Even with the best materials, structural errors can ruin an otherwise beautiful design. Avoid these three critical pitfalls:
1. Ignoring the Burr
Every time you cut a piece of wire, it leaves a microscopic, razor-sharp edge known as a burr. If this burr is on an ear post or hook, it will act like a saw against the delicate fistula tissue, causing micro-tears, inflammation, and potential infection. Always file or burnish the ends of any wire that enters the body.
2. Over-Work-Hardening the Metal
Bending metal causes its crystalline structure to compress, making it harder but more brittle. If you repeatedly bend a jump ring back and forth to open it, you will cause work-hardening fatigue, and the metal will snap. Always open jump rings and ear wires by twisting them laterally (pushing one side away from you and pulling the other toward you) rather than pulling them apart horizontally.
3. Mismatched Earring Weights
When designing asymmetrical or heavily embellished jewelry design earrings, failing to calculate the center of gravity will result in the earring drooping forward, stretching the lobe over time. Always test the balance of your earring by hanging it on a digital scale or a specialized jewelry balance beam before finalizing the ear wire attachment point.
Mastering the craft of earring design requires patience, a respect for human anatomy, and a commitment to material science. By prioritizing biocompatible metals like ASTM F136 titanium, understanding the mechanics of wire temper, and executing precise, tissue-safe finishes, you will create bespoke jewelry design earrings that clients will cherish and wear comfortably for a lifetime.


