The Ultimate Guide to Building a DIY Stud Earring Holder
Learn how to build a custom DIY stud earring holder with our step-by-step guide. Protect your jewelry from tarnish and bent posts with expert tips.

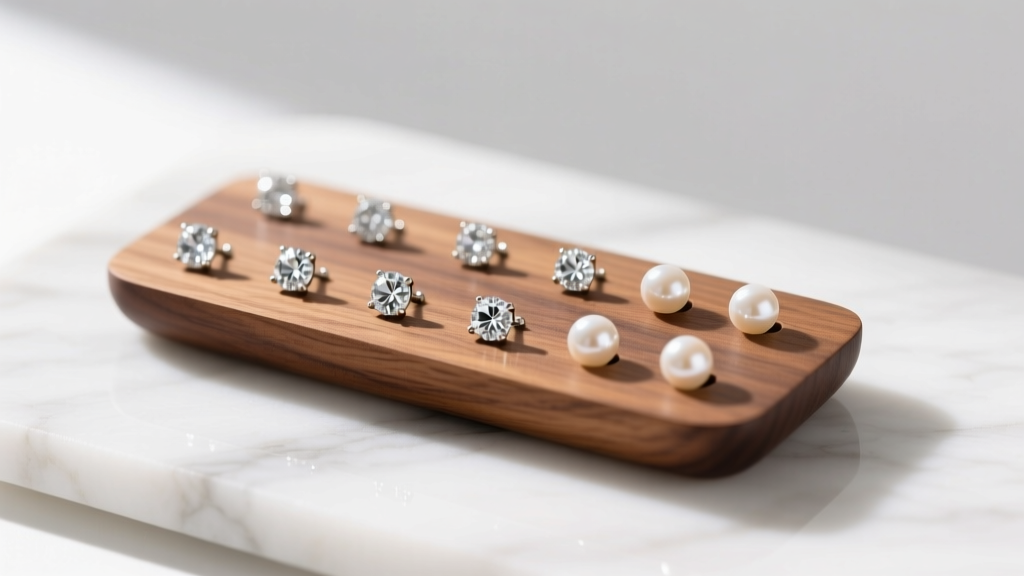
Stud earrings are the most frequently worn, yet arguably the most poorly stored, pieces in any jewelry collection. Unlike dangles or hoops that can be draped over hooks or slipped through slotted cardboard, studs require specialized vertical storage. When tossed into generic jewelry boxes, the delicate posts bend, the friction backs degrade, and the gemstones scratch one another. Building a custom diy stud earring holder is not just a weekend woodworking or crafting project; it is an exercise in jewelry conservation. By understanding the exact gauge of your earring posts and the chemical reactivity of storage materials, you can build an organizer that preserves your collection for decades.
The Hidden Physics of Stud Earring Damage
Before cutting any wood or drilling any holes, it is crucial to understand why standard storage fails. A standard 20-gauge earring post is exactly 0.81 millimeters in diameter. When a stud earring is laid flat in a shallow drawer, the post acts as a lever. Any lateral pressure applied to the earring head creates a moment of force at the base of the post, leading to micro-bends that eventually weaken the metal's crystalline structure. Furthermore, when multiple studs are kept in a single compartment, the diamond or sapphire heads (which rank 9 and 10 on the Mohs hardness scale) will easily scratch softer gold settings and adjacent pearls.
A properly engineered diy stud earring holder suspends the earring by its post, allowing the head to rest flush against a soft, non-abrasive surface while the post hangs freely in a void. This eliminates lateral stress and prevents gemstone-to-metal contact.
Material Selection: Preventing Tarnish and Scratches
The most common mistake DIYers make is choosing a material based solely on aesthetics rather than chemical stability. Raw woods, particularly oak and cedar, contain high levels of tannins and volatile organic compounds (VOCs) that accelerate the tarnishing of sterling silver and can degrade lower-karat gold alloys. According to conservation guidelines from the Gemological Institute of America (GIA), metals should be stored in environments free of acidic off-gassing.
| Material | Pros | Cons | Best For |
|---|---|---|---|
| Black Walnut | Beautiful grain, stable, low acidity when sealed | Requires meticulous sealing to prevent oil transfer | High-end gold and diamond studs |
| Cast Acrylic | Chemically inert, modern look, easy to drill | Scratches easily during the build process | Everyday wear, mixed metals |
| Cork | Inexpensive, self-healing holes, soft | Degrades over time, holds moisture | Temporary or travel organizers |
| Archival Felt | Zero off-gassing, ultra-soft | Cannot be used as a structural base | Lining the top surface of wood bases |
For this guide, we will use American Black Walnut for the base, sealed with a water-based polyurethane to lock in natural oils, and topped with a layer of archival-quality, acid-free felt.
Step-by-Step: Building a Walnut and Brass DIY Stud Earring Holder
Tools and Dimensions
- Base Material: 1 piece of Black Walnut, cut to 8 inches long by 4 inches wide, and 3/4 inch thick.
- Drill Bits: 1.5mm (approx. 1/16 inch) brad point bit, and a 1/2 inch Forstner bit (for optional countersinking).
- Depth Stop: A physical depth stop collar or a piece of painter's tape wrapped around the drill bit.
- Finishing: Water-based polyurethane, 220 and 400-grit sandpaper, acid-free jewelry felt.
Step 1: Cutting and Sanding the Base
Cut your walnut block to the 8x4 inch dimensions. Sand the top surface progressively through 120, 220, and finally 400 grit. The surface must be glass-smooth; any microscopic wood splinters left behind can catch on the delicate prongs of your earring settings. Wipe the board down with a tack cloth to remove all fine dust.
Step 2: Drilling the Post Holes (Crucial Gauge Sizing)
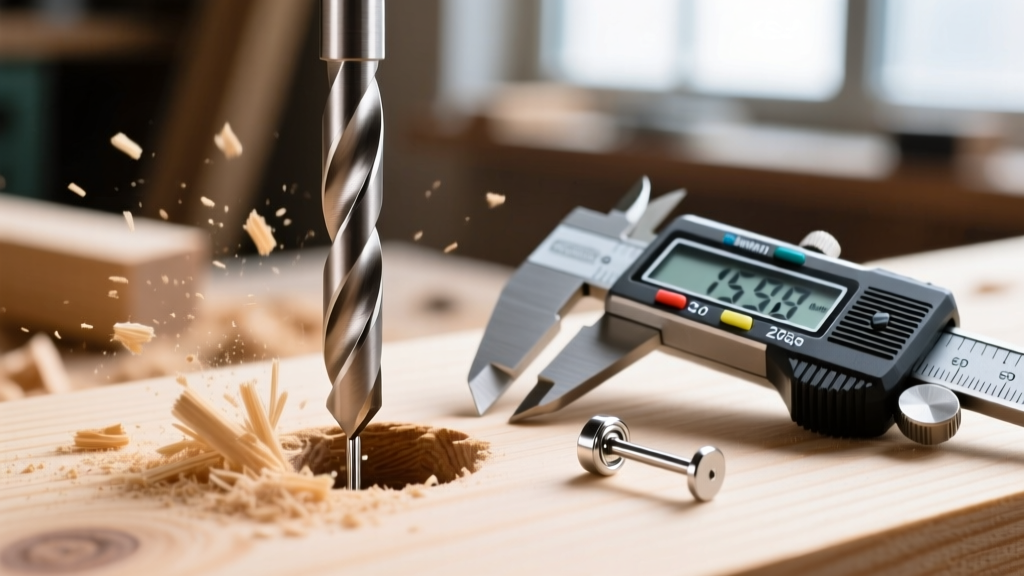
This is the most critical step. Standard earring posts range from 18-gauge (1.02mm) to 22-gauge (0.64mm). If you drill a hole that is exactly 0.81mm for a 20-gauge post, the friction of insertion will eventually bend the post. You must use a 1.5mm drill bit to provide adequate clearance.
Set your depth stop to exactly 3/8 of an inch (9.5mm). If you drill too shallow, the post will hit the bottom of the hole and bend. If you drill too deep, small studs will disappear into the void, making them difficult to retrieve. Mark a grid on your wood using a marking gauge: space the holes 1.25 inches apart for standard studs, and leave 1.5 inches for oversized pearl or halo studs to ensure the heads never touch.
Step 3: Applying a Non-Reactive Finish
Do not use oil-based finishes, tung oil, or linseed oil. These finishes cure slowly and can off-gas sulfur compounds that cause rapid silver sulfide tarnish. Apply three thin coats of a high-quality, water-based polyurethane, lightly sanding with 400-grit paper between coats. Once fully cured (allow 72 hours), use a spray adhesive to mount a sheet of acid-free, Pacific Silvercloth or archival felt to the top surface, carefully pressing it into the drilled holes.
Advanced Modifications: Magnetic Backings and Tiered Displays
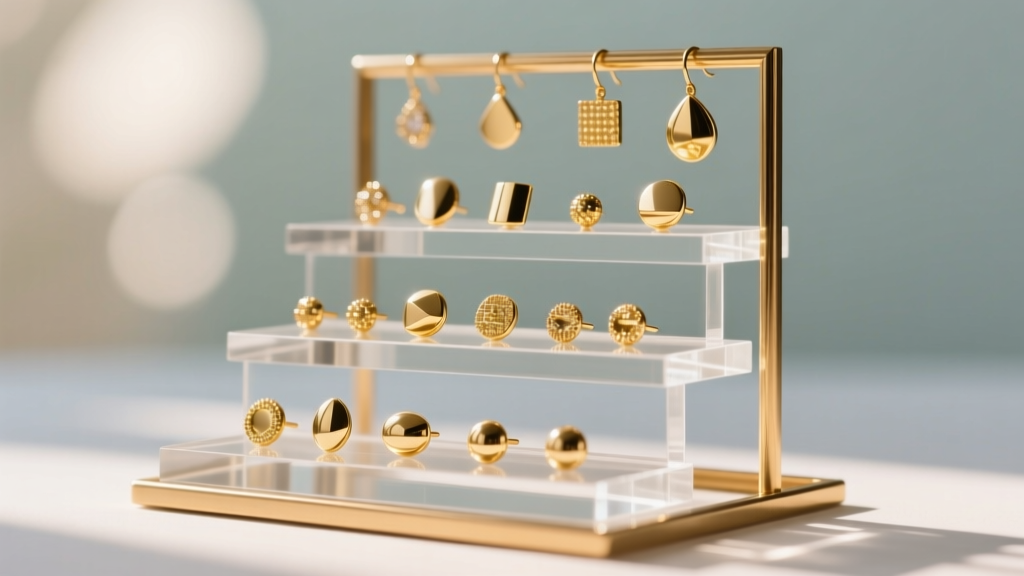
Once you have mastered the basic flat-block diy stud earring holder, you can introduce advanced modifications to elevate both the functionality and the display quality of your organizer.
"The integration of rare-earth magnets into jewelry displays transforms the user experience, allowing for secure storage of friction-less or threadless earring components without relying on traditional, easily lost butterfly backs." — Wood Magazine Design Archives
Magnetic Catchment: If you frequently wear threadless labret studs or hinged segment rings, you can route a shallow 1/8-inch channel on the underside of your walnut base and embed N52-grade neodymium magnets directly beneath each drilled hole. This holds the earring securely in place even if the holder is bumped or tilted.
Tiered Acrylic Risers: To maximize vanity space, bend 1/8-inch cast acrylic using a heat gun to create a 45-degree stair-step riser. Mount your wooden blocks to these tiers using brass standoffs. This allows you to categorize your studs by metal color or gemstone type across three distinct visual planes.
Maintenance and Archival Storage
Even the best-built holder requires basic maintenance to ensure it continues to protect your jewelry. Every six months, use a can of compressed air to blow out the drilled holes. Over time, dead skin cells, lotion residue, and dust will accumulate at the bottom of the 3/8-inch voids, creating a damp micro-environment that can tarnish the very tip of your earring posts.
Additionally, inspect the archival felt lining annually. If you notice any discoloration or stiffening of the fabric, peel it up and replace it. By treating your diy stud earring holder as an active conservation tool rather than a static piece of furniture, you guarantee that your diamond solitaires, gold knots, and gemstone studs remain in pristine, ready-to-wear condition for years to come.


