Beginner Guide to Making Air Dry Clay Earrings at Home
Learn to craft lightweight air dry clay earrings at home. Discover essential tools, waterproof sealing techniques, and hypoallergenic hardware tips.

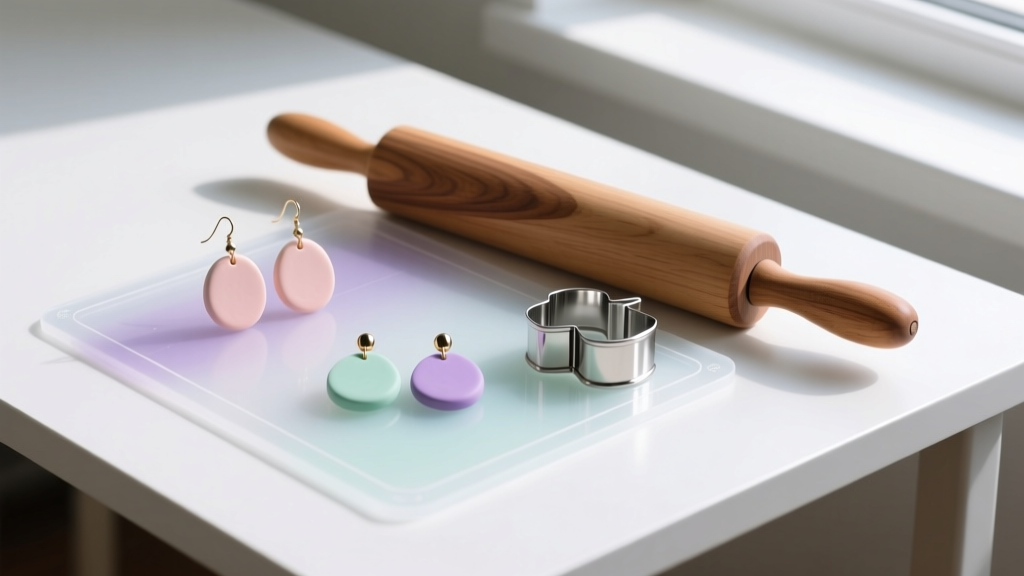
Air dry clay earrings have taken the DIY jewelry world by storm, offering an accessible, kiln-free entry point into jewelry design. Unlike traditional polymer clays that require baking or ceramic clays that need high-temperature firing, air dry clay cures simply through evaporation. This makes it an incredibly forgiving medium for beginners looking to craft lightweight, bold, and customizable statement pieces. However, crafting durable jewelry that withstands daily wear requires more than just shaping and drying. In this comprehensive guide, we will explore the specific material grades, hardware gauges, and sealing protocols necessary to elevate your homemade accessories from fragile crafts to professional-quality jewelry.
Why Choose Air Dry Clay for Jewelry Making?
The primary advantage of air dry clay is its exceptionally low barrier to entry. You do not need a dedicated studio, a ventilation system, or an expensive kiln. Furthermore, air dry clay is inherently lightweight. When designing oversized architectural hoops or long tassel dangles, weight is a critical factor for ear comfort. A pair of 3-inch polymer clay dangles might cause lobe fatigue after a few hours, whereas the same design in air dry clay remains featherlight. Additionally, air dry clay accepts a vast array of surface treatments, from acrylic paints and alcohol inks to metal leafing and epoxy resins, allowing for endless aesthetic experimentation.
Selecting the Right Clay: Brand Comparisons
Not all air dry clays are formulated for jewelry. School-grade clays often shrink excessively and crack upon drying. For durable earrings, you need a clay with high structural integrity and fine particle size.
- DAS Air-Hardening Modeling Clay: A staple in the jewelry-making community. It has a smooth, porcelain-like finish when sanded and minimal shrinkage. It is highly recommended for geometric studs and arches.
- Creative Paperclay: Contains cellulose fibers, making it incredibly lightweight and resistant to cracking. It is slightly more textured but excellent for organic, sculptural shapes.
- La Doll Premier Lite: Originally designed for ball-jointed dolls, this stone-based clay is exceptionally hard when dry and sands to a glass-smooth finish, making it a premium choice for fine-detail work.
The Essential Beginner Toolkit
To achieve professional, uniform results, skip the improvised kitchen tools and invest in a dedicated jewelry craft kit. According to experts at The Spruce Crafts, having the right shaping and measuring tools prevents structural weaknesses before the clay even dries.
- Acrylic Rolling Pin with Thickness Rings: Ensures your clay is rolled to an exact, uniform thickness (typically 3mm to 4mm for earrings). Uneven thickness leads to warping and uneven drying times.
- Silicone Craft Mat: Prevents the clay from sticking to your work surface without the need for excess cornstarch, which can dry out the clay and cause micro-cracking.
- Stainless Steel Needle Tool: For piercing clean earring holes and scoring intricate details.
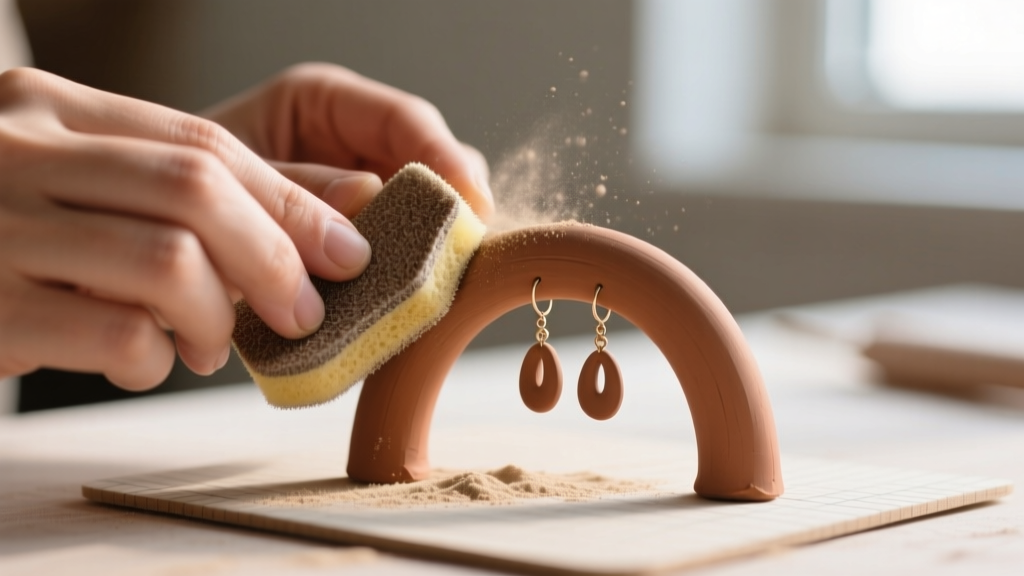
- Sanding Sponges (220, 400, and 800 grit): Essential for smoothing edges and prepping the surface for sealing. Always sand dry, never wet, to prevent the clay from dissolving.
Shaping, Drying, and Preventing Warping
The most common failure mode for beginners is warping. As the top layer of the clay is exposed to air, it dries and shrinks faster than the bottom layer resting on the mat, causing the piece to curl upward. To prevent this, you must employ the 'flip and rotate' method. During the first 12 hours of drying, gently flip your clay pieces over every two to three hours. This ensures even evaporation on both sides.
Pro-Tip: Never use water to smooth out cracks in air dry clay. Adding water reactivates the clay locally, creating a weak point that will inevitably snap once fully cured. Instead, use a tiny amount of clay slip (clay mixed with a drop of PVA glue) to fill gaps before the final sanding.
Drying time is entirely dependent on ambient humidity and thickness. A standard 3mm thick earring will take approximately 24 to 48 hours to cure completely in a climate-controlled room. Do not attempt to speed up the process with a hairdryer or oven, as rapid moisture loss guarantees structural fractures.
Sealing and Waterproofing: The Most Critical Step
Air dry clay is essentially dried mud; if it gets wet, it will revert to its malleable state and dissolve. Therefore, a robust, waterproof sealant is non-negotiable for wearable jewelry. Avoid standard decoupage glues like basic Mod Podge, which remain tacky in high humidity and offer poor water resistance.
Top Sealant Recommendations
For a matte or satin finish, use a water-based polyurethane varnish. Apply three thin coats, allowing two hours of drying time between each layer. For a high-gloss, glass-like finish, UV resin is the industry standard. Brushing a thin layer of UV resin over the clay and curing it under a 36W UV lamp for 60 seconds creates an impenetrable, waterproof shell that dramatically increases the earring's drop-resistance. Always work with UV resin in a well-ventilated area and wear nitrile gloves.
Assembling the Hardware: Gauges and Sizing
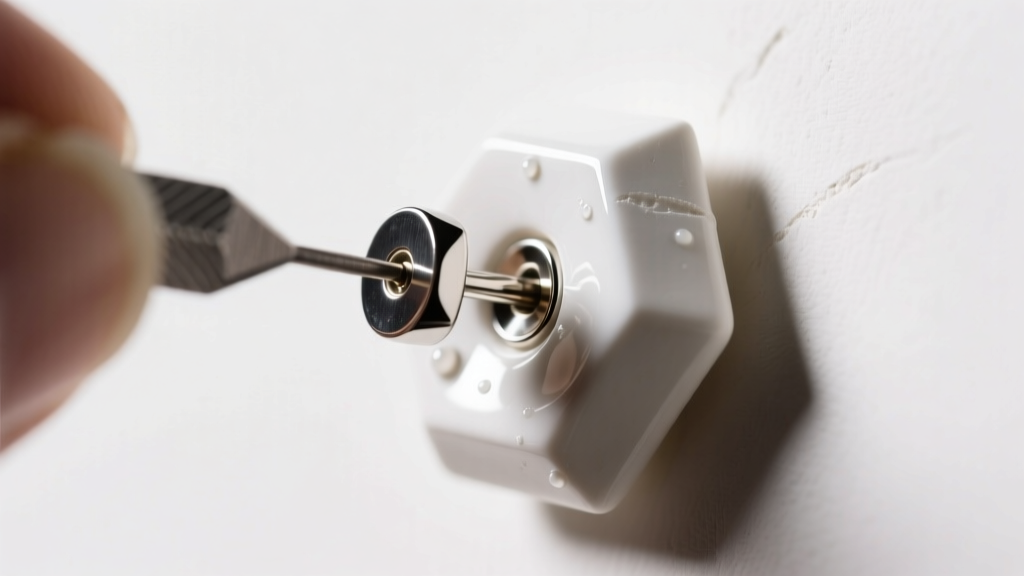
Attaching hardware to clay requires precision. Because clay is softer than metal or cured resin, the mechanical bond is just as important as the chemical bond of the adhesive. For attaching earring posts to the back of clay studs, use a high-strength, flexible adhesive like E6000 Jewelry and Bead Adhesive. Apply a generous bead to the flat pad of the earring post, press it firmly into the clay, and let it cure for a full 24 hours before handling.
When designing dangles or hoops that require jump rings, refer to the hardware sizing chart below. Sourcing high-quality, hypoallergenic findings is crucial. As noted by the jewelry supply experts at Rio Grande, using implant-grade titanium or 316L surgical stainless steel prevents contact dermatitis, a common issue with cheap, nickel-plated base metals.
| Hardware Component | Recommended Gauge / Size | Material Preference | Application Notes |
|---|---|---|---|
| Stud Earring Posts | 20-gauge post, 6mm pad | Titanium or 316L Steel | Use a larger pad (6mm-8mm) for wider clay bases to distribute weight. |
| Jump Rings | 22-gauge, 5mm OD | Stainless Steel | Always use two pairs of pliers to twist open; never pull apart. |
| Ear Wires (Fishhooks) | 20-gauge or 22-gauge | Niobium or Titanium | Niobium is highly recommended for sensitive ears and can be anodized. |
| Headpins (for beads) | 24-gauge, 1.5 inch | Sterling Silver | Use for adding small glass or stone bead dangles below clay arches. |
Troubleshooting Common Beginner Mistakes
Even with careful planning, beginners often encounter a few specific hurdles. Here is how to troubleshoot them like a seasoned artisan:
- Problem: The earring post snaps off easily.
Solution: You likely used a post with a pad that is too small (e.g., 3mm), or the clay surface was dusty when gluing. Always wipe the back of the clay with a microfiber cloth and isopropyl alcohol before applying E6000 glue. - Problem: The clay cracked down the center while drying.
Solution: This is caused by rolling the clay too thin or drying it in direct sunlight. Keep your thickness at a minimum of 2.5mm and dry in a cool, shaded room. - Problem: The sealant pooled at the edges, creating a thick, cloudy rim.
Solution: You applied the sealant too heavily. Always use a high-quality, soft-bristle synthetic brush and wipe excess sealant off the edge of the earring with a paper towel before it cures.
Crafting air dry clay earrings is a deeply rewarding process that bridges the gap between fine art and wearable fashion. By respecting the material's drying times, investing in proper hypoallergenic hardware, and committing to a rigorous sealing process, you can create stunning, boutique-quality earrings right from your kitchen table. For further reading on advanced jewelry assembly techniques, Interweave offers excellent resources on integrating mixed media with clay components.


