How to Craft and Style Custom Chip and Dale Earrings
Learn how to source, convert, and style vintage and DIY Chip and Dale earrings. Expert tips on titanium post upgrades, gauge sizes, and enamel care.

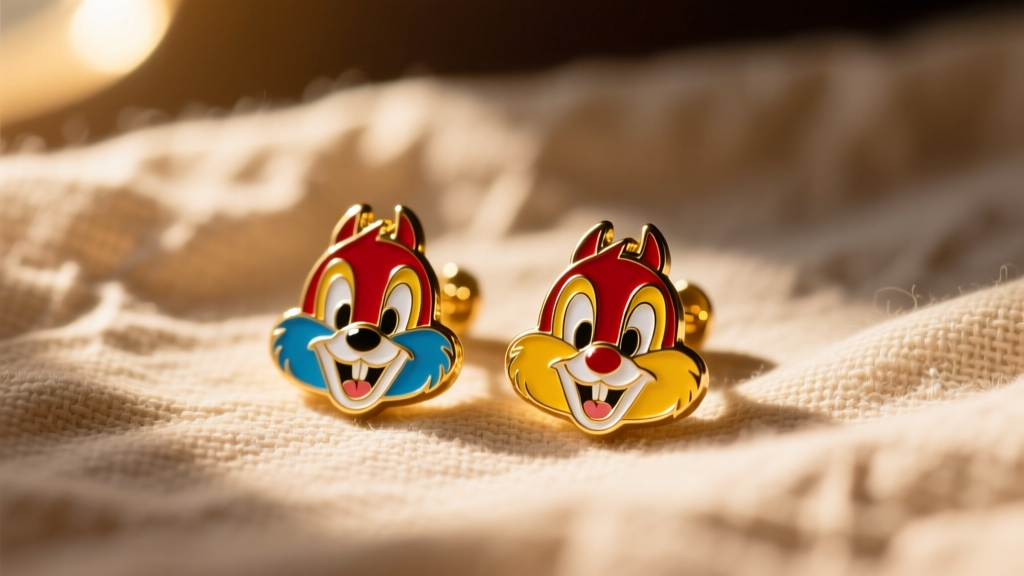
The Renaissance of Character Jewelry: Beyond the Theme Park
As the nostalgia-driven aesthetic matures in 2026, jewelry enthusiasts are moving away from cheap, mass-produced alloy novelties and embracing high-quality, custom-crafted character pieces. Among the most sought-after nostalgic motifs are Chip and Dale earrings, featuring the iconic Disney chipmunks. However, finding well-made, hypoallergenic versions of these beloved characters can be a challenge. Most vintage pieces from the 1990s were crafted with heavy brass bases and nickel-plated clip-on mechanisms, while modern fast-fashion variants often use flimsy acrylics and low-grade steel posts that cause contact dermatitis.
This comprehensive guide will teach you how to source, convert, and upgrade Chip and Dale earrings to meet modern fine jewelry standards. Whether you are working with vintage enamel charms or laser-cut acrylic blanks, we will cover the exact metallurgy, adhesive chemistry, and gauge specifications required to create comfortable, durable, and stylish ear wear.
Sourcing the Perfect Chip and Dale Base Pieces
The foundation of any great custom earring is the base charm. When hunting for Chip and Dale components, you will generally encounter three distinct material categories. Understanding the structural integrity of each is crucial for determining how they will hang on the ear lobe.
| Material Type | Base / Composition | Average Weight (per piece) | Durability & Wear | Best Conversion Method |
|---|---|---|---|---|
| Hard Enamel (Cloisonné) | Stamped Brass or Copper | 3.5g - 5.0g | Highly durable, scratch-resistant, heavy | Soldering or heavy-duty epoxy |
| Soft Enamel | Zinc Alloy or Iron | 2.0g - 3.5g | Prone to paint chipping, moderate weight | E6000 Elastomeric Adhesive |
| Laser-Cut Acrylic | Cast Acrylic Polymer | 0.5g - 1.5g | Lightweight, can snap under torque | UV Resin or Cyanoacrylate |
For the most premium result, seek out vintage 1990s hard enamel charms. These were typically produced for high-end merchandise and feature a smooth, glass-like finish where the metal lines are flush with the enamel. You can often find these as pendants or brooches at estate sales, which serve as perfect candidates for earring conversion.
Step-by-Step Guide to Converting Clip-Ons and Pendants
Many vintage Chip and Dale pieces were originally designed as clip-ons or small pendants. Converting them to pierced earrings requires precision to avoid damaging the enamel or acrylic face.
Step 1: Removing the Original Hardware
If you are working with a clip-on, use flush cutters to snip the hinge of the clip mechanism as close to the base as possible. Do not attempt to pry it off with pliers, as the leverage will warp the brass backing and crack the enamel on the front. For pendants, use a jeweler's saw to carefully remove the bail (the loop at the top).
Step 2: Surface Preparation
Adhesion failure is the most common reason DIY earrings fall apart. The back of the charm must be completely free of oils, oxidation, and old glue. Wipe the bonding area with 99% isopropyl alcohol. If the base is bare brass, lightly scuff it with 400-grit sandpaper to create a mechanical tooth for the adhesive to grip.
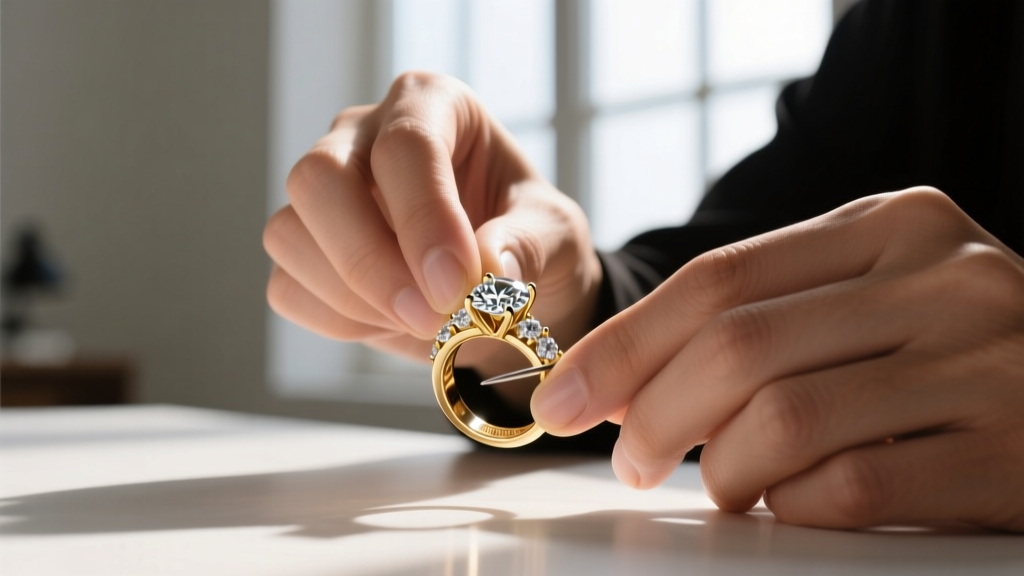
Step 3: Selecting the Right Adhesive
According to Rio Grande jewelry supply experts, choosing the correct adhesive is paramount. Avoid standard super glue (cyanoacrylate) for metal-to-metal bonding on heavy enamel pieces; it cures brittle and will shatter when the earring is dropped. Instead, use an elastomeric adhesive like E6000 or a two-part jeweler's epoxy. Apply a micro-drop to the center of the charm back, press the earring post into place, and secure it with a piece of painter's tape while it cures for 24 hours.
Upgrading Posts for Sensitive Ears: The Titanium Standard
The most critical upgrade you can make to your Chip and Dale earrings is replacing cheap alloy posts with implant-grade materials. Many commercial novelty earrings use 316L surgical steel, which still contains trace amounts of nickel that can trigger allergic reactions in sensitive lobes.
Why ASTM F136 Titanium is Non-Negotiable
For any earring that will be worn for extended periods, you should source posts made from ASTM F136 implant-grade titanium. As outlined by ASTM International's F136 standard, this specific alloy is entirely nickel-free and biocompatible, making it the gold standard for both fresh piercings and sensitive ears. You can purchase blank titanium earring posts with flat pad backs from specialized jewelry suppliers specifically for DIY gluing.
Gauge Sizing and the 'Cheese-Cutter' Effect
Novelty earrings often suffer from poor weight distribution. If you attach a heavy 4-gram brass Chip and Dale enamel charm to a standard 22-gauge (0.64mm) wire, the thin metal will slowly slice through your earlobe over time—a phenomenon piercers call the 'cheese-cutter effect.' To prevent this, follow these gauge guidelines:
- Acrylic Charms (Under 2g): 20-gauge (0.81mm) titanium posts are perfectly sufficient and fit standard lobe piercings comfortably.
- Hard Enamel Charms (3g - 5g): Upgrade to an 18-gauge (1.02mm) post. The thicker wire distributes the weight across a wider surface area of the fistula, preventing migration and tearing.
- Cartilage Placement: If you are adapting these charms for flat or helix piercings, you must use 16-gauge (1.29mm) or 14-gauge (1.63mm) internally threaded or threadless titanium ends, which requires professional soldering or a press-fit system rather than glue.
How to Style Chip and Dale Earrings for Everyday Wear
Styling character jewelry in a mature, sophisticated way requires balancing the whimsy of the motif with grounded, contemporary fashion elements. The goal is to let the earrings serve as a deliberate conversation piece rather than a costume accessory.

The 'One Novelty Piece' Rule
When wearing highly recognizable character earrings, adhere to the 'One Novelty Piece' rule. If your Chip and Dale earrings are the focal point, keep the rest of your jewelry minimalist and refined. Pair them with delicate, solid gold or silver chain necklaces and simple signet rings. This contrast elevates the character earrings, framing them as intentional pop-art accessories rather than theme park souvenirs.
Face Shape Considerations
The silhouette of your Chip and Dale earrings should complement your face shape. If you are crafting dangle earrings (by attaching the charm to a jump ring and fishhook), the elongated drop will beautifully complement round or square face shapes by drawing the eye downward. Conversely, if you have a long or oval face, opt for the stud conversion method, keeping the chipmunk motifs snug against the earlobe to maintain facial balance.
Care and Maintenance for Enamel and Acrylic
Proper maintenance ensures your custom creations last for decades. Never place painted acrylic or soft enamel character earrings in an ultrasonic cleaner; the high-frequency vibrations will micro-fracture the paint and cause the colors to cloud. Instead, clean the titanium posts with an alcohol pad, and gently wipe the character faces with a damp microfiber cloth and a drop of mild dish soap. Store them in a soft, anti-tarnish pouch away from direct sunlight to prevent the acrylics from yellowing and the enamel from fading over time.
By taking the time to properly source, convert, and upgrade your materials, you can transform basic Chip and Dale motifs into bespoke, comfortable, and high-quality earrings that celebrate your favorite characters without compromising on ear health or personal style.


