The Ultimate DIY Clip On Earrings Sourcing & Craft Guide
Master the art of DIY clip on earrings with our expert sourcing guide. Learn about tension findings, comfort pads, and metal grades.

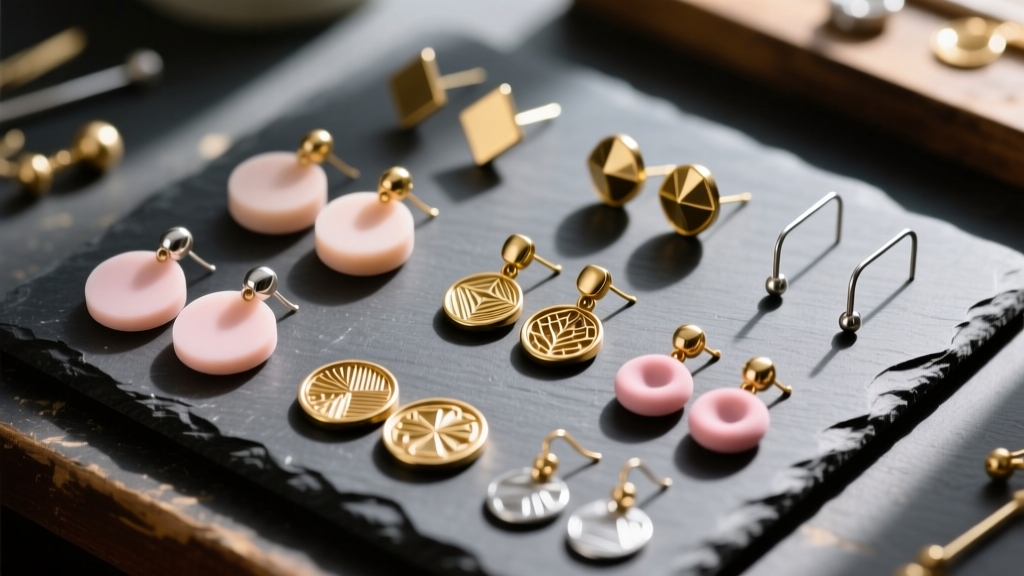
The Renaissance of Non-Pierced Jewelry
The landscape of ear adornment has shifted dramatically. As we navigate the jewelry trends of 2026, non-pierced ears are no longer an afterthought; they are a primary design focus. Whether you are upcycling vintage brooches, creating elaborate ear cuffs, or designing lightweight geometric dangles for clients with metal sensitivities, mastering the art of DIY clip on earrings requires a deep understanding of tension mechanics, metallurgy, and ergonomic comfort. This guide moves beyond basic craft tutorials, offering professional-grade sourcing strategies and assembly techniques to ensure your creations stay securely on the lobule without causing fatigue or pain.
Anatomy of a Clip-On: What to Look For in Findings
Not all clip-on findings are created equal. The structural integrity of your earring depends on selecting the correct tension mechanism for your specific design weight. When sourcing from suppliers like Rio Grande or Fire Mountain Gems, you will encounter three primary mechanisms:
1. Spring-Loaded Clips (The Classic)
These rely on a tiny internal steel spring to maintain clamping force. They are best suited for lightweight designs (under 8 grams). The primary drawback is the lack of adjustability; if the spring tension is too high, it will restrict blood flow to the earlobe, causing necrosis or severe aching within hours.
2. Screw-Back Findings (The Adjustable)
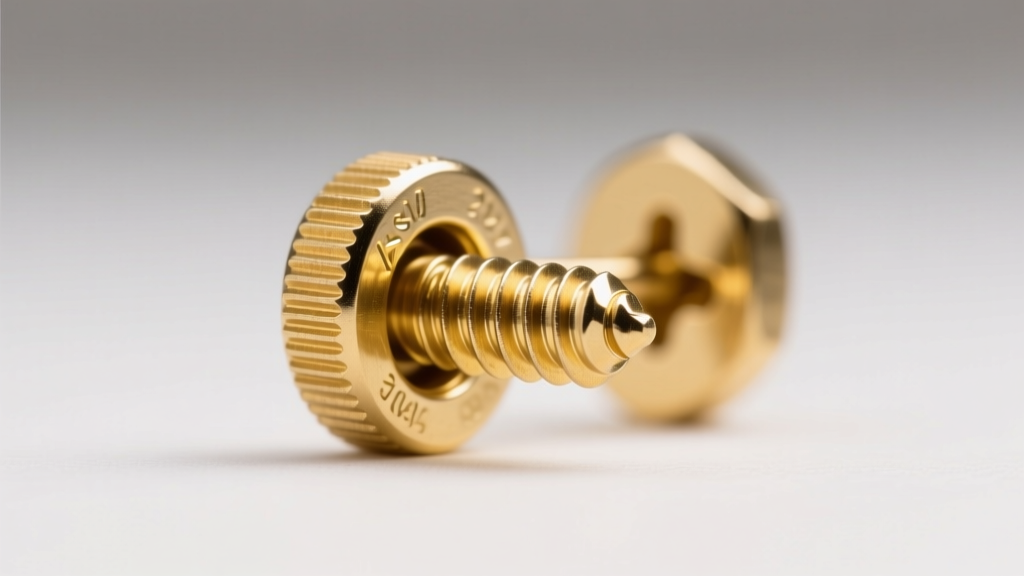
Featuring a miniature threaded screw that pushes a padded paddle against the back of the ear, these are the gold standard for heavy or vintage upcycled pieces. They allow the wearer to micro-adjust the clamping force. Look for screw-backs with a textured grip or a tiny loop at the end of the screw so the wearer can adjust them without needing a micro-screwdriver.
3. Paddle-Back / Magnetic Clips (The Modern Ergonomic)
Paddle-backs distribute pressure across a wider 8mm to 12mm surface area. Some modern iterations use neodymium micro-magnets encased in silicone to hold the earring in place without mechanical pinching. These are ideal for delicate, contemporary designs but fail under the weight of heavy gemstone drops.
Material Grades & Hypoallergenic Sourcing
The base metal of your clip-on finding dictates both the longevity of the piece and the wearer's skin reaction. Because the back of the earlobe is highly vascular and prone to sweating, acidic skin chemistry will rapidly degrade poor-quality alloys. Below is a comparative breakdown of common finding materials used in DIY clip on earrings:
| Metal Grade | Durability & Tarnish | Allergy Risk | Avg. Wholesale Price (Pair) |
|---|---|---|---|
| 316L Surgical Steel | Excellent; highly corrosion-resistant | Very Low (Nickel-free variants available) | $1.50 - $2.50 |
| Solid Brass (Raw) | Poor; oxidizes and turns skin green | Moderate (Often contains trace nickel) | $0.40 - $0.80 |
| Rhodium-Plated Brass | High (until plating wears off) | Low (Rhodium is hypoallergenic) | $2.00 - $3.50 |
| Niobium | Excellent; anodizable, inert | Zero (Biocompatible) | $4.00 - $6.00 |
Pro-Tip: If you must use brass findings for aesthetic reasons, seal the skin-contact areas with a micro-thin layer of clear polyurethane jewelry sealant or use physical barrier pads to prevent verdigris (copper oxidation) from staining the client's skin.
The Secret to Comfort: Pads and Adhesives
The hallmark of an amateur DIY clip-on is a bare metal clamp biting into bare skin. Professional makers utilize comfort pads to increase friction and distribute pressure. However, the material of the pad matters immensely.
- Foam Pads: Cheap and ubiquitous, but they absorb skin oils, sweat, and perfume. They degrade, turn yellow, and harbor bacteria within a few months of regular wear.
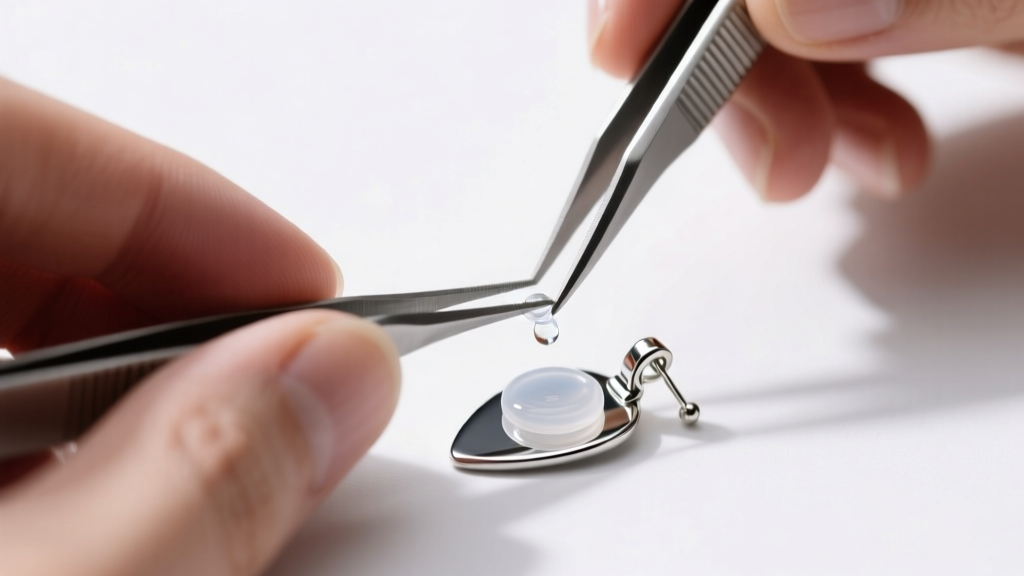
- Medical-Grade Silicone Pads (2mm - 4mm): The 2026 industry standard. Silicone is non-porous, easily wiped clean with isopropyl alcohol, and provides superior grip against the skin, preventing the earring from sliding down the lobule.
- Suede or Microfiber: Excellent for heavy vintage conversions where maximum friction is needed to prevent the earring from drooping forward.
To adhere these pads, avoid standard super glue (cyanoacrylate), which cures brittle and cracks under the flexing pressure of the clip. Instead, use a flexible adhesive like E6000 Jewelry and Bead Adhesive or a two-part flexible epoxy. Allow a full 24-hour cure time before attaching the pad to the metal finding.
Step-by-Step Assembly & Tension Calibration
Attaching your decorative element to the flat base of a clip-on finding requires careful planning regarding the center of gravity. If a dangle earring hangs too far forward, it will pull the top of the clip away from the ear, causing it to snap off.
Calibrating Spring Tension
If you are using spring-loaded findings and find them too tight out of the package, you can manually calibrate the tension. Using nylon-jaw pliers (never steel-toothed pliers, which will mar the plating), gently grip the front and back of the clip and apply outward pressure to loosen the spring coil. Conversely, if the clip is too loose, apply gentle inward pressure. Test the tension on a piece of 2mm thick leather to simulate an earlobe before delivering to a client.
Soldering vs. Gluing
For advanced metalworkers, silver-soldering a decorative sterling silver stamping directly to a sterling clip-back yields the most permanent result. However, for mixed-media artists working with resin, glass, or porous stones, a 2-part jeweler's epoxy provides a shear-strength bond capable of holding up to 15 grams of decorative weight without failing.
Common Failure Modes & Troubleshooting
'The most common complaint with DIY clip on earrings isn't that they fall off—it's that they cause lobe fatigue. Weight distribution is infinitely more important than clamping force.' — Master Jeweler's Bench Notes
- Failure Mode 1: The Forward Droop. Cause: The decorative element is bottom-heavy. Fix: Add a small counterweight bead to the back of the finding, or switch to a wider paddle-back to distribute the torque.
- Failure Mode 2: Adhesive Shearing. Cause: Using UV resin to glue a non-porous metal charm to a smooth metal finding base. Fix: Score the base pad with 400-grit sandpaper to create mechanical tooth before applying epoxy.
- Failure Mode 3: Lobe Pinching. Cause: The edges of the metal finding are sharp or unfinished. Fix: Always run a fine diamond file or cup bur around the perimeter of the clip's contact points before assembly.
Final Sourcing Advice for Makers
When buying in bulk for your DIY clip on earrings business, always request a sample batch to test the spring mechanisms. Manufacturing tolerances on overseas wholesale findings can vary wildly; a batch rated for 5 grams of tension might arrive with springs rated for 15 grams, guaranteeing customer discomfort. By prioritizing 316L stainless steel, medical-grade silicone pads, and adjustable screw-backs for heavier pieces, you elevate your non-pierced jewelry from a compromise to a premium, highly sought-after accessory.


