How to Make Custom FNAF Earrings: A Step-by-Step Guide
Learn how to craft custom FNAF earrings with our step-by-step guide. Master shrink plastic, UV resin, and hypoallergenic titanium hardware for safe wear.

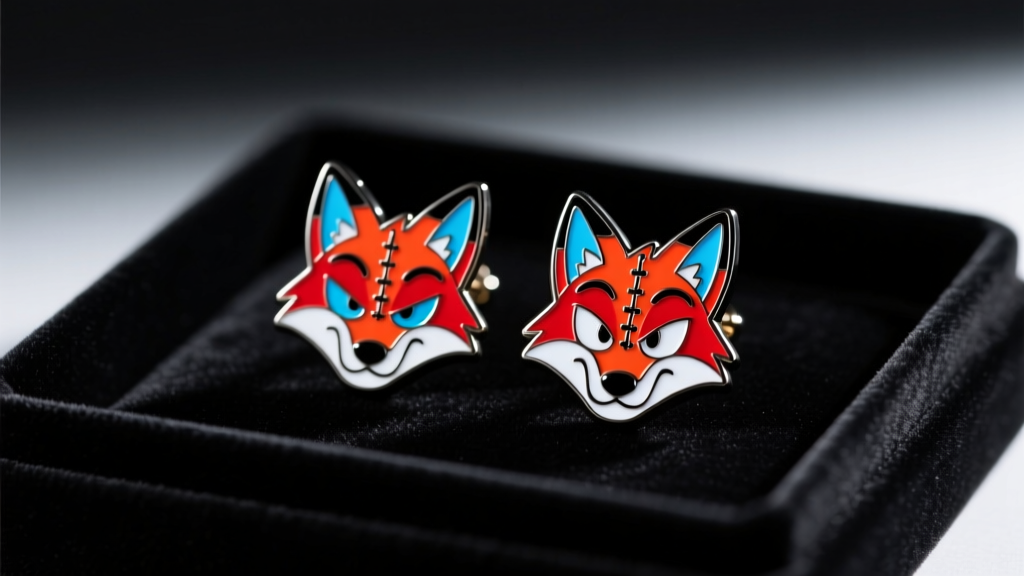
As the Five Nights at Freddy's franchise continues to expand with new game releases and cinematic sequels in 2026, the demand for high-quality fandom jewelry has never been higher. However, official mall-kiosk merchandise often relies on cheap zinc alloys that cause contact dermatitis, turn skin green, and lack intricate detail. If you want to wear your favorite animatronics safely and stylishly, learning how to craft your own FNAF earrings is the ultimate solution.
This comprehensive, step-by-step guide will teach you how to create durable, hyper-detailed FNAF stud earrings using shrink plastic, UV resin, and implant-grade titanium hardware. Whether you are cosplaying as a security guard or just want a subtle nod to the Pizza Plex for everyday wear, this DIY approach guarantees hypoallergenic safety and professional-grade results.
Why DIY FNAF Earrings Beat Official Merch
Most mass-produced fandom jewelry is cast from nickel-heavy alloys. When sweat and skin oils interact with these metals, they trigger allergic reactions. By making your own FNAF earrings, you control every variable: the metal grade, the post thickness (gauge), and the sealing method. Furthermore, shrink plastic allows for edge-to-edge, full-color printing that captures the exact pixel art or promotional renders of characters like Freddy, Bonnie, Chica, and Foxy, which is impossible with standard metal casting techniques.
Essential Materials and Hardware Specifications
Before you begin crafting, you must source the correct jewelry hardware. The Association of Professional Piercers (APP) strictly recommends specific metals for body jewelry to prevent irritation and rejection. Do not compromise on your earring posts.
Metal Grade and Gauge Comparison Chart
| Material Grade | Nickel Content | Best Use Case | Price Range (per pair) |
|---|---|---|---|
| Implant-Grade Titanium (ASTM F-136) | None (Biocompatible) | Fresh piercings, highly sensitive lobes, cartilage flats | $8 - $15 |
| Niobium | None (Hypoallergenic) | Healed lobes, anodized color matching | $10 - $18 |
| 316L Surgical Steel | Trace amounts (8-12%) | Fully healed, non-sensitive lobes only | $3 - $6 |
| Zinc Alloy / Brass (Avoid) | High / Variable | Display only (Not safe for skin contact) | $1 - $2 |
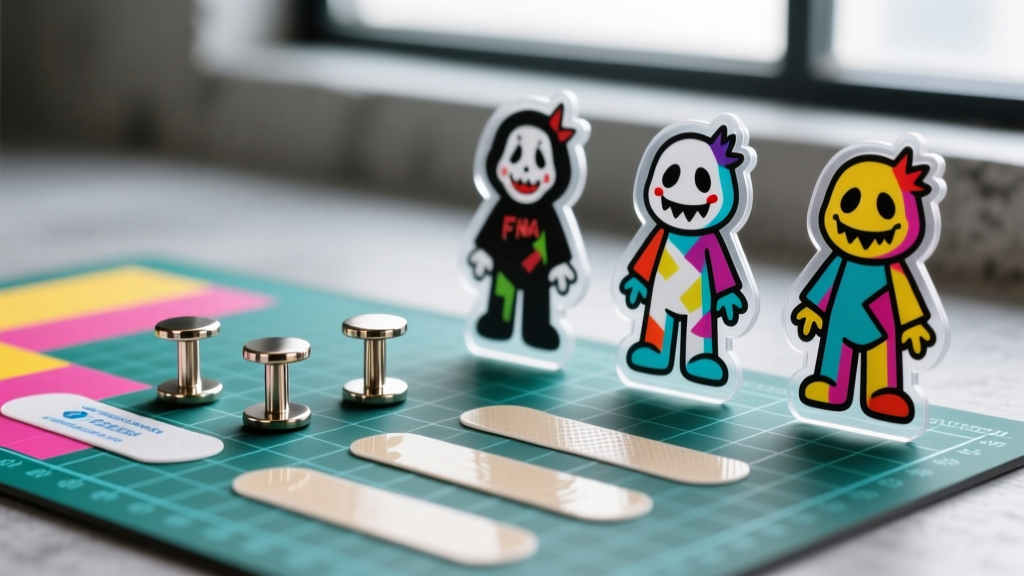
Gauge Sizing Guide: For standard lobe piercings, use 20G (0.81mm) or 18G (1.02mm) flat-back posts. If you are designing FNAF charms for cartilage flats (like the helix or tragus), opt for 16G (1.29mm) or 18G (1.02mm) labret posts with a 3mm or 4mm base pad to ensure the adhesive has enough surface area to bond securely.
Step-by-Step: Crafting Shrink Plastic FNAF Studs
Shrink plastic (polystyrene #6) is the secret weapon for DIY fandom jewelry. It shrinks to about one-third of its original size while thickening and intensifying the colors, resulting in a rigid, enamel-like charm. Always refer to the Shrinky Dinks Official Instructions for brand-specific temperature guidelines.
Step 1: Design and Print Preparation
Create a canvas in your preferred design software (Photoshop, Illustrator, or Procreate). Compile high-resolution FNAF character assets. Because the plastic will shrink to roughly 33% of its original size, you must scale your designs up by 300%. If you want a final charm that is 10mm wide, design it at 30mm. Use inkjet-compatible frosted shrink plastic. The frosted side must face up in your printer to absorb the ink properly. Allow the ink to dry completely for at least 30 minutes to prevent smudging.
Step 2: Precision Cutting and Sanding
Use sharp, micro-tip craft scissors to cut out your FNAF characters. Leave a tiny 1mm border of clear plastic around the design to prevent the ink from chipping at the edges. If the plastic is not pre-frosted, lightly scuff the entire surface with 400-grit sandpaper before printing to ensure ink adhesion.
Step 3: Baking and Flattening
Preheat your oven to 325°F (163°C). Line a baking sheet with parchment paper. Place your cutouts on the tray. When you put them in the oven, they will immediately curl and distort—do not panic. This is a normal chemical reaction. Within 1 to 3 minutes, they will flatten back out. Once they lay flat, wait 30 seconds, then remove them from the oven. Immediately press them flat using a heavy, heat-safe book covered in parchment paper. This ensures a perfectly flush surface for gluing your titanium posts later.
Sealing and Assembling with UV Resin
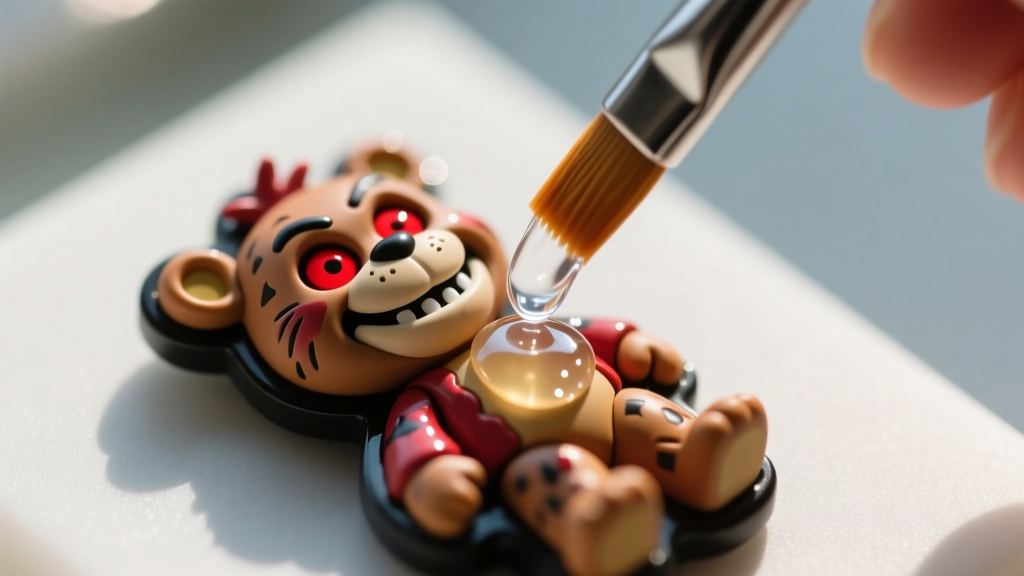
Shrink plastic is porous and ink can scratch or fade with friction. To give your FNAF earrings a professional, glass-like dome that mimics high-end enamel pins, you must seal them with UV resin.
- Select the Right Resin: Use a hard-type, non-yellowing UV resin formulated for jewelry (e.g., Sophie & Fred or Let's Resin). Soft resins will remain tacky.
- Application: Place your flattened FNAF charms on a silicone mat. Using a fine silicone brush, apply a thin, even layer of UV resin over the top of the charm. Use a toothpick to push the resin to the very edges, allowing surface tension to create a dome.
- Bubble Removal: Inspect the resin closely. If you see micro-bubbles, pop them with a heat gun on a low setting or a quick pass with a butane torch.
- Curing: Cure the charms under a 36W UV/LED nail lamp for 60 to 90 seconds. The surface should be completely hard and non-tacky.
Bonding the Hardware: Preventing Post Shearing
The most common failure mode in DIY earrings is "post shearing," where the metal post snaps off the charm due to poor adhesive bonding. To attach your titanium flat-back posts, use E6000 Jewelry Adhesive, not superglue (cyanoacrylate), which becomes brittle and shatters under pressure.
Pro-Tip for Mechanical Grip: Metal posts are manufactured with smooth, polished base pads. Adhesives struggle to grip smooth surfaces. Take a piece of 220-grit sandpaper and aggressively scuff the flat base pad of the titanium post until it is dull and scratched. Apply a micro-drop of E6000 to the scuffed pad, press it firmly into the center of the back of your FNAF charm, and use painter's tape to hold it in place. Crucial: E6000 requires a full 24 to 72 hours to fully off-gas and cure. Do not wear your earrings before this curing window is complete.
Cartilage vs. Lobe: Styling Your FNAF Ear Curation
Custom FNAF earrings aren't limited to standard lobe studs. By altering your hardware, you can integrate these charms into a curated ear project:
- Lobe Lobes (Standard): Use 20G or 18G flat-back labret posts. Pair a large 12mm Freddy Fazbear stud in the primary lobe piercing with a tiny 5mm golden star stud in the secondary lobe hole.
- Helix / Cartilage Flats: Use 16G flat-back posts with a wider 4mm base pad. A Foxy or Golden Freddy charm placed in a mid-helix piercing creates a striking, edgy look that mimics industrial aesthetics without the pain of an industrial bar.
- Ear Cuffs (Non-Pierced): If you want to wear a Puppet or Springtrap charm on your upper ear without a cartilage piercing, purchase 925 sterling silver adjustable ear cuffs. Simply use E6000 to bond the shrink plastic charm directly to the flat plate of the cuff.
Troubleshooting Common DIY Jewelry Failures
Even experienced crafters run into issues when working with mixed media. Here is how to troubleshoot the most common FNAF earring failures:
- Resin Yellowing: If your UV resin turns yellow after a few weeks, you are either using a cheap, non-UV-stabilized resin, or you are over-curing it. Stick to premium jewelry resins and strictly follow the lamp time recommendations.
- Warping Charms: If your shrink plastic curls and stays curled, your oven temperature is too low, or you removed them before they naturally flattened out. Always keep them in the oven until they lay completely flat on their own.
- Ink Smearing: If the ink smears when you apply the UV resin, the ink did not fully dry before sealing, or your printer deposited too much ink. Reduce your printer's "Ink Density" or "Photo Quality" settings slightly, and let the plastic rest for an hour before crafting.
Final Thoughts on Fandom Jewelry Safety
Creating your own FNAF earrings is a highly rewarding process that bridges the gap between fandom passion and fine jewelry standards. By prioritizing implant-grade titanium, precise gauge sizing, and proper resin sealing, you ensure that your love for Five Nights at Freddy's doesn't come at the cost of your skin health. Whether you are prepping for a 2026 convention or just upgrading your daily accessory rotation, these custom, hypoallergenic studs will outlast and outshine any mass-produced merchandise on the market.


