How to Pierce Your Ears at Home With Earrings: A Safety Guide
Learn how to pierce your ears at home with earrings safely. Our troubleshooting guide covers tool sterilization, gauge sizes, and botched piercing fixes.

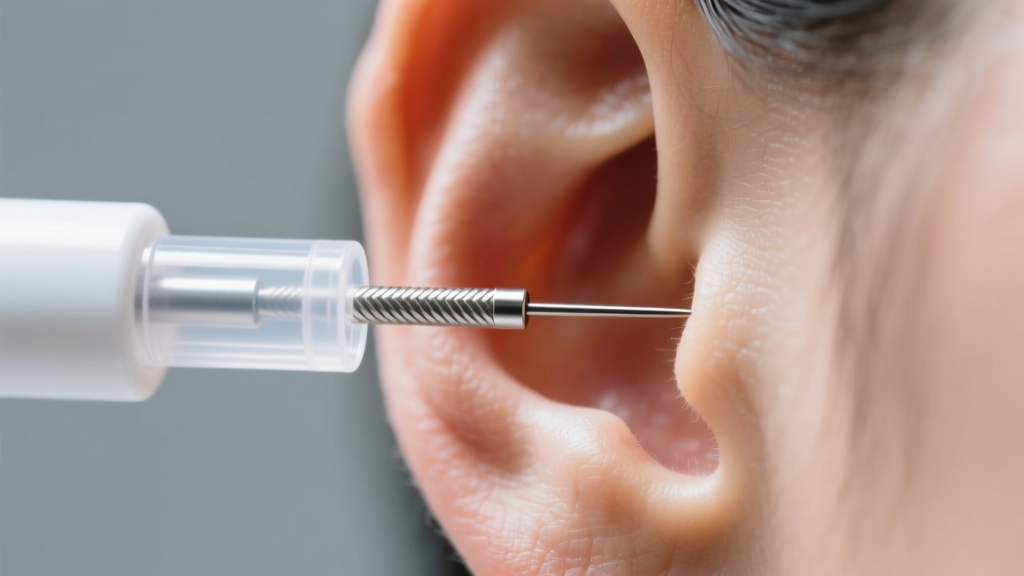
The Hard Truth About DIY Piercing With Standard Earrings
When users search for how to pierce your ears at home with earrings, they are often met with dangerous DIY tutorials involving ice cubes, sewing needles, and standard butterfly-back studs. As a domain expert in jewelry and body modification, I must address the severe anatomical risks associated with this approach. Standard fashion earrings are designed to be worn in pre-existing fistulas (the healed tunnel of skin), not to create them.
The primary issue lies in the physics of the jewelry post. A standard earring post is typically 20-gauge (0.8mm) or 22-gauge (0.6mm) and features a blunt, rounded tip. When forced through the earlobe, it does not slice the tissue cleanly; instead, it acts as a wedge, causing blunt force trauma that tears the skin fibers. This jagged micro-tearing drastically increases healing time, scar tissue formation, and the risk of bacterial ingress. Furthermore, the ubiquitous 'butterfly back' clasp is a notorious harbor for Staphylococcus aureus and Pseudomonas bacteria, as its tiny crevices trap dead skin cells, sebum, and moisture, creating a biofilm that resists basic cleaning.
If You Must: The Only Safe At-Home Piercing Protocol
If you are determined to perform a piercing outside of a professional studio, you must abandon the 'needle and ice' method entirely. Numbing the ear with ice restricts blood flow, which is essential for initial healing, and sewing needles are solid, meaning they displace tissue rather than removing a core of flesh. To safely pierce at home, you must use either a sterilized hollow piercing needle or a single-use, pre-sterilized piercing system.
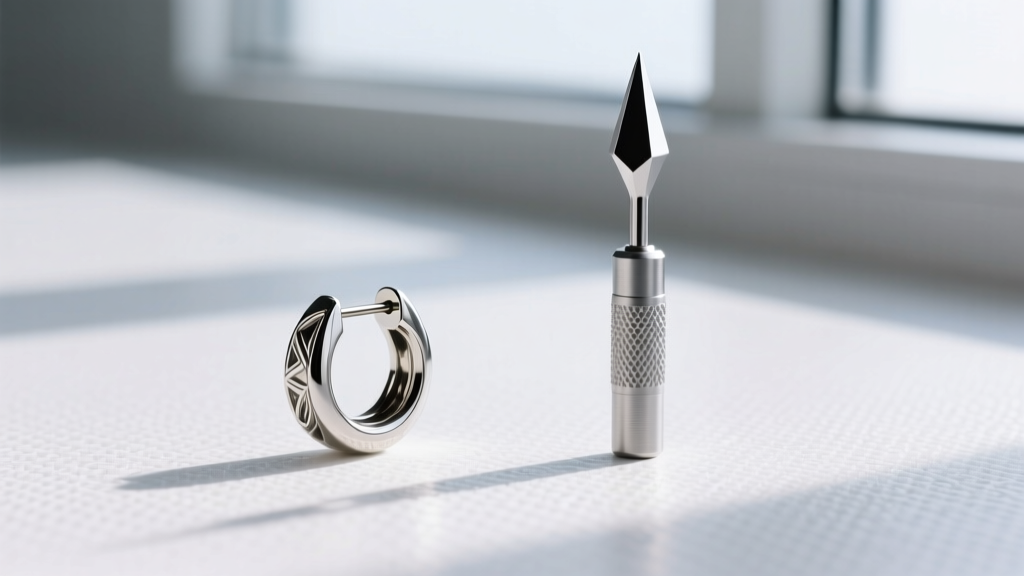
Step 1: Sourcing the Correct Tools
For earlobes, the gold standard is an 18-gauge (1.0mm) or 16-gauge (1.2mm) tri-bevel hollow piercing needle. The tri-bevel tip creates a razor-sharp, crescent-shaped cut that removes a microscopic core of tissue, leaving a clean, smooth fistula. You must also purchase implant-grade titanium (ASTM F-136) flat-back labret studs. Flat backs prevent the jewelry from being pushed into the skin during sleep and eliminate the bacterial traps of butterfly clasps.
Step 2: Sterilization and Marking
Even if your tools come in sterile packaging, your environment is not. Wash your hands with antimicrobial soap, wear disposable nitrile gloves, and wipe down your workspace with a 70% isopropyl alcohol solution. Use a sterile surgical marker to dot the exact entry and exit points on your earlobe while looking straight into a mirror. This ensures the angle is perfectly perpendicular to the tissue plane, preventing the dreaded 'crooked piercing' migration.
Step 3: The Piercing Action
Clamp the tissue gently with sterile receiving forceps to stabilize the lobe and protect the back of your neck. Align the hollow needle with your markings and push through in one smooth, continuous motion. Never twist or wiggle the needle. Immediately follow the needle's path with the tapered insertion pin of your titanium labret, sliding the jewelry directly into the fresh fistula before the tissue can begin to swell.
Troubleshooting Common At-Home Piercing Disasters
Even with careful preparation, DIY piercings can go wrong. Here is how to troubleshoot the most frequent complications without causing permanent damage.
The 'Embedded Butterfly Back' Emergency
If you ignored the advice above and used a standard earring, post-trauma swelling can easily engulf the small butterfly back, embedding it inside your earlobe. Do not dig at it with unsterilized tweezers or sewing needles. This will introduce severe pathogens and cause massive tissue tearing. Instead, apply a warm sterile saline compress for five minutes to encourage the swelling to subside. If the back remains hidden beneath the skin, you must visit an urgent care clinic or a professional piercer who can use a sterile scalpel or taper to safely extricate the jewelry.
Dealing with the 'Cheese Cutter' Migration Effect
If you used a 20-gauge or thinner wire, the jewelry may begin to slowly slice through the bottom of your earlobe over time, a phenomenon known as the cheese cutter effect. This occurs because the surface area of the thin wire is too small to distribute the weight of the earring, causing continuous pressure necrosis. If you notice the piercing hole elongating into a slit, remove the jewelry immediately, allow the lobe to heal, and have it re-pierced at a 14-gauge or 12-gauge thickness by a professional to ensure structural integrity.
Spotting True Infection vs. Normal Healing Lymph
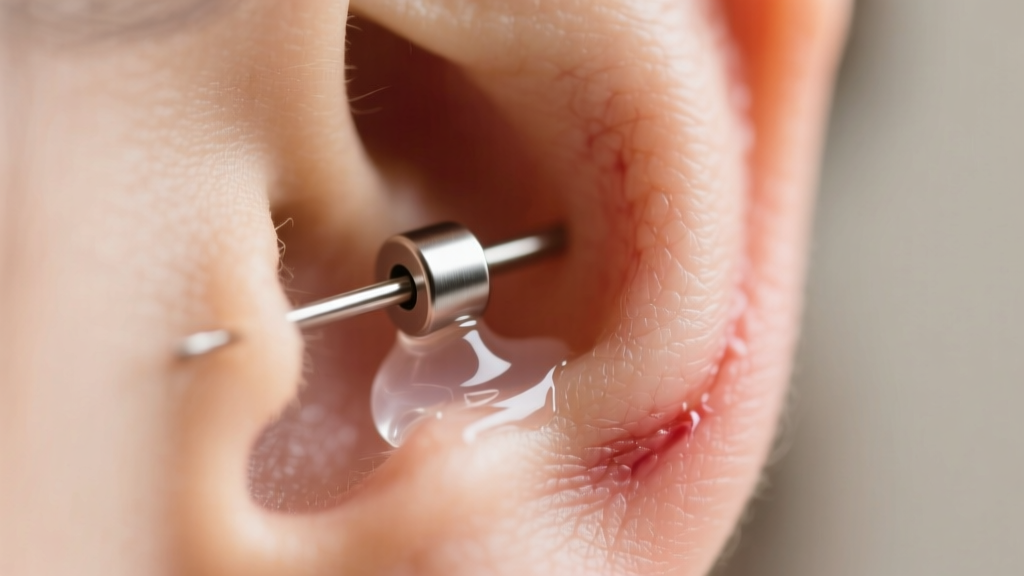
Panic often sets in when a new piercing secretes fluid, but most DIYers confuse normal healing with infection. Clear or pale yellowish fluid that dries into hard, white 'crusties' is lymph—a natural byproduct of your body's healing process. Simply spray it with sterile saline and gently wipe it away with non-woven gauze.
A true infection, however, presents with thick, opaque green or dark yellow pus, accompanied by radiating heat, throbbing pain, and red streaks extending from the site. According to the Mayo Clinic's guidelines on piercing complications, if you suspect a bacterial infection, you should see a doctor immediately. Never remove the jewelry if it is infected. Removing the post allows the surface holes to close, trapping the abscess inside the lobe and potentially requiring surgical drainage.
Granulomas vs. Keloids
If a red, fleshy bump forms next to the hole, it is usually a pyogenic granuloma or a hypertrophic scar caused by friction, sleeping on the piercing, or improper angles. These can be treated with warm saline soaks and by downsizing the jewelry post to eliminate movement. True keloids, which are genetic collagen overgrowths that extend far beyond the original wound site, require dermatological intervention such as corticosteroid injections.
Material & Gauge Comparison Chart for Initial Piercings
Choosing the correct metal is non-negotiable. The Association of Professional Piercers (APP) strictly regulates which materials are safe for open wounds. Below is a breakdown of what to use—and what to avoid—when selecting your initial jewelry.
| Material | Nickel Content | Safe for Fresh Piercing? | Average Price Range |
|---|---|---|---|
| Implant-Grade Titanium (ASTM F-136) | 0% (Nickel-Free) | Yes (Highly Recommended) | $25 - $60+ |
| Solid 14k or 18k Gold (Alloyed) | Varies (Must be Nickel-Free) | Yes (If high quality) | $80 - $200+ |
| Niobium | 0% (Highly Biocompatible) | Yes | $20 - $45 |
| Surgical Steel (316L) | 8% - 10% | No (Risk of Contact Dermatitis) | $10 - $25 |
| Sterling Silver (925) | Usually contains Copper/Nickel | No (Oxidizes in open wounds) | $15 - $40 |
Aftercare and When to See a Professional
Proper aftercare is where most at-home piercings fail. The American Academy of Dermatology (AAD) advises against using harsh chemicals like hydrogen peroxide, rubbing alcohol, or antibiotic ointments on fresh piercings. These substances destroy newly forming, fragile epithelial cells and suffocate the wound.
Instead, rely on a sterile, preservative-free 0.9% sodium chloride wound wash. Spray the front and back of the piercing twice daily. Do not twist, turn, or rotate the jewelry; the old adage of 'turning the earring so it doesn't get stuck' is a myth that actually introduces surface bacteria deep into the healing fistula. Earlobes typically take 8 to 12 weeks to heal on the surface, but the internal fistula can take up to 6 months to fully mature. If you experience persistent swelling, jewelry rejection, or severe pain after the initial 48-hour trauma window, abandon the DIY approach and consult a licensed professional piercer or a dermatologist immediately.


