How to Make DIY Feather Earrings: A Jeweler's Step-by-Step Guide
Learn how to craft stunning DIY feather earrings using hypoallergenic titanium hardware. Follow our expert step-by-step jeweler's guide.

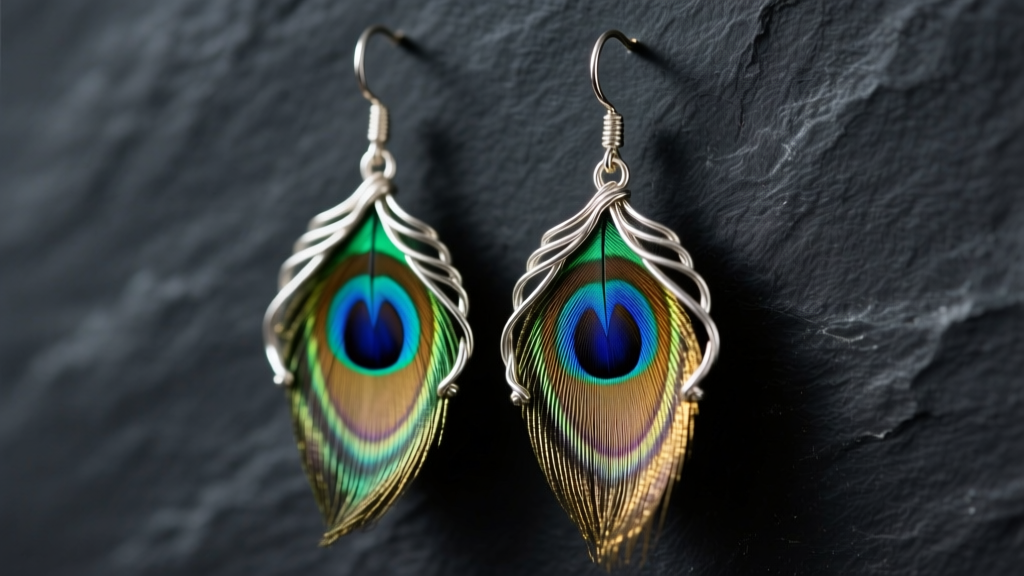
Crafting your own jewelry is a deeply rewarding pursuit, but working with organic materials requires a delicate balance of structural engineering and aesthetic finesse. When it comes to making DIY feather earrings, the difference between a craft-fair novelty and a high-end, boutique-quality accessory lies entirely in the hardware selection and wire-wrapping technique. Feathers are incredibly lightweight, yet their quills are brittle and prone to splitting if subjected to improper mechanical stress. In this comprehensive guide, we will bypass the basic glue-and-crimp methods and explore a professional jeweler’s approach to creating durable, hypoallergenic, and visually striking feather drop earrings.
The Metallurgy of Ear Wires: Why Hardware Quality Matters
Before cutting a single piece of wire, we must address the most critical point of failure in handmade earrings: the ear wire. The human earlobe is highly susceptible to contact dermatitis. According to the Mayo Clinic, nickel allergy is one of the most common causes of allergic contact dermatitis, affecting up to 36% of women in the United States.
Many beginner kits supply "surgical steel" ear wires. While 316L stainless steel is technically surgical grade, it still contains roughly 8-12% nickel, which can leach when exposed to the slightly acidic pH of human skin. For premium DIY feather earrings that you can confidently sell or gift, upgrade to ASTM F136 Grade 23 Titanium (Ti6Al4V ELI) or Niobium. These metals are entirely nickel-free, highly resistant to corrosion, and possess the perfect tensile strength to hold their shape without snapping.
Essential Materials and Tools Checklist
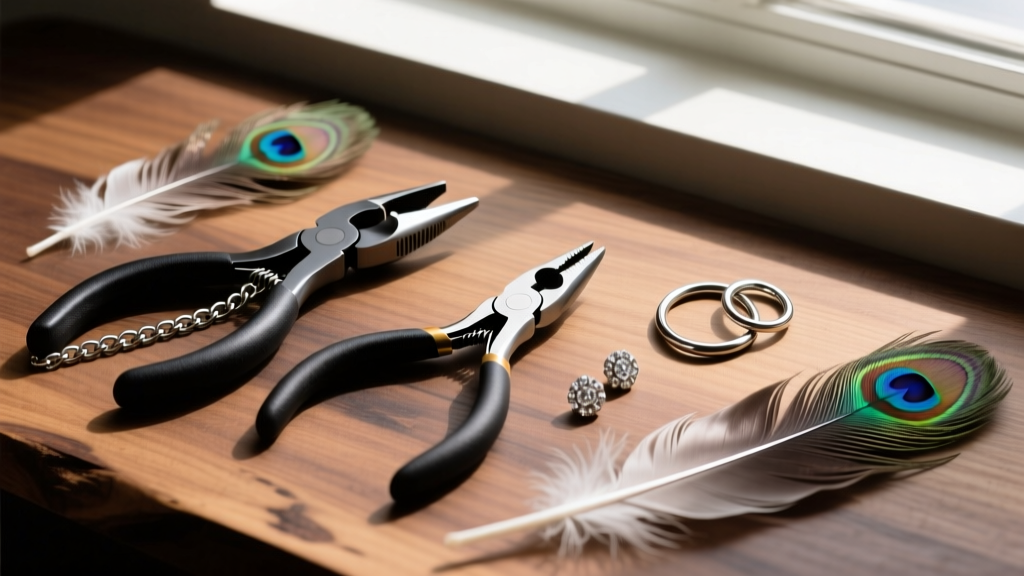
To achieve a professional finish, precision tools are non-negotiable. Standard hardware store pliers will mar your wire and crush the delicate quill of the feather. Below is the exact bill of materials required for this project.
| Item | Specification / Grade | Purpose | Est. Cost |
|---|---|---|---|
| Ear Wires | 20-gauge, ASTM F136 Titanium French Hooks | Hypoallergenic base for the earlobe | $8.00 / pair |
| Wrapping Wire | 24-gauge or 26-gauge Dead-Soft Sterling Silver | Securing the quill without splitting it | $12.00 / spool |
| Jump Rings | 4mm OD, 20-gauge, Snug-Fit | Connecting the feather bail to the ear wire | $5.00 / pack |
| Feathers | Ethically molted Guinea Fowl or Pheasant | The primary focal drop element | $15.00 / pack |
| Pliers | Nylon Jaw Pliers & Chain-Nose (Flat) | Gripping wire without leaving tool marks | $22.00 / set |
| Cutters | Flush Cutters (Micro-shear) | Creating perfectly flat wire ends | $18.00 |
Step-by-Step Guide to Assembling Your DIY Feather Earrings
Step 1: Prepping and Sanitizing the Quill
Feathers shed naturally, but they still carry environmental dust and oils. Wipe the upper two inches of the quill (the calamus) with a lint-free swab dipped in 91% isopropyl alcohol. Do not soak the feather, as excessive moisture can weaken the keratin structure. Once dry, inspect the tip of the quill. If it is jagged or split, use your flush cutters to make a single, clean, 45-degree bevel cut at the very top. This angled cut will later serve as a guide for your wire wraps, preventing the wire from sliding off the smooth keratin surface.
Step 2: The Quill Bind (Wire Wrapping)
This is where understanding wire temper becomes crucial. As detailed in metallurgical guides like those on Ganoksin, "dead-soft" wire has been fully annealed, meaning it will bend easily and conform to organic shapes without springing back or snapping.
- Cut a 6-inch length of 24-gauge dead-soft sterling silver wire.
- Leaving a 1.5-inch tail, place the wire against the quill about half an inch from the top bevel cut.
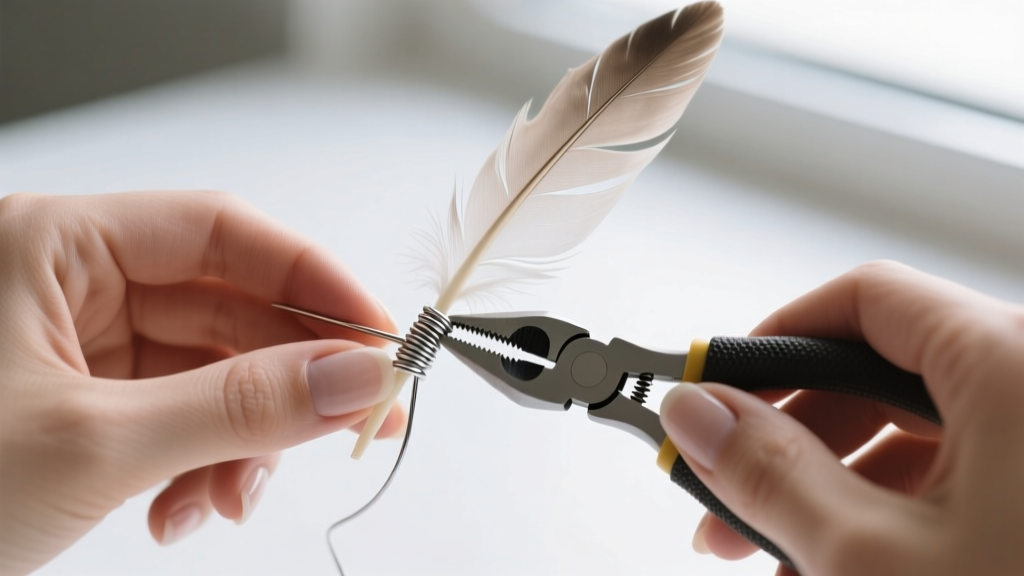
- Using your fingers (not pliers, to avoid crushing the quill), begin wrapping the long end of the wire tightly down the shaft. The 45-degree bevel cut will act as a physical stopper, locking the top wrap in place.
- Make exactly 6 to 8 flush wraps. The goal is to create a structural "cage" that distributes tension evenly across the quill.
- Once wrapped, use your chain-nose pliers to press the tail wire flat against the quill, then trim the excess with flush cutters. Burnish the cut end down with a burnishing tool or the smooth jaw of your nylon pliers so it won't catch on hair or clothing.
Step 3: Forming the Bail and Wrapped Loop
Instead of simply tying a loop, we will create a structurally sound wrapped loop above the quill bind to attach the jump ring.
- Take the remaining long tail of your wrapping wire and bend it upward at a 90-degree angle directly above your quill wraps.
- Using your round-nose pliers, grip the wire and roll it backward to form a perfect, circular loop.
- Wrap the remaining tail wire down the "neck" of the loop (the straight wire between the quill and the loop) two or three times.
- Trim the excess wire and tuck the sharp end in tightly with chain-nose pliers. You now have a secure, professional bail attached to the feather.
Step 4: Final Assembly
Open a 4mm, 20-gauge jump ring using the proper lateral twisting motion—never pull the ring apart outward, as this distorts the circle and weakens the metal. Slide the jump ring through the bail loop you just created, then slide it through the eyelet of your titanium French hook ear wire. Twist the jump ring closed until you hear and feel a subtle "click" as the two ends meet perfectly flush.
Pro-Troubleshooting: Common Failure Modes and Fixes
Even experienced jewelers encounter issues when marrying rigid metals with organic materials. Here is how to troubleshoot the most common problems when crafting DIY feather earrings:
The Quill Splitting During Wrapping: This happens when using half-hard wire or applying too much lateral pressure with pliers. Switch to dead-soft wire and use your fingertips to guide the wraps. The keratin of a molted feather is drier and more brittle than a plucked one.
- Asymmetry in Drop Length: Feathers are naturally asymmetrical. To ensure both earrings hang at the exact same visual length, measure from the bottom of the ear wire eyelet to the visual center of mass of the feather, rather than measuring the rigid quill.
- Wire Unraveling Over Time: If your tail wires keep popping out and catching on sweaters, apply a microscopic dot of jeweler's epoxy (like G-S Hypo Cement) to the final tuck. Avoid cyanoacrylate (Super Glue), as it dries brittle, turns white, and will degrade the keratin of the quill over time.
- Feather Curling or Frizzing: If the barbs of the feather look messy, gently run the feather between your thumb and index finger from the base to the tip. The natural oils in your skin, combined with the heat and friction, will realign the microscopic hooks of the feather barbs, restoring a sleek silhouette.
Styling and Care Instructions for Handmade Feather Drops
Because these earrings feature organic elements, they require specific care to maintain their structural integrity and visual appeal. Advise your clients (or yourself) to store DIY feather earrings flat in a shallow, lined jewelry box where the feathers will not be crushed by heavier pieces. Never store them in a humid environment like a bathroom; excess moisture will cause the quill to soften and eventually bend under the weight of the wire wraps.
When styling, these lightweight, elongated drops are ideal for balancing round or square face shapes, as the vertical line draws the eye downward, elongating the jawline and neck. Because the titanium hardware is entirely hypoallergenic and the sterling silver wrapping is kept away from the piercing site, these earrings can be worn comfortably from morning meetings to evening events without triggering metal sensitivities. By prioritizing premium materials and precise wire-wrapping mechanics, you elevate a simple craft project into a masterclass of wearable, artisanal jewelry design.