How to Make Feather Earrings: 2026 Occasion Gift Guide
Learn how to make feather earrings tailored for any recipient. Our 2026 gift guide matches materials, gauge sizes, and styles to occasions.

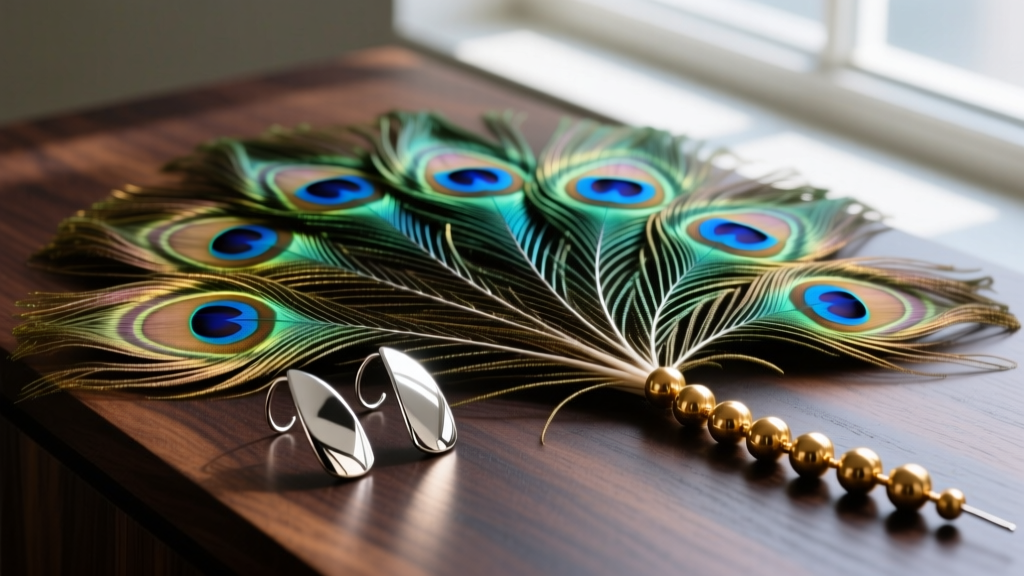
The Art of Gifting Handmade Feather Earrings
In the landscape of 2026 jewelry trends, the shift toward hyper-personalized, artisan-crafted gifts has never been more pronounced. When you learn how to make feather earrings, you are not just assembling findings; you are curating a wearable piece of nature. Feather earrings bridge the gap between bohemian festival wear and elegant, avant-garde evening accessories. As a gift, they offer a unique opportunity to match the recipient's personality, aesthetic, and specific occasion. However, gifting handmade jewelry requires a meticulous approach to material grading, hypoallergenic safety, and structural integrity. This guide will walk you through sourcing, assembly, and occasion-matching to ensure your handmade feather earrings are both beautiful and professionally constructed.
Sourcing Ethical Feathers and Hypoallergenic Findings
The foundation of a high-end DIY earring lies in ethical sourcing and skin-safe metals. The modern jewelry consumer is highly educated on sustainability, making naturally molted, cruelty-free feathers an absolute necessity for gifting. Look for suppliers who explicitly state their feathers are gathered during natural molting cycles from domesticated flocks, such as guinea fowl, pheasants, and peacocks.
According to avian welfare guidelines, naturally molted feathers possess intact quills and superior structural durability compared to plucked alternatives, which often feature micro-fractures at the calamus (base).
Equally critical is the choice of ear wires. When gifting to individuals with unknown sensitivities, avoid standard 'surgical steel,' which often contains nickel and copper alloys that cause contact dermatitis. Instead, source implant-grade titanium (ASTM F136) or pure niobium ear wires. These metals are entirely biocompatible and represent the gold standard for sensitive ears. For a premium gift upgrade, consider Argentium silver (960 purity), which offers superior tarnish resistance compared to traditional sterling silver (925).
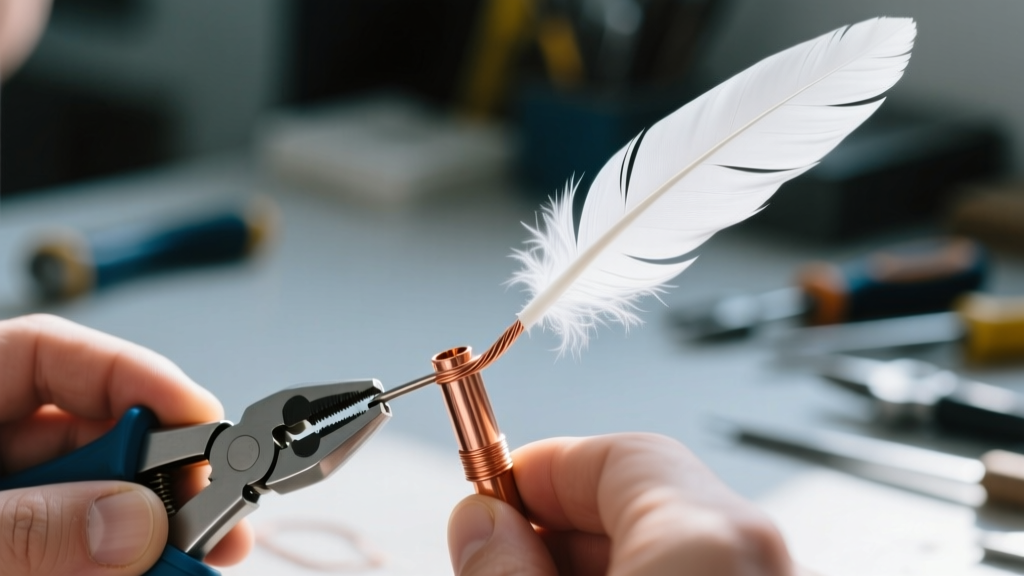
Essential Tools and Material Specifications
Before beginning assembly, gather the following professional-grade tools to ensure your earrings can withstand daily wear:
- Wire: 20-gauge (0.81mm) dead-soft niobium or titanium wire for standard dangles; 18-gauge (1.02mm) for heavy peacock plumes.
- Crimp Tubes: 2mm x 2mm copper or sterling silver crimp tubes (avoid crimp beads, which can crack under pressure).
- Micro-Crimper Pliers: Essential for folding the tube into a rounded, secure bead shape.
- Chain-Nose Pliers: For closing jump rings flush without marring the metal.
- Cyanoacrylate Adhesive: A precision-tip super glue for sealing split quills.
Step-by-Step: How to Make Feather Earrings (Core Techniques)
There are two primary methods for attaching feathers to jewelry findings: wire wrapping and crimping. For a sleek, modern look suitable for gifting, the crimp-tube method offers the cleanest profile.
1. Prepping the Quill
Examine the calamus (the hollow base of the quill). If it is split or crushed, apply a microscopic drop of cyanoacrylate adhesive and let it cure for 60 seconds. This prevents the quill from snapping when pressure is applied during crimping.
2. Threading and Sizing
Cut a 3-inch piece of 20-gauge wire. Thread a 2mm crimp tube onto the wire, followed by the feather quill. Pass the wire back up through the crimp tube, creating a small loop at the top. Leave enough space in the loop to accommodate a 4mm or 5mm jump ring. Pull the wire taut, ensuring the feather hangs perfectly straight.
3. Securing the Crimp
Using your micro-crimper, place the crimp tube in the first notch and squeeze firmly to create a U-shape. Move the tube to the second notch and squeeze again to fold the U into a tight, rounded bead. Trim the excess wire tail flush with the crimp using precision flush cutters. Finally, attach the secured feather loop to your hypoallergenic ear wire using a soldered jump ring to prevent accidental unrolling.
Matching Earring Styles to the Recipient’s Occasion
The true value of learning how to make feather earrings lies in your ability to customize the design for the recipient's lifestyle. Use this 2026 occasion-matching matrix to select the right combination of plumage and metal.
| Occasion / Vibe | Recommended Feather Type | Best Metal Finding | Design Style |
|---|---|---|---|
| Music Festivals / Boho | Dyed Hackle or Rooster Saddles | Antiqued Brass or Copper | Long, multi-layered dangles with seed bead accents |
| Boho-Chic Wedding | White Guinea Fowl or Swan | Argentium Silver or White Gold | Minimalist single-plume drops with pearl caps |
| Everyday Office Wear | Small Pheasant Tippet | Implant-Grade Titanium | Short, structured studs or subtle 1-inch drops |
| Avant-Garde Evening | Iridescent Peacock Herl | Niobium (Anodized Purple/Green) | Asymmetrical geometric wireframes with clustered herl |
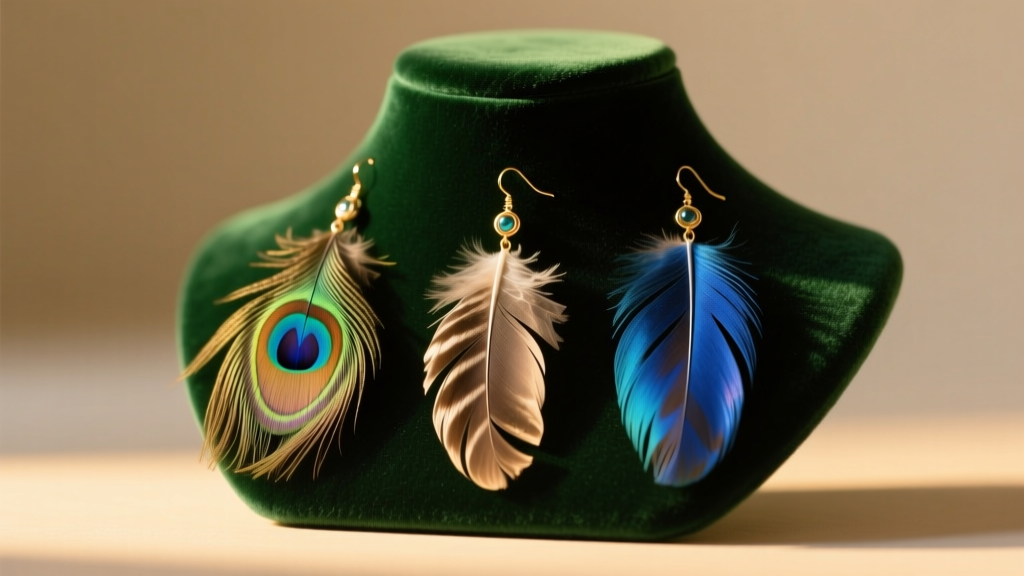
Troubleshooting Common DIY Failure Modes
Even experienced jewelers encounter structural failures when working with organic materials. Here is how to troubleshoot the most common issues to ensure your gift lasts for years.
The Jump Ring Splitting
Feathers act as tiny sails; a gust of wind can catch a long dangle and pull the jump ring open. Solution: Never use standard open jump rings for the primary connection point. Always use soldered jump rings or micro split rings (like those used for keys, but scaled down to 3mm or 4mm) to guarantee the feather will never detach from the ear wire.
Quill Slippage Inside the Crimp
Smooth, polished quills can sometimes slip out of a metal crimp tube over time due to friction and movement. Solution: Before threading the quill, lightly score the outside of the calamus with fine-grit sandpaper (600-grit) to create a textured surface. Alternatively, use a crimp tube with an interior nylon lining, available from specialized suppliers like Fire Mountain Gems.
Metal Tarnish Transferring to Feathers
If you use copper or brass findings, oxidation can transfer to light-colored feathers, staining them green or black. Solution: Coat your base metal findings with a micro-crystalline wax sealant (such as Renaissance Wax) before assembly, or stick exclusively to titanium and niobium for light plumage.
Packaging and Presentation for Maximum Impact
The presentation of your handmade gift elevates it from a simple craft to a luxury item. Feather earrings are highly susceptible to crushing and moisture damage. Avoid standard cardboard jewelry boxes with tight elastic bands, which will bend the barbs of the feather.
Instead, invest in deep-set, hinged presentation boxes with a slotted foam insert. The slot should hold the ear wire securely while allowing the feather to float freely in the negative space. Include a small silica gel desiccant packet to control humidity, and a care card instructing the recipient to gently steam the feathers (using a garment steamer from a distance of 12 inches) if they become compressed during storage. For a finishing touch, source eco-friendly, unbleached cotton pouches stamped with the specific bird species and metal grade used, reinforcing the artisanal, ethical nature of your 2026 gift.
By mastering these techniques and material specifications, you transform the simple query of how to make feather earrings into a sophisticated, professional jewelry-making discipline. Whether you are crafting a delicate guinea fowl drop for a bride or a vibrant hackle dangle for a festival-goer, your attention to hypoallergenic safety, structural integrity, and ethical sourcing will ensure your handmade gift is cherished for years to come. For further education on metal grades and professional jewelry supplies, consult industry standards at Rio Grande.


