Mastering Free Crochet Pattern Earrings: A Step-by-Step Guide
Learn to craft stunning jewelry with our free crochet pattern earrings guide. Master wire wrapping, yarn selection, and hypoallergenic hardware.

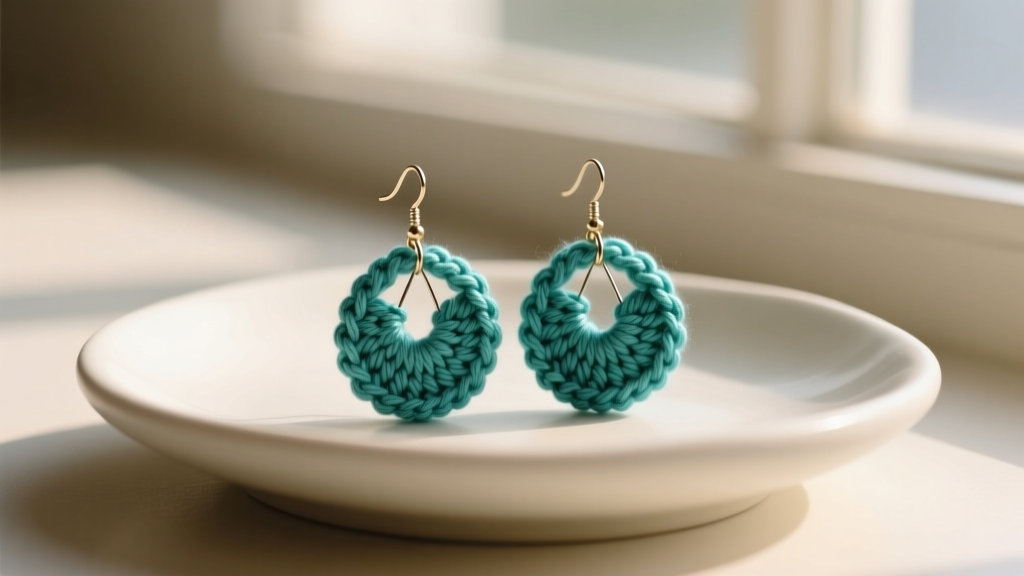
The intersection of textile arts and fine jewelry has created a massive surge in demand for handmade, lightweight accessories. If you have been searching for a reliable free crochet pattern earrings tutorial, you likely already know that simply following a standard doily pattern and attaching an ear wire results in a flimsy, drooping mess. True crochet jewelry requires a fundamental understanding of structural engineering, material science, and hypoallergenic hardware integration.
In this comprehensive guide, we will move beyond basic craft-blog instructions. We will explore the exact material grades, wire gauges, and tension techniques required to transform delicate threads into professional-grade, durable earrings that hold their shape and remain safe for sensitive ears.
The Anatomy of a Professional Crochet Earring
Before picking up your hook, you must understand the three core components that dictate the success of your piece: the yarn, the internal armature, and the sealing agent. According to the Craft Yarn Council's Yarn Weight System, selecting the correct thread weight is paramount for achieving the necessary micro-tension.
| Component | Recommended Specification | Purpose & Function |
|---|---|---|
| Yarn / Thread | Size 10 Mercerized Cotton | Provides high sheen, resists fraying, and holds stiffener well. |
| Internal Armature | 28-Gauge Dead-Soft Copper Wire | Acts as a hidden skeleton to prevent the motif from collapsing. |
| Crochet Hook | 1.5mm to 1.75mm Steel Hook | Ensures tight, dense stitches that completely conceal the wire core. |
| Ear Wire | Niobium or Grade 23 Titanium | Guarantees 100% hypoallergenic wear for sensitive piercings. |
| Jump Rings | 4mm or 5mm, 20-Gauge | Provides a secure, heavy-duty connection point between yarn and metal. |
Step 1: Selecting Yarn and the Hidden Wire Core
The most common failure point in beginner crochet jewelry is the use of standard acrylic yarn or wool. These fibers are highly elastic and lack the structural memory required for free-standing motifs. Instead, you must use mercerized cotton thread (such as Aunt Lydia's Fashion Crochet Thread or Lizbeth). The mercerization process treats the cotton with sodium hydroxide, swelling the fibers and locking in a permanent, jewel-like luster that mimics silk.
The Wire Core Secret
To ensure your free crochet pattern earrings maintain their geometric or floral shapes, you must crochet over a wire core. Cut a 12-inch length of 28-gauge dead-soft copper wire. As you execute your foundation chain, lay the wire along the top edge of your working thread and crochet your chain stitches directly over it, encapsulating the wire inside the yarn.
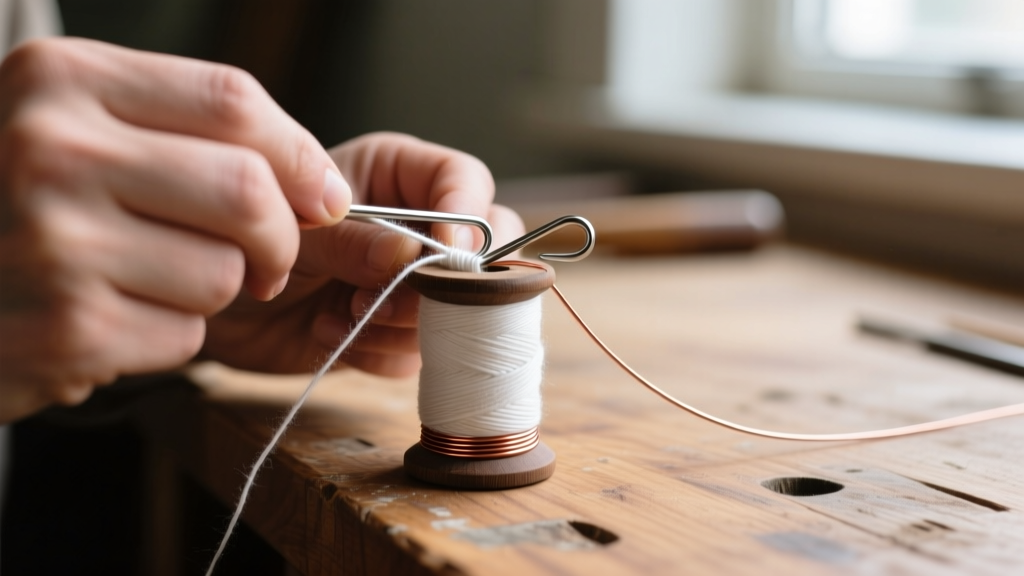
This technique, detailed in advanced metal-weaving resources like Rio Grande's Metal Guide, allows you to bend and shape the finished crochet piece just like a wire frame, but with a soft, textile exterior. Because copper is dead-soft, it yields easily to finger pressure but holds its bent shape indefinitely once the piece is sealed.
Step 2: Executing the Foundation and Tension Control
Tension in crochet jewelry is vastly different from tension in garment making. In apparel, a relaxed drape is desirable. In jewelry, a relaxed drape is a catastrophic failure. Your stitches must be incredibly tight—almost to the point of being difficult to work.
- The Grip: Hold the working thread tightly against your index finger, creating maximum drag.
- The Hook: Use a steel hook, never aluminum or ergonomic plastic. Steel provides the necessary friction to grip the slick mercerized cotton.
- The Gauge: Aim for approximately 8 to 10 single crochet stitches per centimeter. If you can easily see the wire core through the stitches, your tension is too loose.
When working complex motifs like mandalas or snowflakes, use a stitch marker to denote the beginning of each round. Because the stitches are so small, losing your place can result in asymmetrical lobes that will be glaringly obvious when worn on the ears.
Step 3: Integrating Hypoallergenic Hardware
Once your motif is crocheted, tied off, and woven in, you must attach the hardware. Never use a standard craft-store ear wire. Most inexpensive 'surgical steel' contains nickel, which causes contact dermatitis in up to 15% of the population. For professional-grade earrings, source Niobium or Grade 23 Titanium (Ti-6Al-4V ELI) ear wires.
Jump Ring Mechanics
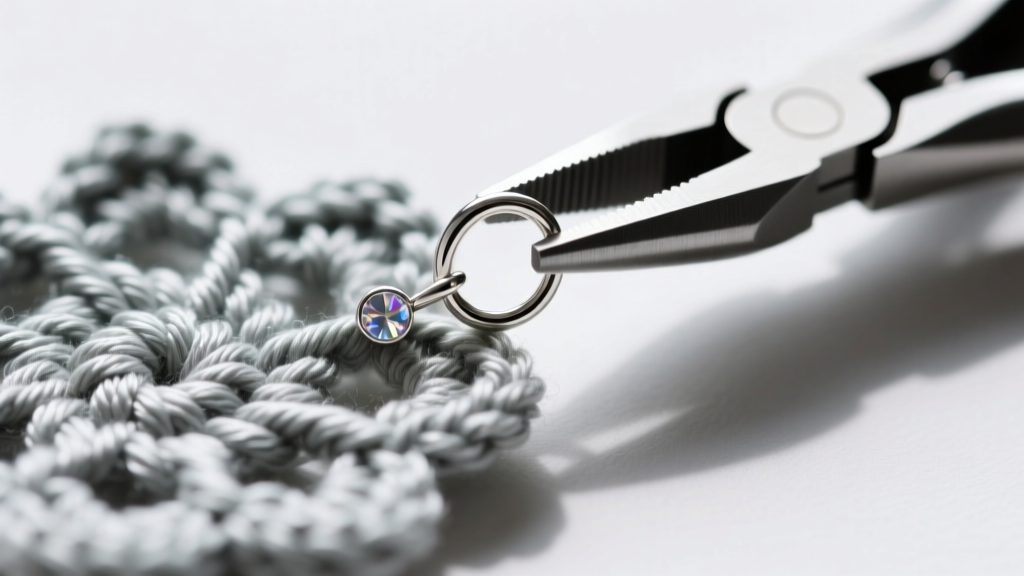
Do not attempt to hook the ear wire directly through the crochet stitches; the friction of the metal will eventually saw through the cotton thread, causing the earring to snap and fall. Instead, use a 20-gauge, 4mm jump ring.
Thread a fine sewing needle with a matching color of polyester thread, and stitch a tiny, tight loop of thread at the top center of your crochet motif. Pass the jump ring through this reinforced thread loop, and then attach your ear wire to the jump ring. Always use two pairs of flat-nose pliers to open and close jump rings using a twisting motion, never a pulling motion, to maintain the perfect circular shape and prevent the seam from catching on the yarn.
Step 4: Sealing and Stiffening for Longevity
Crochet is inherently porous, meaning it will absorb skin oils, humidity, and environmental pollutants. To protect your free crochet pattern earrings, they must be sealed. Avoid jewelry resins (like UV resin or epoxy), as they tend to yellow over time when exposed to UV light and will give the cotton a heavy, plasticized appearance.
The gold standard for sealing cotton crochet jewelry is a water-based fabric stiffener, such as Aleene's Fabric Stiffener, applied in two thin, diluted coats.
The Application Process:
- Dilute the fabric stiffener with water in a 2:1 ratio (two parts stiffener, one part water).
- Use a soft-bristled silicone makeup brush to gently dab the mixture into the stitches, ensuring you do not disturb the shape.
- Pin the motif flat onto a blocking board covered in wax paper to prevent sticking.
- Allow 24 hours for a complete cure. The result is a stiff, water-resistant motif that retains the visual texture of the yarn.
Troubleshooting Common Crochet Earring Failures
Even experienced crafters encounter structural issues when scaling down textile patterns for jewelry. Here is how to diagnose and fix the most common problems:
- Problem: The motif warps or curls at the edges after drying.
Fix: Your blocking process was insufficient. Wet the piece with distilled water, pin it aggressively flat to a corkboard, and apply a second, heavier coat of stiffener. Ensure you are using rust-proof T-pins. - Problem: The wire core is visible through the yarn.
Fix: You are using a hook that is too large for your thread. Drop down to a 1.25mm steel hook and focus on pulling your yarn-overs tighter against the hook shaft. - Problem: The jump ring tears through the top of the crochet piece.
Fix: You skipped the reinforcement step. Apply a tiny drop of flexible jewelry adhesive (like E6000 Fabri-Fuse) to the top edge of the crochet motif, let it cure to create a hardened anchor point, and then drill a micro-hole for your jump ring.
Final Thoughts on Textile Jewelry Design
Creating high-quality crochet earrings is an exercise in precision. By treating your yarn like a fine metal and utilizing internal wire armatures, you elevate a simple craft into a durable, wearable art form. Mastering these structural techniques ensures that your pieces will not only look stunning on the ear but will withstand the rigors of daily wear, setting your handmade jewelry apart from mass-produced alternatives.


