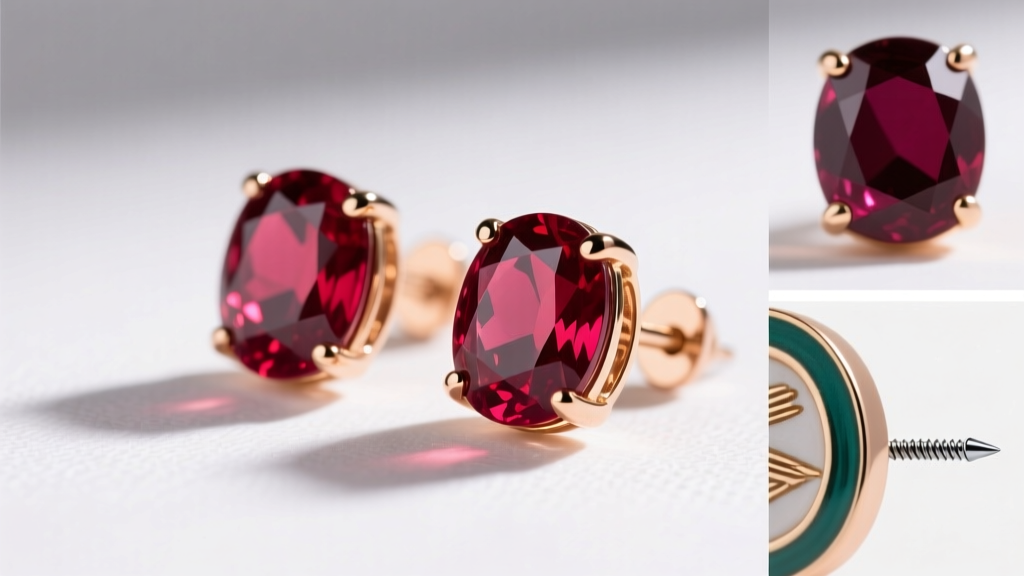
How to Make Your Own Earrings: Hypoallergenic Wire & Stud Guide
Learn how to make your own earrings using hypoallergenic titanium and niobium. Master wire hoops and stud fabrication with expert jeweler techniques.

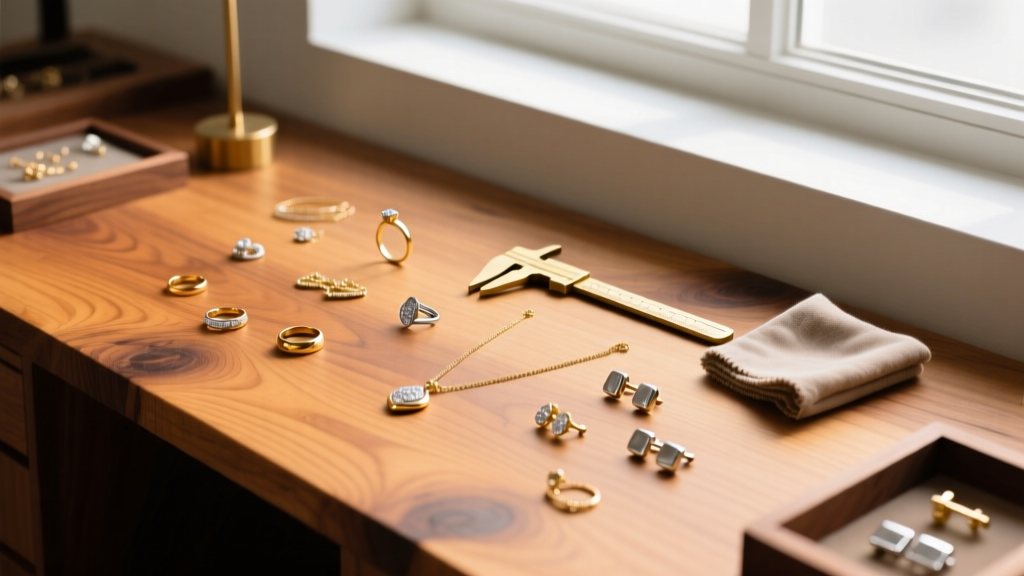
Learning how to make your own earrings is a rewarding way to express your personal style, but when it comes to sensitive ears, commercial jewelry often falls short. Many mass-produced earrings rely on nickel-heavy alloys or thin gold plating that flakes and causes contact dermatitis. By mastering the fundamentals of metalsmithing and wire-wrapping, you can craft custom, hypoallergenic pieces that rival high-end boutique pricing. This guide will walk you through fabricating two staple designs: continuous titanium wire hoops and anodized niobium bezel studs, using professional-grade techniques.
Why Focus on Hypoallergenic Metals?
The secret to comfortable DIY earrings lies in material selection. According to the Association of Professional Piercers (APP), the safest metals for prolonged skin contact are implant-grade titanium and pure niobium. Avoid "surgical steel" (316L), as it contains up to 10% nickel, which can leach into the skin when exposed to moisture and body oils.
Material Sourcing & Grades
When purchasing raw wire and sheet metal from reputable suppliers like Rio Grande, you must look for specific certifications:
- Titanium: Look for ASTM F136 (Ti-6Al-4V ELI). This is the implant-grade standard verified by ASTM International. It is significantly harder and more corrosion-resistant than commercially pure (CP) titanium.
- Niobium: Sourced in 99.9% pure sheets and wire. Niobium is highly malleable and reacts to electrical currents, allowing you to anodize it into a spectrum of vibrant colors without using toxic dyes or plating.
| Material | Grade / Standard | Best Application | Avg. Cost (per ft) |
|---|---|---|---|
| Titanium Wire | ASTM F136 (Grade 23) | Hoops, initial piercings, heavy dangles | $4.00 - $8.00 |
| Niobium Wire/Sheet | 99.9% Pure | Anodized studs, cartilage clickers | $2.50 - $5.00 |
| Gold (for accents) | 14K - 18K Solid | Bezel wire, decorative wraps | $40.00+ |
Essential Bench Tools for Earring Fabrication
To execute clean, professional finishes, you need precision tools. Hardware store pliers will mar your metal and leave sharp burrs.
- Flush Cutters: Lindstrom RX or Tronex cutters ensure a perfectly flat cut, minimizing the filing required later.
- Nylon Jaw Pliers: Essential for bending wire without scratching the metal surface.
- Cup Burr (#2 or #3): Used in a flex shaft or rotary tool to round off the sharp tips of ear wires.
- Flex Shaft Motor: A flex shaft (like the Foredom SR) is vastly superior to a handheld Dremel for earring work because the handpiece is lightweight, reducing fatigue and allowing for microscopic control when deburring wire ends.
- Mandrel Set: Stepped steel rings for forming perfectly circular hoops.
- Anodizer & TSP Solution: A 0-120V DC power supply and Trisodium Phosphate electrolyte for coloring niobium.
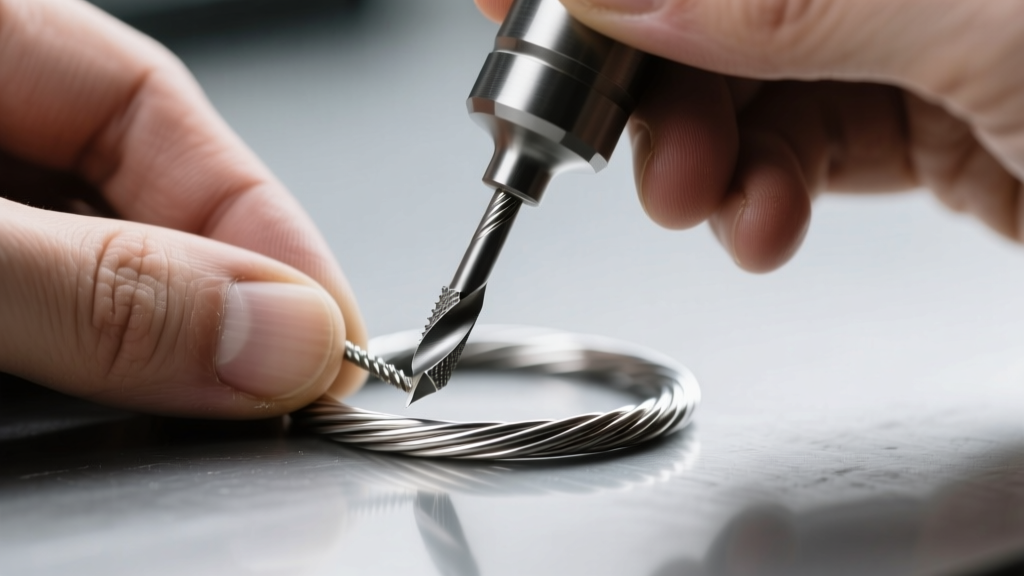
Step-by-Step: Crafting 18G Titanium Wire Hoops
Continuous wire hoops are a timeless staple. For standard lobe piercings, 20-gauge (0.81mm) is standard, but for cartilage or a more substantial look, 18-gauge (1.02mm) ASTM F136 titanium is ideal. Titanium has high "spring-back," meaning it requires deliberate over-bending to hold its shape.
Step 1: Cutting and Deburring
Cut a 2.5-inch length of 18G titanium wire using your flush cutters. Position the flat side of the cutter blades against the section of wire you intend to keep; the opposite side will leave a sharp "pinch" or burr. Use a #2 carbide cup burr in your rotary tool at a low RPM (around 5,000) to gently round the pinch point. The tip should feel completely smooth to the touch, mimicking a factory-polished bead. If the wire catches on a microfiber cloth, it is too sharp and will tear the delicate fistula tissue upon insertion.
Step 2: Shaping the Hoop
Wrap the wire around a 10mm steel hoop mandrel. Because titanium is rigid, use your nylon jaw pliers to grip the wire and wrap it tightly past the 360-degree mark to account for spring-back. Once removed from the mandrel, the hoop should relax into a perfect circle. Use your fingers to gently adjust the tension so the two ends meet flush without overlapping.
Step 3: Tumble Polishing
Place the formed hoops into a rotary tumbler filled with stainless steel shot, a drop of burnishing compound, and distilled water. Tumble for 45 minutes. This process work-hardens the titanium, increasing its tensile strength and giving it a brilliant, mirror-like finish without removing any metal mass.
Step-by-Step: Fabricating Niobium Bezel Studs
Niobium is incredibly soft and cannot be soldered using traditional silver or gold solder due to its extreme melting point (2,468°C) and rapid oxidation. Therefore, we use cold connections or mechanical friction to assemble niobium studs.
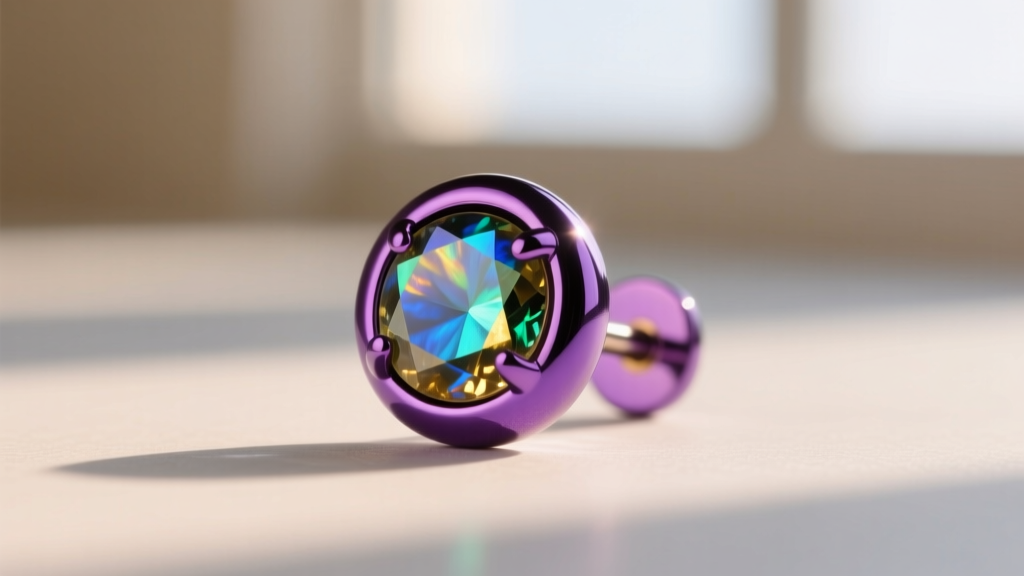
Step 1: Creating the Bezel Cup
Using a hydraulic press or a dapping block, press a 6mm disc of 24-gauge niobium sheet into a shallow dome. Soldering is out of the question, so we will use a titanium post with a friction-fit pad. Punch a 0.9mm hole in the exact center of the niobium dome using a precision drill press. Deburr the hole with a 1mm setting bur so the gemstone will sit perfectly flush.
Step 2: Cold-Connecting the Post
Take an 18G titanium earring post that features a flat, laser-welded pad. Thread the post through the back of your niobium dome. Using a specialized bezel pusher and a chasing hammer, gently peen the protruding titanium wire on the front (inside the cup) until it flares out, locking the niobium disc securely against the titanium pad. This creates a permanent mechanical bond.
Step 3: Anodizing the Metal
Before setting the stone, anodize the niobium. Connect the positive lead of your DC power supply to the titanium post, and submerge the niobium cup into a TSP electrolyte bath connected to the negative lead. Dial the voltage to 15V for a deep royal purple, or 90V for a vibrant emerald green. The color change is instantaneous. Rinse with distilled water and dry.
Step 4: Setting the Cabochon
Place a 4mm labradorite cabochon into the cup. Using a bezel roller, apply even downward pressure on the thin niobium walls, pushing them over the girdle of the stone. Niobium is so soft that it will fold over the gemstone smoothly without requiring annealing.
Troubleshooting Common DIY Failures
Even experienced jewelers encounter issues when working with reactive metals. Here is how to troubleshoot the most common failures:
- Metal Fatigue & Snapping: If your titanium wire snaps while bending, you are likely using a lower-grade alloy or bending it back and forth. Titanium must be bent once, decisively. If you make a mistake, annealing titanium requires an oxygen-free argon atmosphere; otherwise, it becomes brittle. Always cut a new piece.
- Titanium Galling: Titanium is notorious for "galling"—a form of wear caused by adhesion between sliding surfaces. If you try to file titanium with a standard steel file, it will tear and ruin the file. Always use diamond-coated files or abrasive sanding sticks (like 600-grit 3M Wetordry) for finishing titanium edges.
- Dull Anodized Colors: If your niobium turns out muddy or gray, the surface was not chemically clean. Before anodizing, scrub the metal with a fiberglass scratch brush and degrease it in an ultrasonic cleaner. Oils from your fingers will block the anodic layer from forming evenly.
- Scratched Posts: Never use steel pliers directly on the section of the post that enters the ear. Steel is harder than titanium and niobium, and it will leave microscopic gouges that harbor bacteria and irritate the piercing. Always use nylon-jawed pliers or wrap your steel tools in painter's tape.
Final Sterilization and Care
Once your earrings are complete, they must be properly sterilized before wear or sale. While wiping them with rubbing alcohol is sufficient for personal use on healed ears, professional standards require more. Place the finished pieces in a sterilization pouch and run them through an autoclave at 121°C (250°F) for 30 minutes. If you lack an autoclave, soaking them in a 70% isopropyl alcohol solution for 20 minutes is a safe alternative for personal wear.
Understanding how to make your own earrings from implant-grade materials not only saves you hundreds of dollars compared to boutique pricing, but it also guarantees absolute safety for sensitive skin. By investing in the right bench tools and respecting the unique properties of titanium and niobium, you can produce heirloom-quality, hypoallergenic jewelry right from your home studio.