DIY Polymer Clay Granny Square Earrings: A Step-by-Step Guide
Learn how to craft durable, lightweight polymer clay granny square earrings with our expert step-by-step guide, including baking temps and sealing tips.

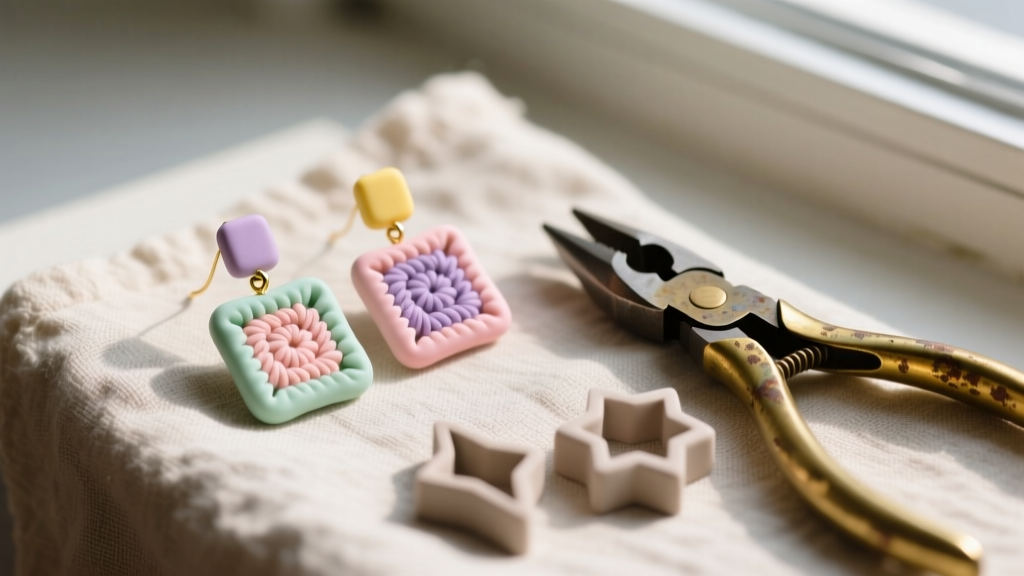
The 2026 Evolution of the Granny Square Earring
The granny square motif, a nostalgic staple of 1970s crochet, has firmly established itself in the jewelry sector. However, in 2026, the trend has shifted away from actual yarn—which snags, stains, and lacks structural integrity—toward high-durability polymer clay interpretations. Polymer clay allows artisans to capture the intricate, geometric 'chains' and 'double crochets' of a traditional granny square in a micro-mosaic format that weighs less than 3 grams per earring. This guide provides a masterclass in translating textile patterns into durable, skin-safe polymer clay jewelry, focusing on precise material selection, structural layering, and professional finishing techniques.
The Jeweler’s Materials & Tools Checklist
Creating jewelry-grade polymer clay requires abandoning craft-store starter kits. The structural integrity of your earrings depends entirely on the clay brand and the gauge of your hardware.
- Polymer Clay: Use Sculpey Premo or Fimo Professional. Avoid Sculpey III or Craft Smart, as they are highly brittle post-baking and will shatter if dropped.
- Clay Conditioning: An Atlas 150 pasta machine (set to thickness #4 or #5 for a 1.5mm to 2mm base sheet).
- Cutting Tools: A flexible tissue blade for straight cuts and a 1-inch square metal cookie cutter or precision craft knife.
- Earring Hardware: 20-gauge or 22-gauge titanium or niobium fishhook wires. These are hypoallergenic and provide the necessary tensile strength to hold the clay without bending.
- Jump Rings: 5mm outer diameter, 22-gauge stainless steel or brass jump rings.
- Sealant: Varathane Water-Based Polyurethane (Satin or Gloss) or a jewelry-grade UV resin for a glass-like finish.
Step 1: Conditioning and Base Sheet Preparation
Polymer clay must be properly conditioned to align the polymer particles, preventing post-baking brittleness. Knead your chosen colors until they are warm and pliable. For a classic retro granny square, select a warm cream base with accent colors like mustard yellow, burnt orange, and teal.
Run your base color (the cream) through the pasta machine at setting #4 to achieve a uniform 2mm thickness. Lay the sheet on a smooth ceramic tile or glass work surface. Use your 1-inch square cutter to punch out the base squares. These will serve as the 'canvas' for your appliqué motif. Ensure you create a small pilot hole at the top center of each square using a 1.5mm bead reamer or a thick needle tool; this is where your jump ring will eventually attach.
Step 2: Constructing the Appliqué Motif
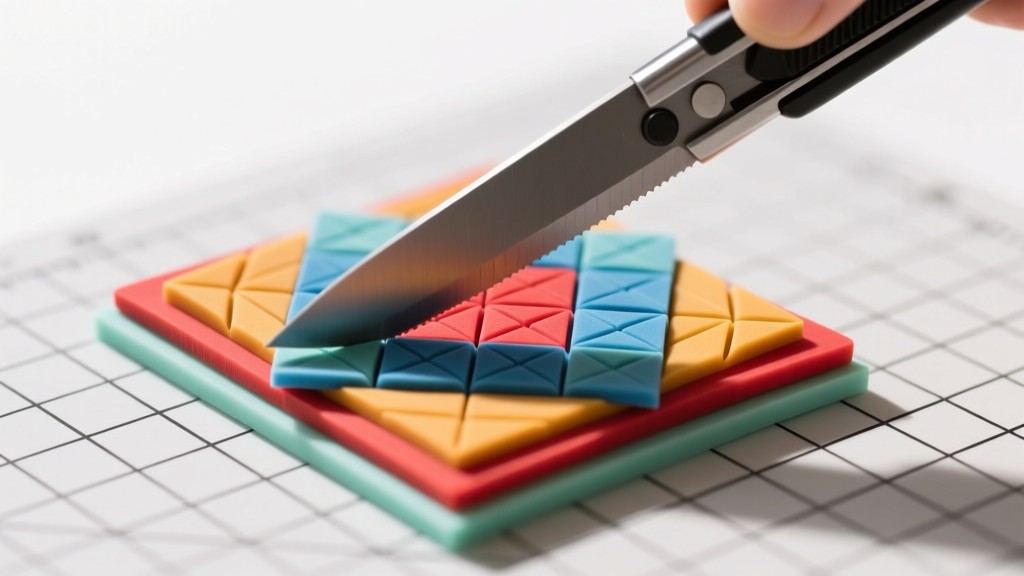
To mimic the look of crochet without the bulk, we use an appliqué technique with ultra-thin clay snakes and strips.
- The Center Ring: Roll a thin snake of your primary accent color (e.g., mustard) to about 1.5mm in diameter. Cut a 1-inch length and form a tight circle in the exact center of your base square. Gently burnish the edges with a silicone color shaper tool to fuse it to the base.
- The 'Chain' Spaces: Cut tiny 2mm segments of a contrasting color (e.g., teal) and place three of them around the center ring, mimicking the chain-3 spaces of a real granny square.
- The Petal Clusters: Roll slightly thicker snakes (2.5mm) of your third color (burnt orange). Cut them into small 'V' shapes or teardrops and press them into the spaces between the chain segments.
- The Outer Border: Finally, frame the entire 1-inch square with a thin 1mm strip of your base color to create a clean, finished edge that mimics a final round of single crochet.
Expert Tip: Lightly mist the base square with water before applying the appliqué pieces. The water acts as a temporary slip, allowing you to slide the pieces into perfect geometric alignment before pressing them down firmly.
Step 3: Precision Baking and Curing
Underbaking is the number one cause of polymer clay jewelry failure. Clay ovens are notoriously inaccurate, often fluctuating by 20°F or more. Always use a standalone oven thermometer to verify the internal temperature. According to the official Sculpey baking guidelines, proper curing requires consistent heat over a specific duration based on thickness.
| Clay Brand | Target Temperature | Minimum Bake Time (per 1/4 inch) | Jewelry Recommendation |
|---|---|---|---|
| Sculpey Premo | 275°F (135°C) | 30 Minutes | Highly Flexible, Excellent for Earrings |
| Fimo Professional | 230°F (110°C) | 30 Minutes | Very Firm, Great for Crisp Appliqué Edges |
| Cernit Number One | 265°F (130°C) | 30 Minutes | Slightly Translucent, Good for Pastel Blends |
For a 2mm thick granny square earring, bake for a full 45 minutes to ensure the core reaches the necessary temperature for complete polymerization. Allow the clay to cool completely on the ceramic tile before handling; it will harden significantly as it returns to room temperature.
Step 4: Wet Sanding, Sealing, and Hardware Assembly
Out of the oven, polymer clay often has a slightly matte or textured finish. To achieve a professional, jewelry-store quality, wet sanding is mandatory.
Using wet/dry automotive sandpaper, start at 400-grit and progress through 600, 800, and finish at 1000-grit. Keep the sandpaper and the clay submerged in a bowl of water to prevent clay dust from scratching the surface and to protect your lungs from inhaling particulates. This process will buff away fingerprints and smooth the transitions between your appliqué layers.
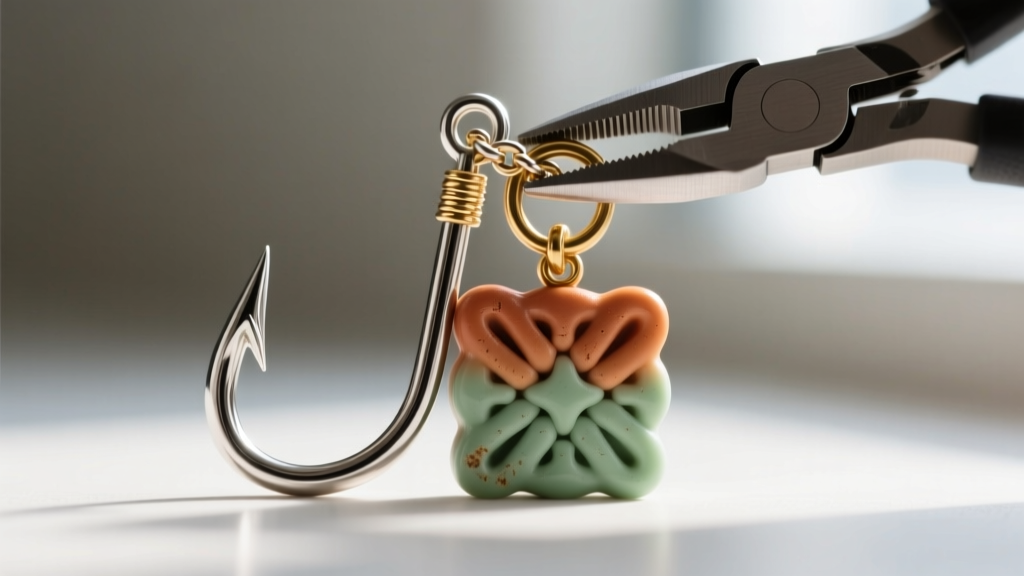
Once sanded and dried, apply two thin coats of Varathane Water-Based Polyurethane. Avoid aerosol spray sealers, as the propellants can cause the clay to become sticky over time. Allow 4 hours of curing between coats. Finally, use two pairs of chain-nose pliers to twist open a 5mm jump ring (never pull it apart, which distorts the circle), slide it through the pilot hole of your earring, attach the 20-gauge titanium fishhook, and twist the jump ring securely closed.
Troubleshooting Common Polymer Clay Failures
Even experienced jewelry makers encounter issues when working with intricate, multi-layered designs. Here is how to troubleshoot the most common granny square earring failures:
- Cracking at the Joints: This indicates underbaking or poor adhesion between layers. Ensure you are using a liquid clay softener (like Sculpey Bake & Bond) between the appliqué pieces and the base if they refuse to stick during the raw stage.
- Burnt or Discolored Edges: If your light-colored cream base turns brown, your oven is spiking in temperature. The Blue Bottle Tree, a leading authority on polymer clay science, recommends 'tenting' your clay with a folded piece of aluminum foil or using a dedicated countertop convection oven to prevent direct radiant heat from scorching the surface.
- Sticky Sealant: If your polyurethane remains tacky after 24 hours, the clay surface was likely contaminated with oils from your fingers before sealing. Always wipe the baked and sanded clay with a lint-free cloth dampened with isopropyl alcohol before applying your topcoat.
Master Jeweler Insight: When designing granny square earrings for retail or extended wear, always drill your pilot hole at least 3mm down from the top edge of the square. Placing the hole too close to the edge creates a weak point that can easily snap if the earring is snagged on a sweater or hair.
By mastering these polymer clay techniques, you can create lightweight, hypoallergenic, and highly durable granny square earrings that perfectly bridge the gap between vintage textile nostalgia and modern, wearable jewelry design.


