2026 DIY Gift Guide: How to Make Seed Bead Earrings for Loved Ones
Learn how to make seed bead earrings for personalized 2026 gifting. Discover expert material choices, hypoallergenic findings, and occasion-matching tips.

The Renaissance of Handmade Jewelry Gifting
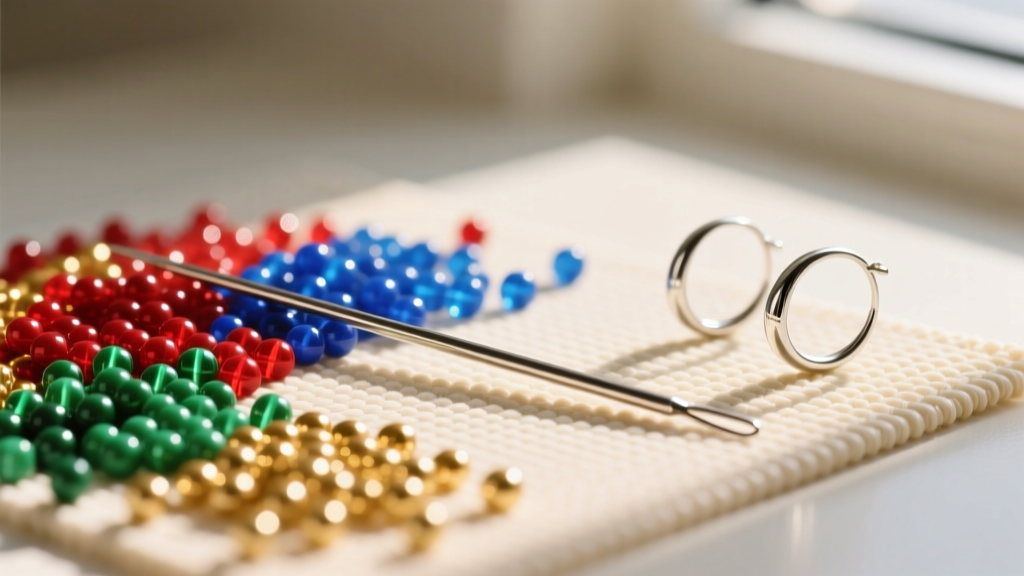
In 2026, the most coveted gifts aren't necessarily the most expensive; they are the most intentional. As mass-produced fast fashion jewelry continues to lose its luster among discerning consumers, bespoke, handcrafted accessories have surged in value. Learning how to make seed bead earrings offers a unique intersection of high perceived value, low material cost, and deep personalization. Whether you are crafting for a bride, a corporate colleague, or a trend-setting friend, seed bead earrings allow you to tailor every millimeter of the design to the recipient's exact aesthetic and lifestyle.
Unlike stamped metal or cast resin, seed bead weaving requires time, precision, and an understanding of color theory. This guide moves beyond basic craft-store tutorials, providing professional-grade material specifications, hypoallergenic safety protocols, and structural frameworks to ensure your handmade earrings rival high-end boutique pieces.
Occasion Matching: Selecting the Right Bead Profile
The secret to a successful jewelry gift lies in matching the scale, finish, and geometry of the beads to the recipient's intended occasion. A heavy, matte bead is inappropriate for a bridal party, just as delicate, shimmering crystals might feel out of place in a minimalist office environment. Use the matrix below to align your material choices with the gifting occasion.
| Gifting Occasion | Recommended Bead Size & Finish | Ideal Stitch Technique | Color Palette & Vibe |
|---|---|---|---|
| Bridal / Wedding Party | 15/0 Miyuki Delica, Pearl Luster | Right-Angle Weave or Fringe | Champagne, Ivory, Soft Blush |
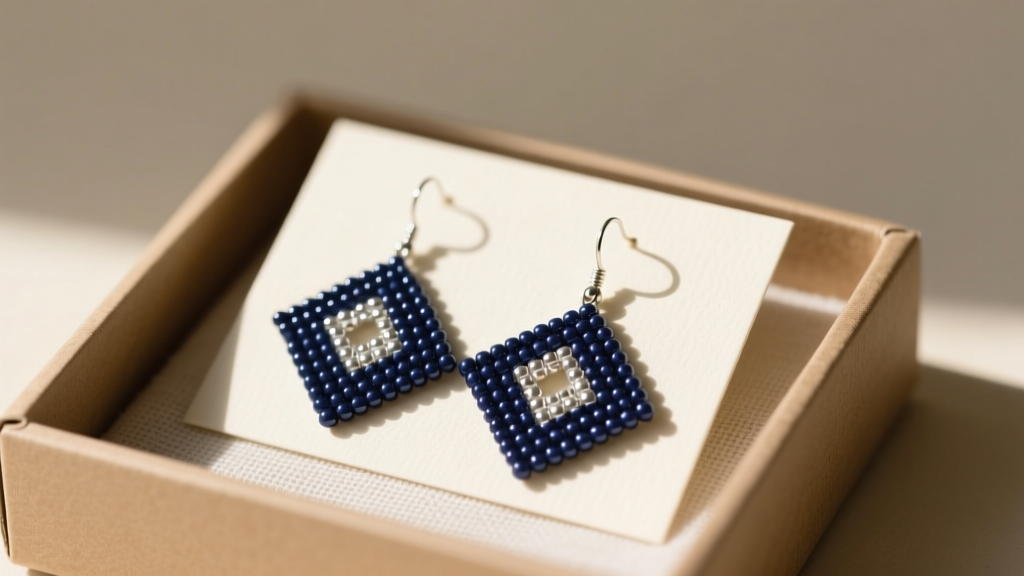
| Everyday / Office Wear | 11/0 Toho Round, Matte or Opaque | Geometric Brick Stitch | Navy, Forest Green, Charcoal |
| Festival / Evening Out | 8/0 & 11/0 Mix, Metallic Galvanized | Peyote Stitch Drops | Jewel Tones, Gold, Gunmetal |
| Milestone Birthday (30/40/50) | 11/0 Delica with 3mm Swarovski Accents | Herringbone or Netting | Birthstone hues, Rose Gold |
Sourcing Professional-Grade Materials
The difference between an earring that looks like a childhood camp project and one that looks like a designer piece comes down to material uniformity and thread integrity. According to the material specialists at Fire Mountain Gems, understanding the microscopic differences in bead manufacturing is essential for professional results.
The Anatomy of a Seed Bead
Do not buy generic "craft store" seed beads for gifting. They vary wildly in size, which will cause your tension to warp and your geometric patterns to buckle. Instead, invest in Japanese precision beads:
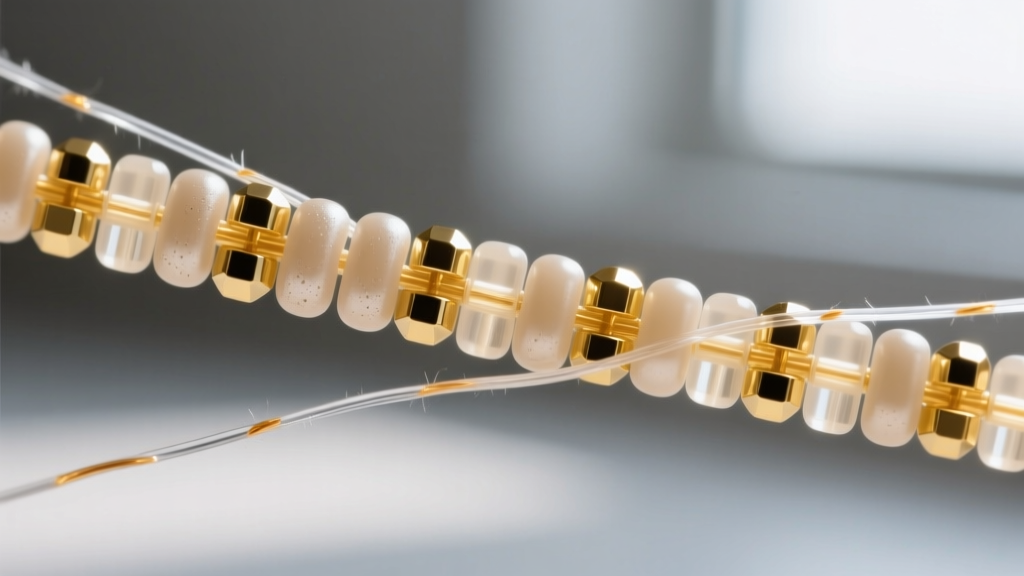
- Miyuki Delicas (Cylindrical): These feature a large hole-to-bead ratio and snap together like tiny bricks. They are mandatory for flat, tapestry-like patterns (like peyote or brick stitch). Size 11/0 (approx. 1.6mm) is the industry standard.
- Toho Treasures or Rounds: Slightly more rounded than Delicas, Toho rounds are exceptional for fringe work and fluid, draping designs. Their 15/0 size (approx. 1.3mm) is perfect for ultra-delicate, high-end bridal accents.
Thread and Needle Mechanics
Never use silk or cotton thread for seed bead weaving; the sharp edges of glass beads will eventually saw through natural fibers, leading to a catastrophic failure of the gift. Use a thermally fused polyethylene thread like WildFire or a braided polyethylene like Berkley Fireline (6lb test). These threads are waterproof, stretch-resistant, and virtually unbreakable. Pair this with a Size 10 or 12 English beading needle (Tulip Hiroshima needles are the gold standard for their flexibility and durability).
The Crucial Step: Hypoallergenic Findings
When gifting earrings, you cannot always guarantee the recipient's metal sensitivities. Gifting jewelry that causes an allergic reaction is a major faux pas. The term "surgical steel" is largely unregulated and often contains 8-12% nickel, a primary allergen. To ensure your 2026 gifts are safe for everyone, source your ear wires and jump rings from reputable metallurgical suppliers like Rio Grande.
Pro-Tip: Stick to Niobium or ASTM F136 Implant-Grade Titanium for ear wires. Niobium is an elemental metal that is naturally hypoallergenic and can be anodized into vibrant colors to match your seed beads. Titanium is entirely nickel-free and biocompatible, making it the safest possible choice for sensitive lobes.
Step-by-Step: How to Make Seed Bead Earrings Using Brick Stitch
Brick stitch is the ultimate technique for gifting. It creates a dense, durable, and slightly flexible fabric that mimics high-end beadwork. It is also highly forgiving for beginners learning how to make seed bead earrings with clean, straight edges.
Step 1: The Ladder Stitch Base
Cut roughly two yards of Fireline thread. Thread your needle and pick up 7 size 11/0 Miyuki Delica beads. Slide them down, leaving a 6-inch tail. Pass the needle back through the first bead, then up through the second, creating a flat "ladder" of beads. Tension is everything here; pull firmly so the beads sit perfectly side-by-side without overlapping.
Step 2: Building the Brick Stitch Rows
Pick up two beads. Pass your needle under the thread bridge connecting the first and second beads of your ladder base. Pull the thread taut, then pass the needle back up through the second of the two beads you just picked up. This locks the bead in place, resembling a brick in a wall. Repeat this across the row. To create a classic teardrop earring shape, simply decrease by one bead on each subsequent row until you reach a single bead at the tip.
Step 3: Securing and Attaching Findings
Once your shape is complete, weave the thread back through the previous three rows in a zigzag pattern to lock the tension. Add a drop of flexible jewelry adhesive (like E6000 Fabri-Tac) to the final knot. To attach the earring to the finding, open a 4mm titanium or niobium jump ring using two pairs of flat-nose pliers (twist laterally, never pull apart). Slide the jump ring through the top thread bridge of your beadwork, and then through the loop of your ear wire. Close the jump ring securely.
Elevated Packaging for the 2026 Gift-Giver
The presentation of your handmade earrings dictates their perceived value. Avoid cheap plastic baggies. Instead, invest in heavy-weight linen display cards and minimalist kraft or matte-black jewelry boxes. Include a small, handwritten card detailing the materials used (e.g., "Hand-woven with Japanese Miyuki Delicas and finished with hypoallergenic Niobium ear wires"). This not only educates the recipient on the quality of the gift but also provides essential care instructions, ensuring your handcrafted seed bead earrings remain a cherished staple in their jewelry collection for years to come.


