How to Make Wire Beaded Earrings: Step-by-Step Guide
Learn how to make custom wire beaded earrings with our step-by-step guide. Master wire gauges, bead selection, and secure wrapping techniques.

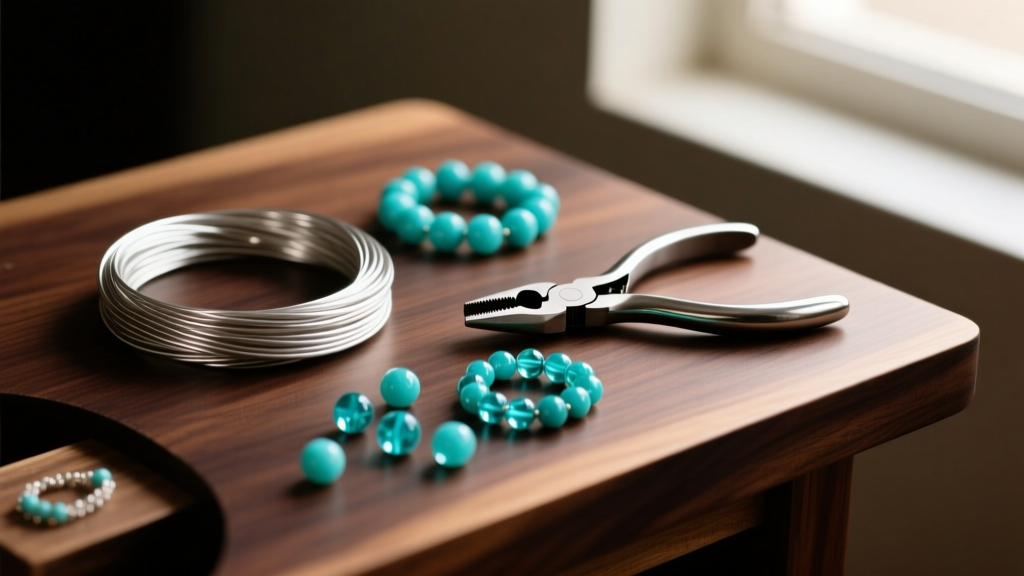
The Renaissance of Handcrafted Wire Beaded Earrings
As we navigate the jewelry trends of 2026, the market has seen a definitive shift toward bespoke, handcrafted accessories. Wire beaded earrings sit at the intersection of artisanal craftsmanship and wearable art. Unlike mass-produced stamped metals, wire-wrapped earrings allow for complete customization of silhouette, stone selection, and metal finish. Whether you are designing delicate pearl drops for bridal wear or bold, mixed-metal geometric dangles for everyday street style, mastering the fundamental mechanics of wire wrapping is essential.
This comprehensive guide will walk you through the precise metallurgy, tool selection, and step-by-step wrapping techniques required to create professional-grade wire beaded earrings. We will move beyond basic craft-store tutorials and delve into the exact gauge specifications, wire temper requirements, and structural integrity checks used by professional bench jewelers.
Essential Tools and Material Specifications
Before cutting your first piece of wire, you must understand the relationship between wire gauge, temper (hardness), and bead hole diameter. Using the wrong wire temper is the most common reason beginner earrings lose their shape or snap under tension.
Understanding Wire Temper
Wire is sold in various tempers, which dictate its malleability. According to the metallurgical standards outlined by Rio Grande, a leading supplier of jewelry metals, the two most common tempers for earring making are Dead Soft and Half-Hard.
- Dead Soft: Extremely malleable. Ideal for tight weaving, sculpting, and wrapping around thick cores. However, it lacks the structural memory to hold a wrapped loop or ear wire shape under the weight of heavy beads.
- Half-Hard: The gold standard for wire beaded earrings. It offers enough malleability to bend cleanly but possesses the tensile strength to spring back slightly and hold a wrapped loop securely in place.
Wire Gauge and Bead Compatibility Chart
Matching your wire gauge to your bead hole size is critical. The following table provides exact specifications for standard jewelry wire and compatible bead types, referencing data from Fire Mountain Gems.
| Wire Gauge | Diameter (mm) | Temper Recommendation | Best Use Case | Compatible Bead Types |
|---|---|---|---|---|
| 20-Gauge | 0.81mm | Half-Hard | Ear wires, headpins, structural frames | Large glass beads, wood, ceramic, large-hole pearls |
| 22-Gauge | 0.64mm | Half-Hard | Standard wrapped loops, medium ear wires | Semi-precious stones, quartz, standard glass beads |
| 24-Gauge | 0.51mm | Dead Soft / Half-Hard | Delicate wrapped loops, briolette wrapping | Most gemstones, smaller glass beads, crystals |
| 26-Gauge | 0.40mm | Dead Soft | Micro-wrapping, small-hole pearls | Freshwater pearls, tiny faceted gemstones |
The Professional Tool Kit
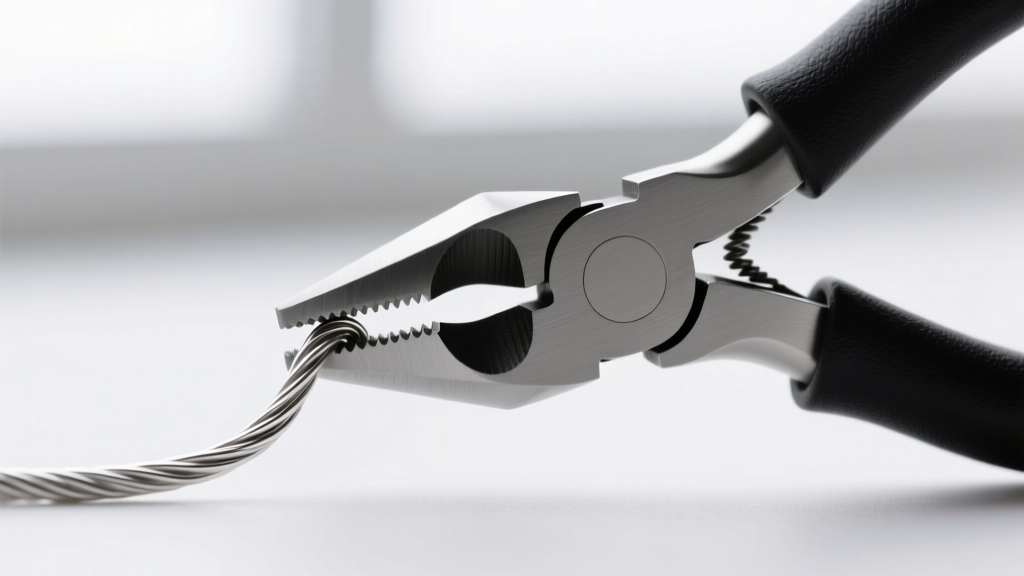
Invest in high-quality, smooth-jawed pliers. Chain-nose pliers with serrated teeth will mar your wire and ruin the finish of precious metals. You will need:
- Flush Cutters: For clean, flat cuts. The flat side of the blade must face the work to avoid leaving sharp pinched edges.
- Round-Nose Pliers: For forming perfectly circular loops.
- Chain-Nose Pliers (Smooth Jaw): For gripping wire, bending 90-degree angles, and tucking wire tails.
- Nylon Jaw Pliers: Essential for straightening wire without scratching the metal surface.
Step 1: Preparing the Wire and Headpins
If you are using pre-made headpins, skip to Step 2. If you are fabricating your own headpins or using continuous wire spools, preparation is key. Cut a 3-inch length of 22-gauge or 24-gauge half-hard wire using your flush cutters. Ensure the flat side of the cutter blade faces the spool so that your cut piece has a perfectly flush end, while the spool retains the sharp bevel.
Run the wire through the jaws of your nylon jaw pliers 3 to 4 times. This process, known as work-hardening, slightly stiffens the wire and removes any microscopic kinks introduced during the manufacturing and spooling process. Straight wire ensures that your beads will hang perfectly plumb when the earring is worn.
Step 2: Bead Selection and Threading Mechanics
Slide your selected beads onto the wire. The order of beads dictates the visual weight of the earring. For a classic drop earring, place a small metal spacer bead or a 2mm round bead at the bottom to act as a stopper, preventing the main focal bead from sliding off the flush end of the wire.
Push the beads all the way down until they rest flush against the bottom of the wire. Hold the wire vertically and tap it gently against your bench block to ensure the beads are seated tightly with no gaps. Gaps between beads will cause the wire to buckle when you apply downward pressure during the wrapping phase.
Step 3: Executing the Perfect Wrapped Loop
The wrapped loop is the hallmark of professional wire beaded earrings. Unlike a simple open loop, which can easily pull open and drop the bead, a wrapped loop mechanically locks the wire around itself, creating a permanent, secure connection.
The 90-Degree Bend Technique
Using your chain-nose pliers, grip the wire exactly 1/4 inch above the top bead. Bend the wire at a strict 90-degree angle. This precise measurement is crucial; too little wire will result in a cramped, messy wrap, while too much wire will create an elongated, disproportionate neck on your earring.
Forming the Loop
Switch to your round-nose pliers. Grip the very tip of the 90-degree bend. Roll the pliers toward you, wrapping the wire around the jaw to form a complete circle. The loop should sit directly centered above the bead. Remove the pliers and adjust the loop so it is perfectly horizontal.
Wrapping and Securing the Tail
This is where the structural integrity is finalized. Grip the loop gently with your chain-nose pliers to hold it steady. With your other hand, take the protruding wire tail and begin wrapping it tightly down the stem, directly above the top bead. Make exactly 3 to 4 tight, adjacent coils. Do not overlap the coils; they should sit side-by-side like a perfectly wound spring.
Once you reach the bead, use your flush cutters to snip the excess tail as close to the coil as possible. Finally, use the tip of your chain-nose pliers to gently squeeze and tuck the microscopic sharp end of the cut wire into the coil, ensuring it will not snag on clothing or hair.
Step 4: Assembly and Ear Wire Attachment
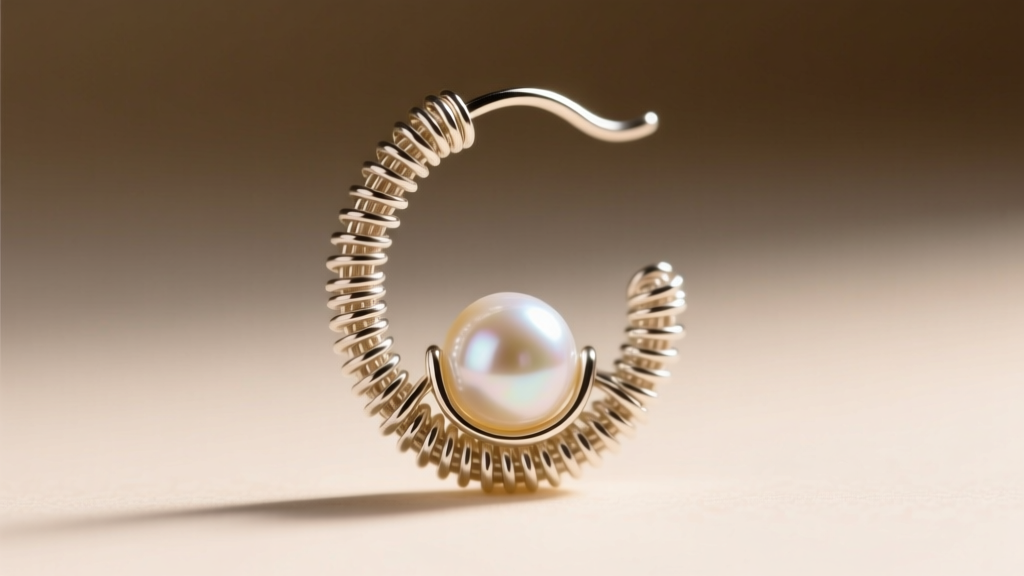
With your beaded drop complete, it is time to attach it to the ear wire. If you are making your own ear wires (French hooks), cut a 3-inch piece of 20-gauge half-hard wire. Form a small simple loop at one end using your round-nose pliers, and bend the wire over a mandrel or the handle of your pliers to create the sweeping curve that rests over the ear.
Open the loop of your ear wire laterally—twisting it side-to-side like a door on a hinge—rather than pulling it apart outward, which distorts the circle. Slide the wrapped loop of your beaded drop onto the ear wire. Close the ear wire loop securely, ensuring the ends meet perfectly flush with no gaps that could catch on the earlobe.
Expert Bench Tip: Always attach the beaded drop to the ear wire before forming the final sweeping curve of the ear wire. This gives you maximum clearance to maneuver your pliers without accidentally scratching your carefully selected gemstones.
Troubleshooting Common Wire Wrapping Mistakes
Even experienced jewelers encounter structural and aesthetic issues when working with wire. Here is how to diagnose and fix the most common problems:
- The Wire Breaks During Wrapping: This usually happens because you are using dead-soft wire that has been over-worked, or you are bending it back and forth. Wire wrapping requires a single, fluid motion. If using half-hard wire, ensure you are not wrapping at too sharp of an angle.
- Loose Beads Rattling: Your wrapped coils are not sitting flush against the bead. Before wrapping, ensure your 90-degree bend is pushed all the way down. If the bead hole is slightly too large for the wire gauge, add a tiny metal spacer bead or a micro-crystal between the main bead and the wire wrap to act as a shim.
- Tool Marks on the Wire: You are gripping the wire too tightly or using pliers with serrated teeth. If you must use standard chain-nose pliers, wrap the jaws in painter's tape or use a specialized tool coating like Tool Magic to protect soft metals like fine silver and gold-filled wire.
Finishing, Work-Hardening, and Polishing
Once your wire beaded earrings are fully assembled, the metal may look slightly dull from the friction of the tools and your hands. To achieve a professional, light-catching finish, the final step is polishing.
For sterling silver or gold-filled wire, use a treated jewelry polishing cloth (such as a Sunshine cloth) to gently buff the wire loops and ear wires. Avoid polishing the wire directly against soft, porous stones like turquoise, opal, or pearls, as the abrasive compounds in the cloth can permanently stain the gemstones.
If you want to add an extra layer of durability to your ear wires, you can work-harden them by placing the curved hooks on a steel bench block and gently tapping them with a rawhide or nylon mallet. This compresses the metal molecules, making the ear wires springy and resistant to bending when inserted into the ear. By mastering these precise techniques, you elevate your wire beaded earrings from simple crafts to high-end, durable jewelry pieces ready for the modern market.


