How to Choose an Ear Infection Earring: A Healing Guide
Learn how to choose the right ear infection earring for healing. Step-by-step guide on biocompatible materials, gauge sizes, and safe aftercare.

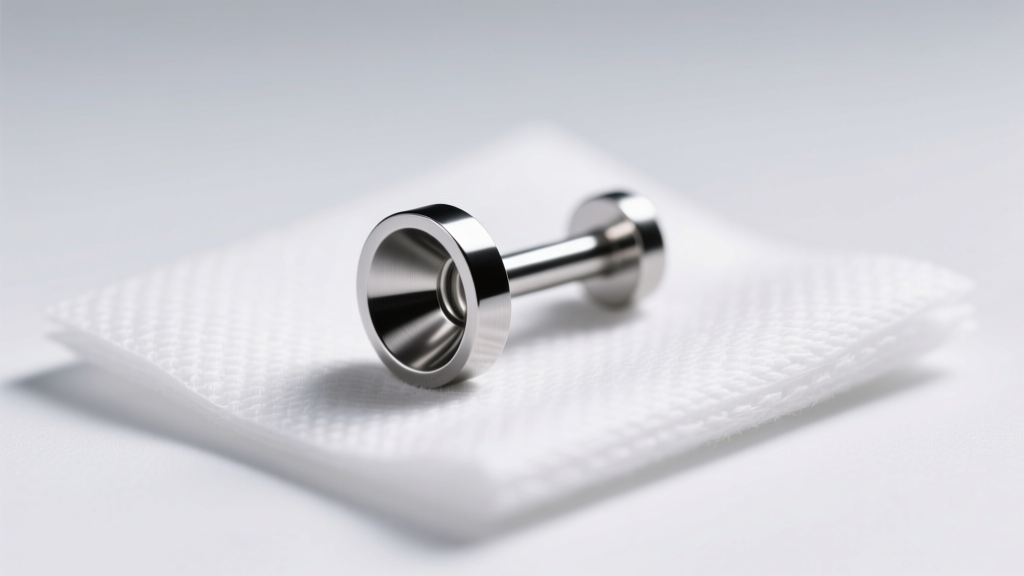
The Truth About Piercing Flare-Ups and Jewelry
Dealing with a painful, swollen piercing is a frustrating experience that often leads to well-meaning but ultimately harmful advice. The most common myth? Take the jewelry out immediately. If you remove jewelry from an actively infected or severely irritated piercing, the surface tissue can heal over the fistula (the piercing channel) within hours, trapping the abscess inside and turning a localized issue into a medical emergency. Instead, the solution is to downsize or swap to a biocompatible ear infection earring that allows for drainage, reduces pressure, and eliminates allergic contact dermatitis.
This step-by-step guide will walk you through identifying the root cause of your flare-up, selecting the correct metallurgical grade of jewelry, and safely inserting it without causing further trauma to the compromised tissue.
Step 1: Differentiate Between Infection and Irritation
Before swapping your jewelry, you must accurately assess the piercing. According to the Association of Professional Piercers, true bacterial infections are relatively rare in established piercings, while irritation bumps and allergic contact dermatitis are incredibly common.
Signs of a True Bacterial Infection
- Heat and Throbbing: The tissue feels hot to the touch and pulses with pain.
- Discharge: Thick, opaque yellow, brown, or green pus (not to be confused with normal white/clear lymph fluid).
- Systemic Symptoms: Fever, chills, or red streaks radiating outward from the piercing site.
Signs of Irritation or Allergy
- Itching and Flaking: The skin around the jewelry is dry, itchy, or peeling.
- Clear/White Fluid: Crusty, clear, or slightly white lymphatic fluid that dries on the jewelry.
- Localized Bumps: Small, flesh-colored or red bumps adjacent to the entry or exit hole (hypertrophic scarring).
Expert Insight: If you suspect a true systemic infection (fever, spreading redness), do not attempt a jewelry swap at home. Leave the current jewelry in place to maintain the drainage tract and seek immediate medical attention from a healthcare provider.
Step 2: Selecting the Right Ear Infection Earring Material
When your ear is compromised, the jewelry material is your first line of defense. Many commercial earrings labeled as 'surgical steel' or 'hypoallergenic' contain up to 12% nickel, which triggers severe allergic reactions in sensitized tissue. For an ear infection earring, you must look for specific, verifiable material grades.
| Material Grade | Biocompatibility | Nickel Content | Best Use Case |
|---|---|---|---|
| ASTM F136 Titanium | Exceptional (Implant-Grade) | 0% (Nickel-Free) | Active infections, fresh piercings, severe metal allergies. |
| ASTM F1295 Titanium | Exceptional (Wrought) | 0% (Nickel-Free) | Long-term wear, sensitive cartilage piercings. |
| Niobium (Unalloyed) | Excellent | 0% (Nickel-Free) | Hoops and rings during the healing process. |
| Borosilicate Glass | Superior (Inert) | 0% (Nickel-Free) | Severe allergies, stretching, MRI-safe retention. |
| Bioplast / PTFE | Fair (Porous over time) | 0% (Nickel-Free) | Short-term emergency retention only. |
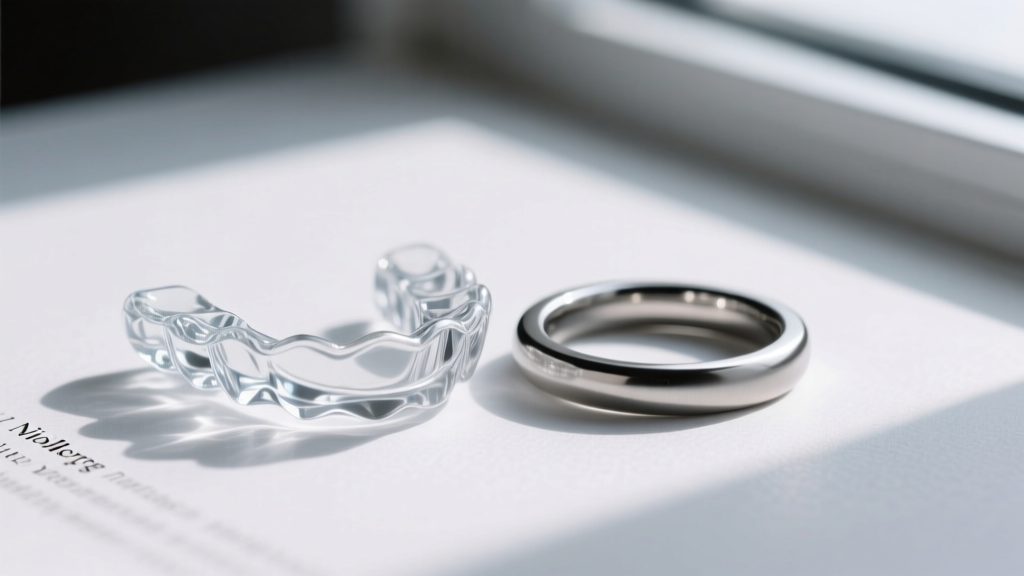
The 'Surgical Steel' Trap: The term 'surgical steel' is a marketing buzzword, not a regulated metallurgical standard. It often refers to 316L or 304 stainless steel, both of which contain nickel. When tissue is broken or inflamed, nickel ions leach into the skin, causing an immune response that mimics an infection. Always demand implant-grade titanium (ASTM F136) from your piercer or jeweler.
Step 3: Checking the Gauge and Post Length
Material is only half the battle; the physical dimensions of the jewelry dictate whether the swelling can properly subside. A standard earring post is typically 6mm (1/4 inch) long. If your earlobe or cartilage is swollen, a 6mm post will act like a tourniquet, cutting off circulation and causing the flat back or butterfly clutch to embed directly into the flesh.
Sizing Guidelines for Swollen Piercings
- Measure the Swelling: If the tissue is visibly puffed, you need a longer post to accommodate the edema.
- Select the Length: Upgrade to an 8mm (5/16 inch) or 10mm (3/8 inch) flat-back labret. This provides a buffer zone for lymphatic drainage and prevents the jewelry from pressing into the wound bed.
- Verify the Gauge: Standard lobe piercings are usually 20G (0.81mm) or 18G (1.0mm), while cartilage and professional piercings are typically 16G (1.2mm) or 14G (1.6mm). Never force a thicker gauge into an inflamed, narrowed fistula.
Threading Matters: Opt for internally threaded or threadless (push-pin) jewelry. Externally threaded earrings have ridges on the post that act like a cheese grater, tearing the delicate, healing cells inside the fistula every time they are inserted or removed.
Step 4: The Step-by-Step Insertion Process
Swapping jewelry in an angry piercing requires a sterile, methodical approach to avoid introducing new bacteria or causing mechanical trauma.
- Prep the Environment: Clean your bathroom sink with an antibacterial spray. Wash your hands thoroughly with unscented, antimicrobial soap for a full 20 seconds.
- Sterilize the Jewelry: Even if the jewelry is new, wipe it down with a sterile saline soak or a dedicated piercing aftercare spray. Do not use rubbing alcohol, which can degrade certain gemstone settings and irritate the wound upon insertion.
- Lubricate the Post: Apply a tiny drop of sterile, water-based lubricant (or a drop of sterile saline) to the tip of the titanium post. Never use petroleum jelly or Vaseline, as these are occlusive, trap bacteria, and block oxygen from reaching the fistula.
- Guide, Don't Force: Gently remove the old jewelry. If it resists, do not yank. Slowly guide the new titanium post through the exit hole. For flat-back labrets, inserting from the back to the front often follows the natural angle of the piercing channel more smoothly.
- Secure the Top: If using threadless jewelry, bend the pin slightly (about 10 to 15 degrees) before pushing it into the hollow post to create tension. If internally threaded, screw the top on clockwise until snug, but do not overtighten.
Step 5: Aftercare and Cleaning Protocols
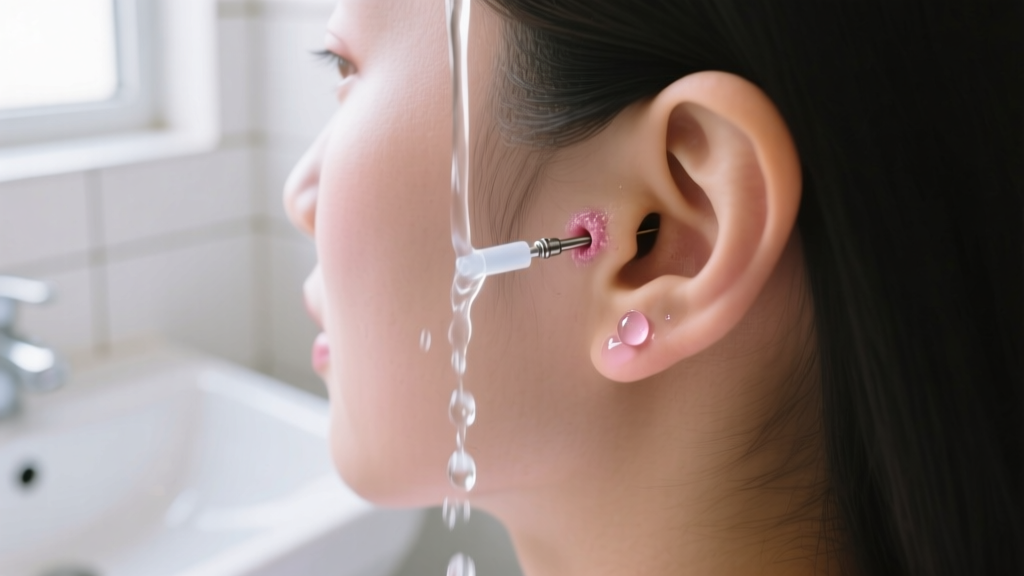
Once the biocompatible ear infection earring is securely in place, your aftercare routine will determine the speed of your recovery. The American Academy of Dermatology and professional piercers universally recommend the 'less is more' approach.
What to Use
- 0.9% Sterile Sodium Chloride: Use a canned wound wash where the only ingredients are water and 0.9% sodium chloride. Spray it directly onto the piercing twice a day.
- Warm Compresses: For stubborn irritation bumps or localized swelling, apply a clean, warm, damp paper towel over the area for 3-5 minutes to encourage blood flow and lymphatic drainage.
What to Avoid (The 'Do Not Use' List)
- Tea Tree Oil: Highly caustic and can cause chemical burns on broken skin.
- Hydrogen Peroxide & Rubbing Alcohol: These destroy healthy, newly formed fibroblast cells, effectively resetting your healing clock to zero.
- Antibiotic Ointments (Neosporin): These create an airtight seal over the piercing, depriving the tissue of oxygen and creating a breeding ground for anaerobic bacteria.
According to the American Academy of Dermatology, keeping the area clean and avoiding unnecessary manipulation is the most effective way to prevent complications. Adopt the LITHA method: Leave It The Hell Alone. Do not twist, turn, or sleep directly on the healing ear.
When to See a Professional
While swapping to a high-quality titanium ear infection earring resolves the vast majority of irritation and contact dermatitis cases, some situations require professional intervention. Visit an APP-certified piercer if you suspect the jewelry angle is incorrect, as crooked piercings will perpetually irritate the tissue. Visit a doctor immediately if the earring becomes embedded in the swelling, if you develop a fever, or if red streaks begin spreading down your neck, as these are signs of a severe systemic infection requiring prescription oral antibiotics.


