Earring Camera Guide: Inspect and Photograph Jewelry
Learn how to use an earring camera setup to inspect hallmarks, verify gemstones, and capture stunning macro photos of your jewelry.

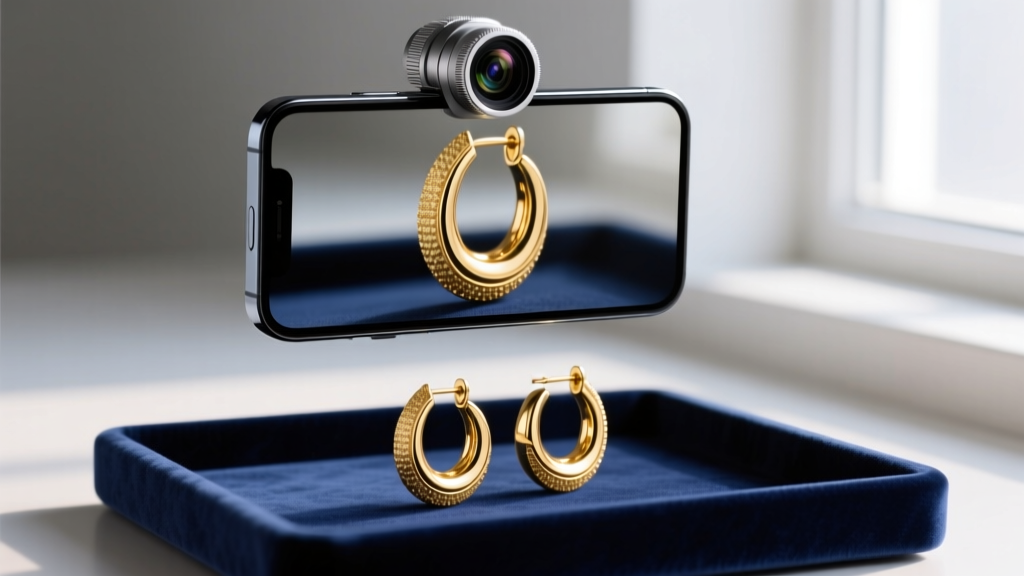
In the modern jewelry and body modification community, the term earring camera refers to a specialized macro photography setup used to inspect, authenticate, and photograph small-scale jewelry details. Whether you are a beginner trying to verify if your new studs are solid 14k gold or a collector looking to capture the intricate facets of a diamond drop earring, mastering macro inspection is essential. In 2026, smartphone sensors and clip-on optics have advanced to the point where professional-grade gemological inspection is accessible to anyone.
This beginner-friendly explainer will walk you through exactly how to build an earring camera rig, what specific details to look for when inspecting metal grades and gemstones, and how to monitor your piercing health with magnification.
The Anatomy of an Earring Camera Setup
You do not need a $2,000 DSLR to start inspecting your jewelry. A functional earring camera setup typically consists of three core components: a high-resolution smartphone, a clip-on macro lens, and a targeted lighting source.
- Clip-On Macro Lenses: Brands like Moment and Apexel offer 10x to 20x macro lenses that clip directly over your phone's main sensor. A 15x magnification is the sweet spot for jewelry, allowing you to see hallmarks and gemstone inclusions without losing the focal depth required to keep the entire earring in frame.
- Digital USB Microscopes: For stationary desk inspection, a digital microscope (such as those by Plugable or Tomlov) connects to your laptop or phone. These often feature built-in ring lights and offer 50x to 1000x magnification, though anything above 50x is usually overkill for standard earring inspection.
- Lighting Modifiers: Highly polished metals reflect everything. Using a small LED ring light with a polarizing filter is crucial to cut through the glare and reveal the true surface texture of the metal and stones.
Inspecting Hallmarks and Metal Grades
One of the most practical uses of an earring camera is verifying metal authenticity. Jewelry manufacturers are required to stamp precious metals, but these hallmarks are often microscopic, especially on delicate pieces like huggies or ear cuffs.
Decoding the Stamps
When you position your macro lens over the earring post or the inside curve of a hoop, look for these specific alphanumeric codes:
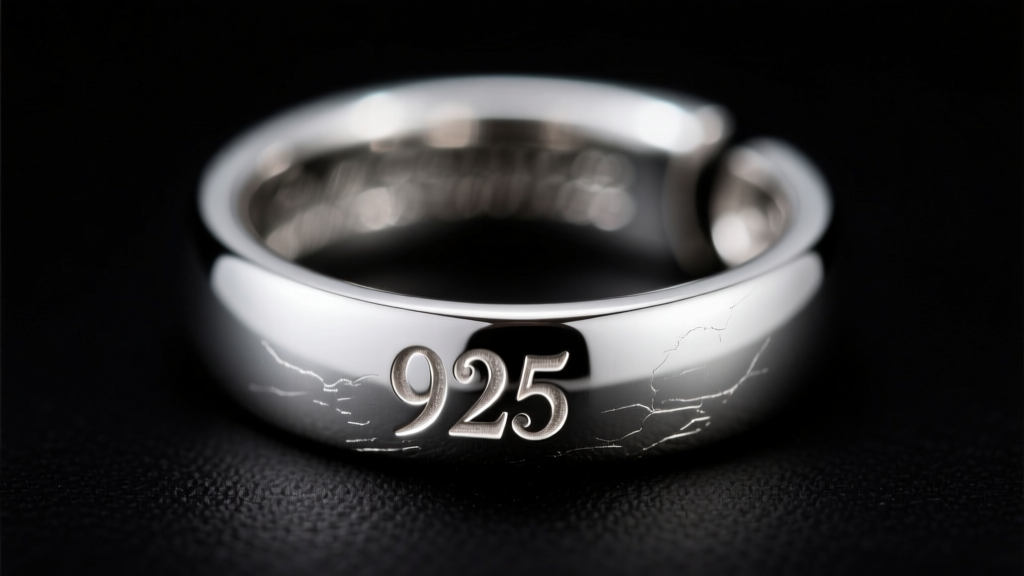
- 925: Indicates Sterling Silver (92.5% pure silver). If you see this stamp on a gold-colored earring, it signifies gold vermeil (a thick layer of gold over a sterling silver base), which is vastly superior to standard gold-plated brass.
- 585 or 14K: Confirms 14-karat gold (58.5% pure gold). This is the industry standard for durable, everyday lobe and cartilage earrings.
- 750 or 18K: Confirms 18-karat gold. It has a richer yellow hue but is softer, making it better for special-occasion dangles rather than everyday sleepers.
- PT950: Denotes Platinum, a premium, hypoallergenic metal often used for high-end diamond studs.
Spotting Plating Wear
Under 15x magnification, you can easily spot the failure modes of cheap jewelry. Flash-plated earrings (which have less than 0.5 microns of gold) will show microscopic flaking, revealing the brassy or gray base metal underneath. Genuine gold vermeil must have a minimum of 2.5 microns of gold; under the lens, the transition between the gold layer and the silver base will look like a smooth, cohesive gradient rather than a jagged, peeling edge.
Gemstone Authentication Under Magnification
An earring camera is your first line of defense against synthetic or simulated gemstones. While a certified gemologist is required for absolute appraisal, macro photography reveals distinct optical and structural clues.
Glass vs. Cubic Zirconia vs. Diamond
When inspecting the stones on your drop earrings or studs, adjust your focus to peer directly into the table (the flat top facet) of the gemstone.
- Glass/Simulants: You will often see perfectly spherical gas bubbles trapped inside. Natural diamonds and high-quality lab-grown diamonds never contain spherical bubbles.
- Cubic Zirconia (CZ): CZ is optically flawless. Under magnification, the facet junctions (where the flat cuts meet) will look incredibly sharp, but the interior will be completely devoid of natural inclusions. Furthermore, CZ lacks the dispersion (fire) of a diamond when viewed under direct LED light.
- Moissanite: Moissanite exhibits double refraction. If you look through the side of a moissanite stone with your macro lens, the back facet lines will appear doubled or slightly blurry, a dead giveaway that it is not a diamond.
- Diamonds: Look for natural inclusions such as tiny black carbon spots, feather-like fractures, or pinpoint crystals. According to the Gemological Institute of America (GIA), these internal birthmarks are the primary indicators of a natural or untreated lab-grown diamond.
Monitoring Piercing Health and Gauge Sizing
Beyond aesthetics, an earring camera is a vital health tool for body modification enthusiasts. Cartilage piercings, such as the helix, conch, or tragus, are prone to irritation that is difficult to see with the naked eye.
Checking for Embedding and Irritation
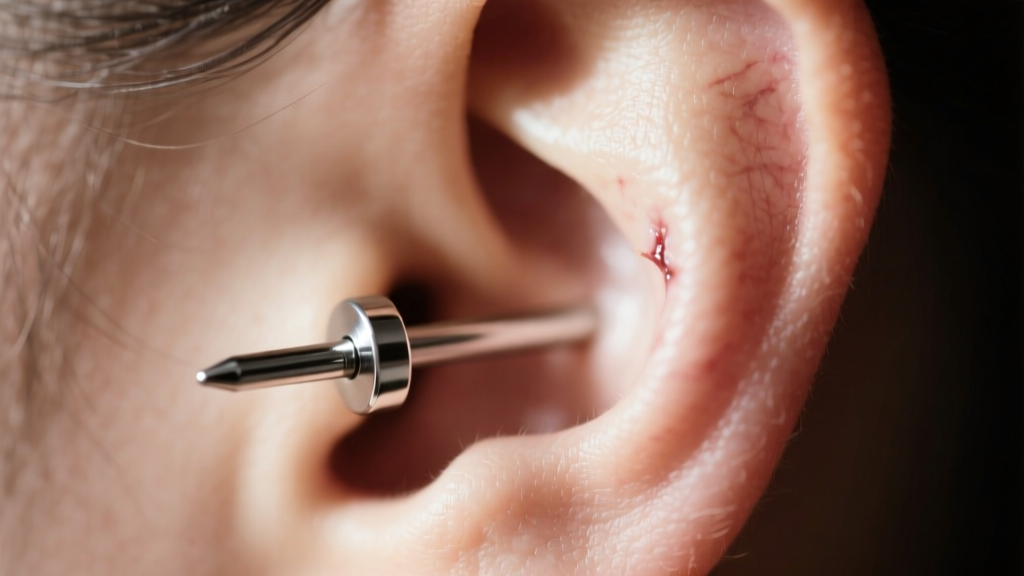
If you experience tenderness in a new piercing, use your smartphone's macro mode to inspect the tissue where the earring post enters the skin. You are looking for:
- Embedding: If the skin is swelling over the decorative end or the back clasp, the post is too short. You need to see a visible gap of at least 1-2mm between the jewelry and the skin to allow for lymphatic drainage.
- Irritation Bumps: Small, localized swellings near the piercing fistula often indicate an angle issue or pressure from sleeping on the earring.
- Allergic Reactions: A greenish tint on the skin or localized weeping indicates a nickel allergy. The Association of Professional Piercers (APP) strongly recommends switching to implant-grade titanium (ASTM F-136) if you notice these signs.
Verifying Post Gauge Thickness
Using your earring camera alongside a digital caliper allows you to verify the gauge of your jewelry, ensuring you do not stretch or damage your fistula. Standard lobe earrings are usually 20G or 18G, while cartilage piercings are typically 16G or 14G.
- 20 Gauge: 0.81mm thickness (Standard for lightweight fashion studs).
- 18 Gauge: 1.02mm thickness (Common for nose and standard lobe piercings).
- 16 Gauge: 1.29mm thickness (The gold standard for helix, conch, and tragus piercings).
- 14 Gauge: 1.63mm thickness (Used for industrial bars and heavier cartilage hoops).
Earring Camera Gear Comparison Chart
To help you choose the right tool for your needs, we have broken down the most popular earring camera setups available in 2026.
| Equipment Type | Magnification | Best Use Case | Estimated Price Range |
|---|---|---|---|
| Clip-On Macro Lens (e.g., Apexel 100mm) | 10x - 15x | On-the-go photography, social media content, quick hallmark checks. | $40 - $90 |
| Premium Smartphone Macro (e.g., Moment Macro) | 10x - 20x | High-resolution collection documentation, detailed gemstone inspection. | $100 - $150 |
| USB Digital Microscope | 50x - 1000x | Deep gemological inclusion analysis, inspecting micro-pave prong settings. | $60 - $120 |
Lighting Techniques for Macro Jewelry Photography
Having the right lens is only half the battle; lighting dictates the quality of your earring camera results. Metals are essentially mirrors, and gemstones are prisms. If you use direct flash, your image will be blown out by harsh white hotspots.
The Cross-Polarization Trick
To eliminate glare from highly polished gold or platinum, professionals use a technique called cross-polarization. Place a polarizing film over your LED light source, and attach a second polarizing filter over your macro lens. Rotate the lens filter until the reflections on the metal completely disappear. This reveals the true color of the metal and allows you to see deep into transparent gemstones without surface glare blocking your view.
Diffusing the Light
If you do not have polarizing filters, you must diffuse your light. Bouncing your LED lamp off a piece of white foam core or shooting the earrings inside a small, white acrylic light tent will wrap the light softly around the curves of hoops and huggies, creating elegant, smooth gradients rather than harsh, jagged reflections.
Final Thoughts
Investing time into building a reliable earring camera setup transforms how you interact with your jewelry. It empowers you to shop secondhand with confidence, verify the quality of your online purchases, and maintain the long-term health of your piercings. By understanding how to read microscopic hallmarks, identify gemstone optical properties, and monitor tissue health, you elevate yourself from a casual wearer to an informed jewelry connoisseur.


