How to Design Earring Cards Custom Printed for Your Brand
Learn how to design and print custom earring cards for your jewelry brand. Step-by-step guide covering paper weights, hole sizes, and layouts.

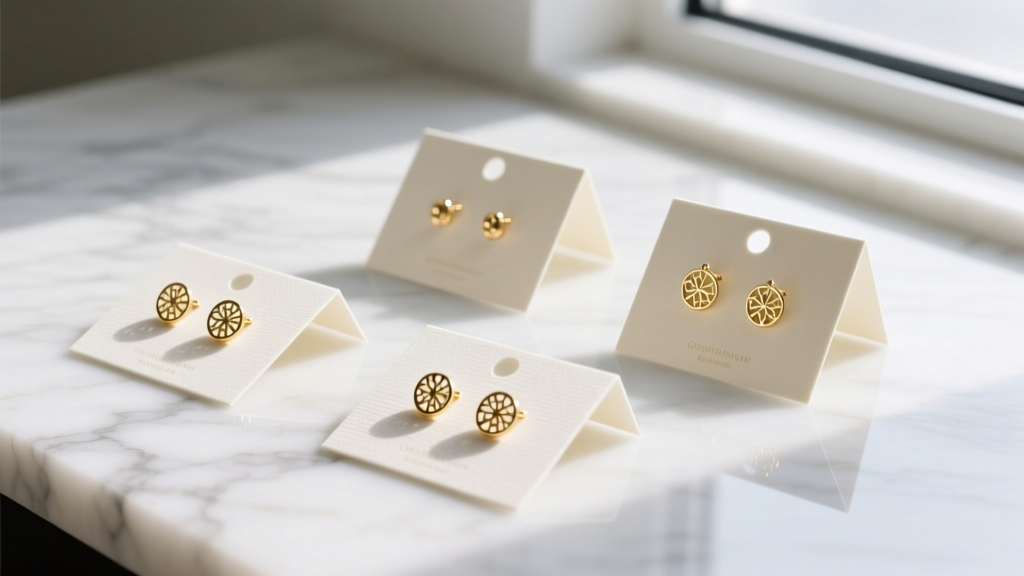
Why Custom Packaging Elevates Your Jewelry Brand
When selling handmade or curated earrings, the unboxing experience is just as critical as the jewelry itself. Upgrading from generic, bulk-bought white cardstock to earring cards custom designed for your brand instantly increases perceived value. A well-engineered card prevents heavy brass hoops from sagging, keeps delicate 20-gauge gold studs secure during transit, and serves as a tactile brand touchpoint. According to packaging industry data, branded packaging can increase customer retention by up to 40%. This step-by-step guide will walk you through the exact material grades, dimensional tolerances, and printing specifications required to create professional-grade earring cards.
Step 1: Selecting the Right Cardstock Weight and Finish
The most common mistake jewelry makers make is choosing a paper weight that cannot support the physical mass of their earrings. Cardstock is measured in points (pt) or grams per square meter (GSM). Here is the technical breakdown for matching paper weight to earring styles:
- 14pt (approx. 300 GSM): Ideal for lightweight stud earrings, small huggies, and delicate ear cuffs. It is cost-effective but will warp if used with heavy gemstone dangles.
- 16pt (approx. 350 GSM): The industry standard for versatile jewelry brands. It provides enough rigidity for medium-weight hoop earrings and drop styles without feeling overly bulky in a shipping mailer.
- 18pt to 24pt (approx. 400-500 GSM): Required for heavy statement pieces, thick brass hoops, or large resin dangles. This weight mimics the feel of a premium business card and prevents the card from bowing under the jewelry's weight.
For finishes, opt for an uncoated or soft-touch matte aqueous coating. High-gloss UV coatings reflect harsh lighting in product photography and make it impossible to write custom thank-you notes or pricing on the back. If your brand focuses on sustainability, request 100% post-consumer recycled kraft or FSC-certified cotton paper from your printer.
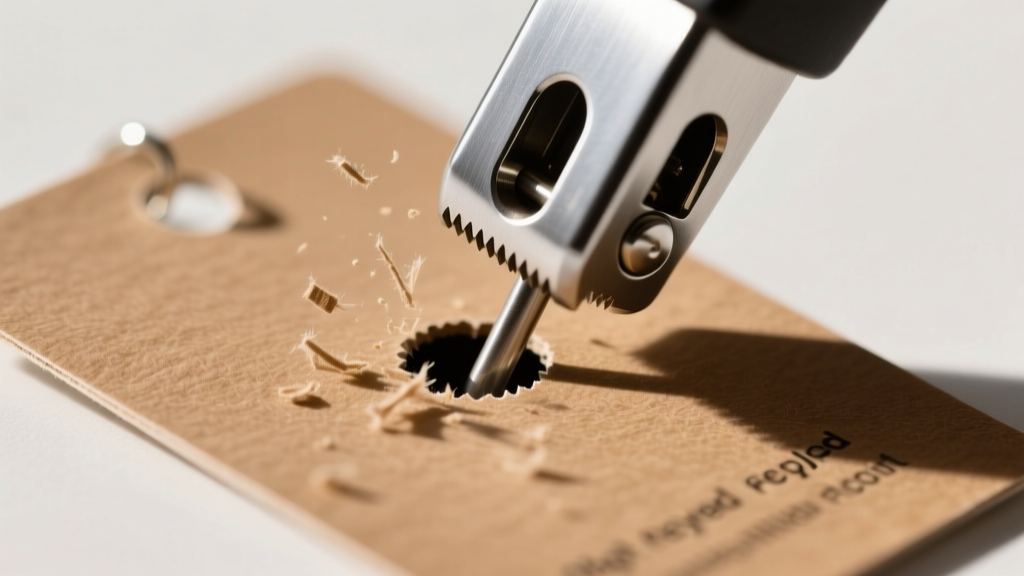
Step 2: Calculating Dimensions and Hole Placements
Proper hole placement ensures the earrings sit flat and do not overlap or scratch one another. The diameter of your hole punch must correspond directly to the wire gauge of your earring findings.
| Earring Style | Recommended Card Size | Hole Punch Diameter | Post/Wire Gauge Compatibility |
|---|---|---|---|
| Standard Studs | 2" x 2" or 2" x 3" | 1/16" (1.58 mm) | 22G to 18G posts (0.64mm - 1.02mm) |
| Wire Hook Dangles | 2" x 3.5" or 2.5" x 4" | 3/32" (2.38 mm) | 20G to 16G hooks (0.81mm - 1.29mm) |
| Thick Hoops / Huggies | 2.5" x 2.5" (Square) | 1/8" (3.17 mm) | 14G to 12G wire (1.62mm - 2.05mm) |
| Ear Cuffs / Clip-ons | 3" x 2" (Landscape) | No holes / Slit die-cut | N/A (Friction or tension fit) |
Mapping Hole Spacing for Specific Styles
For standard stud cards, place the holes exactly 1 inch apart horizontally, centered 0.75 inches from the top edge. This provides enough clearance for standard butterfly backs or silicone friction backs without them hanging off the edge of the card. For dangle earrings, position the holes 1.25 inches apart to prevent the charms from tangling during shipping.
Step 3: Designing the Artwork for Print
When setting up your design file in Adobe Illustrator or Canva, you must adhere to strict print production standards to avoid blurry text or cut-off logos.
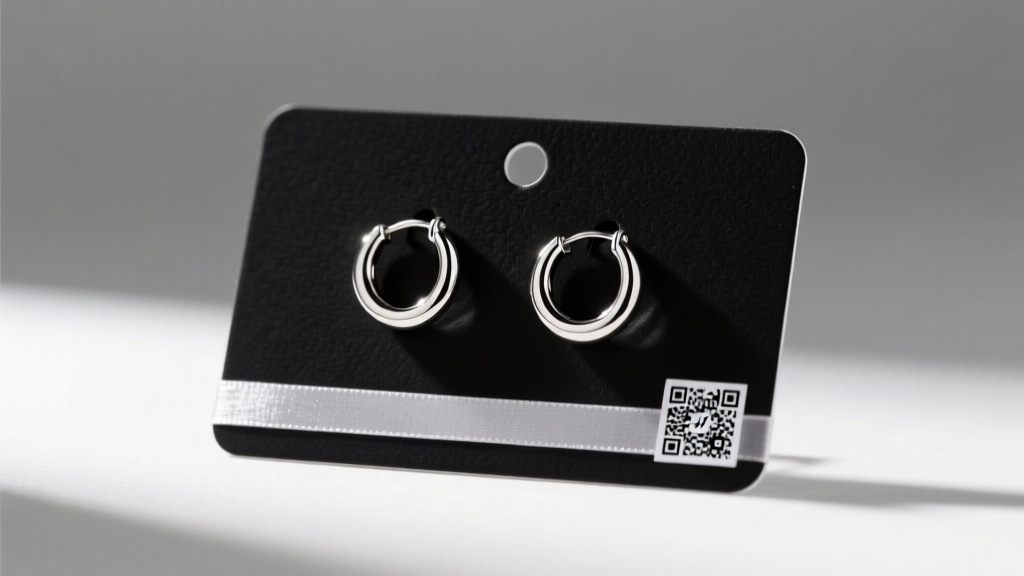
- Color Space: Always design in CMYK, not RGB. Screens emit light, while paper absorbs it. If your brand uses a deep black background, do not use standard 100% K (Black). Use a 'Rich Black' formula: C:60 M:40 Y:40 K:100. This prevents the black from looking washed out or gray on matte cardstock.
- Bleed and Safe Zones: Extend your background color or pattern 0.125 inches past the final cut line (the bleed area). Keep all critical text, barcodes, and logos at least 0.125 inches inside the cut line (the safe zone) to prevent them from being trimmed off by the printer's guillotine.
- Typography: Use a minimum font size of 6pt for care instructions and 8pt for pricing. Serif fonts below 8pt often bleed and become illegible on uncoated, textured papers like kraft or cotton.
Expert Tip: Always include a scannable QR code on the back of your earring cards. Link it directly to a hidden landing page with jewelry care instructions, a re-order discount code, or an authenticity verification certificate. This bridges the gap between physical packaging and digital retention.
Step 4: Choosing a Printing and Cutting Method
How you produce your earring cards custom printed designs depends heavily on your monthly volume and budget.
Low Volume (Under 500 cards/month): DIY Die-Cutting
Print your designs on 16pt cardstock using a high-quality inkjet printer (like the Epson EcoTank Pro series, which handles thick media well). Use an electronic cutting machine like a Cricut Maker 3 or Silhouette Cameo 4. These machines use drag blades or rotary blades to precisely cut the outer dimensions and punch the inner holes simultaneously. The cost per card is roughly $0.15 to $0.25, factoring in paper and blade wear.
High Volume (Over 1,000 cards/month): Professional Offset Printing
Partner with a commercial packaging supplier like Packlane or UPrinting. Professional printers use steel-rule die-cutting presses that stamp out hundreds of cards per minute with flawless, crush-free edges. At volumes of 2,500+, the cost drops to $0.04 to $0.08 per card. Ensure you request a physical proof before approving the full run to verify the hole punch alignment.
Step 5: Anti-Tarnish Integration and Assembly
Sterling silver, brass, and copper earrings are highly susceptible to oxidation when exposed to humidity and sulfur in the air. Your earring card is the perfect vehicle for chemical intervention.
According to metallurgical guidelines from jewelry supply authority Rio Grande, incorporating anti-tarnish technology into your packaging is non-negotiable for fine jewelry. Here are the two most effective methods:
- 3M Anti-Tarnish Strips: These small, treated paper squares absorb hydrogen sulfide (H2S) and sulfur dioxide from the air. Adhere a 1-inch strip to the back of the earring card using a double-sided adhesive dot. They remain effective for up to 6 months in a sealed environment.
- Pacific Silvercloth Integration: For ultra-premium brands, consider wrapping the earring card in a small pouch made of Pacific Silvercloth, a cotton flannel embedded with microscopic silver particles that trap tarnish gases before they reach your jewelry.
Finally, once the earrings are secured to the card with their backings, slide the entire assembly into a resealable, acid-free cellophane or polyethylene bag. This creates a micro-climate that maximizes the lifespan of your anti-tarnish strips and keeps the card pristine during transit.
Conclusion
Designing custom earring cards is a precise blend of structural engineering and brand storytelling. By selecting the correct GSM cardstock, matching your hole punches to specific wire gauges, and integrating anti-tarnish chemistry, you protect your jewelry and elevate your customer's unboxing experience. Treat your packaging with the same meticulous attention to detail as your jewelry designs, and your brand will stand out in a saturated market.


