Earring Ear Hygiene: Cleaning Tips for Lobe and Cartilage
Master earring ear hygiene with our expert cleaning guide. Learn material-specific care, lobe vs cartilage healing, and how to prevent piercing infections.

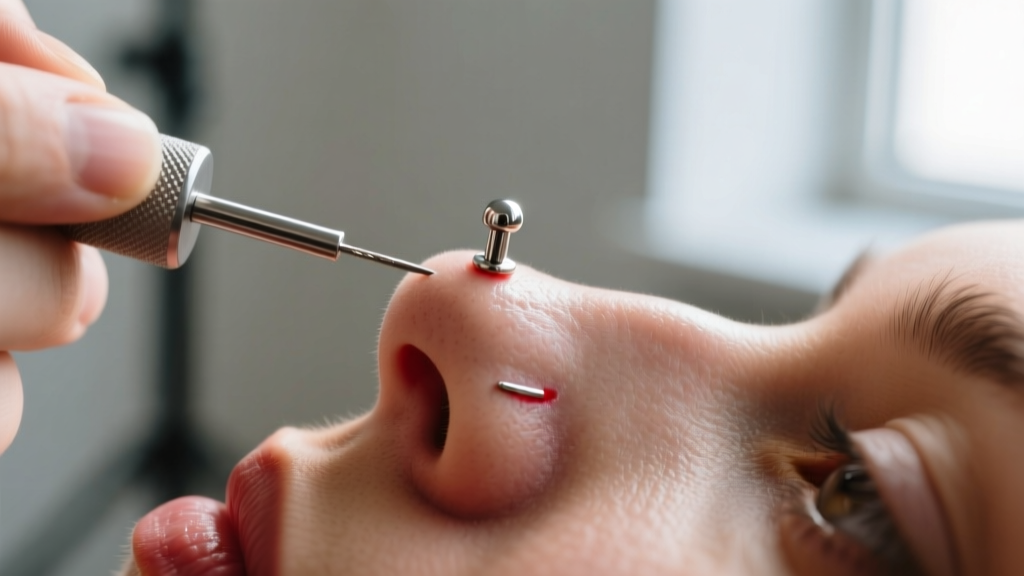
The Anatomy of Earring Ear Hygiene
Maintaining a healthy earring ear is about far more than simply wiping down your favorite jewelry pieces with a cloth. When you pierce your ear, you are creating a fistula—a permanent, tubular structure of skin tissue that lines the piercing channel. This fistula acts essentially as an internal mucous membrane that is continuously exposed to the external environment, environmental pollutants, and hair products. Because of this unique anatomical structure, proper earring ear hygiene is critical to preventing contact dermatitis, bacterial infections, and hypertrophic scarring. According to the Association of Professional Piercers (APP), the vast majority of piercing complications arise not from the initial needle puncture, but from improper long-term aftercare, the use of harsh cytotoxic cleaning agents, and poor jewelry material choices.
Understanding the difference between a true infection and a standard irritation flare-up is the first step in mastering earring ear care. Infections are characterized by systemic symptoms like fever, radiating heat, and thick, foul-smelling green or yellow pus. Irritation, on the other hand, typically presents as localized redness, clear or whitish lymph fluid (often mistaken for pus), and localized swelling. Treating an irritation bump with harsh antibiotics or alcohol will only exacerbate the tissue damage, which is why a scientifically grounded approach to cleaning is paramount.
Material Porosity and Biocompatibility
The foundation of earring ear health begins with the metal sitting inside the fistula. Many commercial jewelry brands market "surgical steel" as hypoallergenic, but 316L stainless steel contains between 8% and 12% nickel. Over time, the microscopic porosity of lower-grade metals can harbor bacteria and leach nickel ions into the surrounding tissue, triggering severe allergic contact dermatitis. For optimal earring ear hygiene, especially in fresh piercings or sensitive cartilage, you must rely on highly polished, implant-grade materials.
| Material Grade | Nickel Content | Surface Porosity | Cleaning Frequency | Best Use Case |
|---|---|---|---|---|
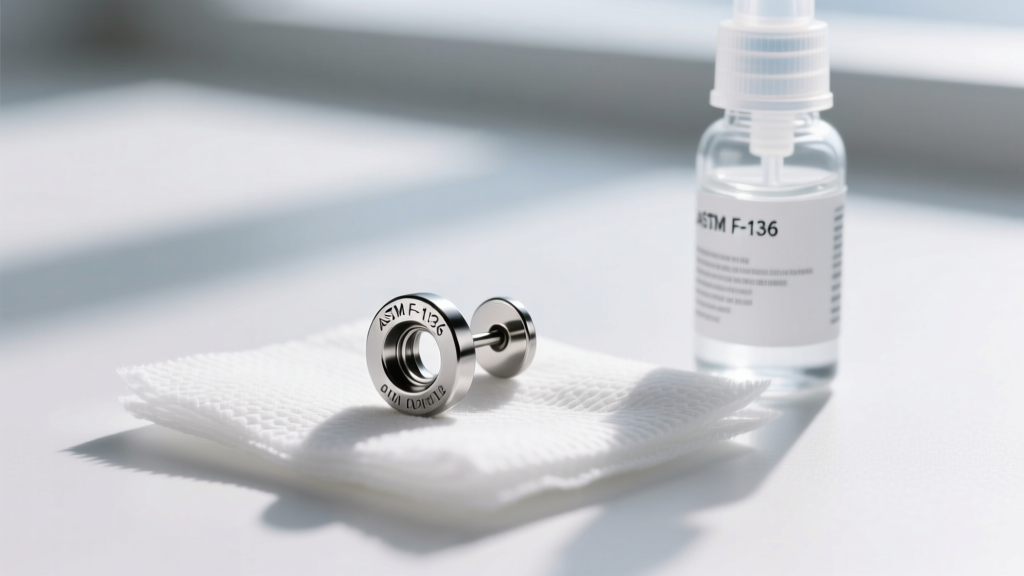
| ASTM F-136 Titanium | 0% | Extremely Low | 1-2 times weekly | Fresh piercings, sensitive ears, MRI safety |
| 14k or 18k Solid Gold | Varies (Alloy dependent) | Low | 1-2 times weekly | Healed lobes, long-term wear |
| 316L Surgical Steel | 8% - 12% | Moderate | Daily (if tolerated) | Healed ears with no nickel allergy |
| Sterling Silver (925) | 0% (Contains Copper) | High (Tarnishes) | Daily | Short-term wear in fully healed lobes only |
Lobe vs. Cartilage: Vascularity and Healing Timelines
Your cleaning and maintenance routine must adapt to the specific anatomy of your earring ear placement. Earlobes are highly vascular, meaning they have a robust blood supply that delivers white blood cells and nutrients to fight off bacteria and repair tissue. Because of this, lobe piercings (typically done at 18-gauge or 16-gauge) heal relatively quickly, usually within 6 to 8 weeks. Cartilage, however, is avascular. It receives nutrients through slow diffusion from the surrounding perichondrium (the connective tissue covering the cartilage).
Cartilage Maintenance Realities
Because cartilage lacks direct blood flow, it is highly susceptible to prolonged inflammation and takes anywhere from 6 to 12 months to fully heal. When cleaning a cartilage earring ear placement, you must be exceptionally gentle. The standard gauge for cartilage is 16-gauge (1.2mm) or 14-gauge (1.6mm) to provide structural stability and reduce the "cheese-cutter effect," where thin jewelry migrates through the tissue. If you experience swelling in a new cartilage piercing, a professional piercer will often use a longer 14-gauge post to accommodate the edema, followed by a "downsize" to a shorter post after 4 weeks to prevent the jewelry from snagging and introducing bacteria into the fistula.
Troubleshooting Common Earring Ear Complications
Even with meticulous care, the earring ear environment is prone to specific biological and mechanical failures. Here is how to identify and resolve them using evidence-based methods.
The "Ear Cheese" Phenomenon
If you remove your earrings and notice a distinct, unpleasant odor accompanied by a grayish buildup on the jewelry post, you are experiencing a mix of dead skin cells, sebum (natural skin oils), and residual hair products. This is not an infection; it is a natural biological process. The fistula continuously sheds skin cells inward. To combat this, wash your earrings with a mild, unscented liquid soap (such as Dr. Bronner's Unscented Baby Mild) and warm water once a week. Use a soft-bristled brush to gently clean the crevices of huggie hoops or the threading on screw-back studs.
Hypertrophic Scarring vs. Keloids
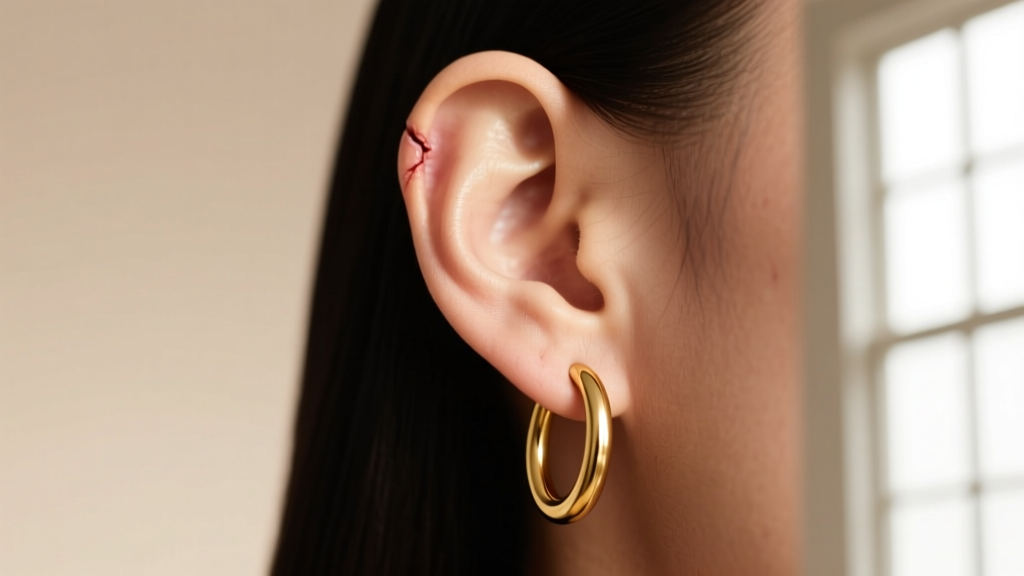
Irritation bumps are frequently misidentified as keloids. A hypertrophic scar or irritation bump is a localized buildup of collagen caused by mechanical friction, improper jewelry angles, or moisture trapped against the skin. It stays within the boundaries of the piercing site. A true keloid is a genetic fibroproliferative tumor that grows far beyond the piercing site and requires dermatological intervention (like corticosteroid injections). For standard irritation bumps, the solution is almost always mechanical: switch to a flat-back labret stud, stop sleeping on the ear, and apply warm sterile saline compresses.
The 0.9% Saline Protocol: What to Use and What to Avoid
The Mayo Clinic and leading dermatologists universally recommend sterile saline as the gold standard for earring ear maintenance. However, not all saline is created equal. You must use a sterile wound wash containing exactly 0.9% sodium chloride and purified water, with zero additives, preservatives, or fragrances.
- NEVER use Rubbing Alcohol or Hydrogen Peroxide: These agents are highly cytotoxic. They do not just kill bacteria; they destroy the fragile fibroblasts and granulation tissue your body is building to line the fistula, effectively resetting the healing process and causing severe dryness and micro-cracking.
- NEVER use Tea Tree Oil or Essential Oils: Undiluted essential oils can cause severe chemical burns and contact dermatitis on the delicate mucosal lining of the ear canal and fistula.
- AVOID Ointments and Creams: Products like Neosporin or petroleum jelly create an occlusive barrier that traps moisture and anaerobic bacteria inside the piercing channel, virtually guaranteeing an infection.
Step-by-Step Deep Cleaning Routine
- Prep: Wash your hands thoroughly with antibacterial soap before touching your ears or jewelry.
- Apply Saline: Spray the 0.9% sterile saline directly onto the front and back of the earring ear placement. If using a hoop or huggie, gently rotate the jewelry back and forth to allow the saline to penetrate the fistula.
- Soften Crusties: Allow the saline to sit for 30 to 60 seconds to soften any dried lymph fluid. Never pick or scrape crusties off with your fingernails, as this introduces new bacteria and causes micro-tears.
- Wipe: Gently wipe away the softened debris using a sterile, non-woven gauze pad. Avoid cotton swabs (Q-tips), as they can leave microscopic cotton fibers tangled in the jewelry threading or inside the fistula, leading to severe irritation.
- Dry: Moisture is the enemy of a healthy earring ear. Use a hair dryer on the absolute coolest, lowest setting to gently dry the area, or pat dry with fresh non-woven gauze.
Mechanical Stress and Sleeping Environments
Hygiene is only half the battle; mechanical stress is the leading cause of chronic earring ear inflammation. Sleeping on a fresh or even healed cartilage piercing puts immense lateral pressure on the fistula, which can cause the jewelry angle to shift. Over time, this results in the jewelry sitting crookedly, leading to uneven tissue wear and chronic irritation bumps. If you are a side sleeper, invest in a specialized travel pillow or a piercing pillow with a central cavity to suspend your ear in empty space while you sleep.
Furthermore, be mindful of environmental hazards. Hair extensions, loofahs, and coarse knit sweaters can easily snag on butterfly backs or intricate drop earrings, causing traumatic tearing of the earlobe. Upgrading to threadless or internally threaded flat-back labret studs drastically reduces the risk of mechanical snagging and provides a smooth surface that is infinitely easier to keep clean. By combining implant-grade metallurgy, strict 0.9% saline protocols, and mindful mechanical protection, you ensure your earring ear remains healthy, vibrant, and ready to showcase your favorite jewelry for a lifetime.


