Earring Gauge Chart Actual Size: Troubleshoot Piercing Fits
Master the earring gauge chart actual size to fix piercing mismatches. Learn troubleshooting for thick posts, thin wires, and the cheese-cutter effect.

Ordering body jewelry online should be a seamless experience, but nothing is more frustrating than waiting weeks for a new piece only to discover it will not fit through your piercing. The root of this issue almost always comes down to a misunderstanding of wire thickness and fistula elasticity. Whether you are dealing with a stubborn cartilage piercing or a stretched earlobe, consulting an earring gauge chart actual size is the first step toward solving your jewelry fit issues. In this troubleshooting guide, we move beyond basic size charts to explore the biomechanics of piercing fits, threading trauma, and actionable solutions for when your jewelry simply will not go in.
The Biomechanics of Gauge Sizing and Threading Trauma
The most common mistake consumers make when reading an earring gauge chart actual size is forgetting the inverse nature of the gauge system. As the gauge number increases, the physical thickness of the metal decreases. A 20-gauge earring (0.81mm) is significantly thinner than a 14-gauge earring (1.63mm). However, gauge size is only half the battle when troubleshooting insertion issues.
The hidden culprit behind painful insertions and torn fistulas is often the threading type on the jewelry post. If you are attempting to insert an externally threaded 14-gauge barbell, the actual size of the screw threads is wider than the 1.63mm post itself—often measuring closer to 1.85mm. Forcing this through a healed 14-gauge fistula causes micro-tears, leading to irritation bumps and scar tissue buildup. According to the Association of Professional Piercers (APP), internally threaded or threadless (push-pin) jewelry is the gold standard because the post remains a consistent diameter from end to end, matching the exact millimeter measurements on your earring gauge chart actual size.
Earring Gauge Chart Actual Size: The Master Reference
Keep this troubleshooting table handy when comparing your current jewelry to new pieces. Note that millimeter measurements can vary by up to 0.05mm depending on the manufacturer's machining tolerances.
| Gauge Size | Millimeters (mm) | Inches (Fraction) | Common Piercing Applications |
|---|---|---|---|
| 22G | 0.64mm | 1/40" | Nose studs, ultra-thin earlobe wires (high migration risk) |
| 20G | 0.81mm | 1/32" | Standard nose rings, basic earlobe studs |
| 18G | 1.02mm | 1/25" | Standard earlobes, tragus, helix, nostril |
| 16G | 1.29mm | 3/64" | Cartilage, conch, daith, rook, industrial |
| 14G | 1.63mm | 1/16" | Standard cartilage, navel, tongue, snug |
| 12G | 2.05mm | 5/64" | Stretched lobes, specific cartilage projects |
| 10G | 2.59mm | 3/32" | Early stage stretched earlobes |
| 8G | 3.26mm | 1/8" | Stretched earlobes, heavy gauge septum |
Troubleshooting Scenario A: The Post is Too Thick
You bought a 14-gauge clicker ring, but your piercing was originally done at 16-gauge. The metal simply will not pass through the fistula without intense pressure. Never force a larger gauge into a smaller hole. Brute force causes blunt force trauma to the fistula lining, resulting in immediate swelling, bleeding, and the formation of hypertrophic scarring.
The Taper Solution: Step-by-Step
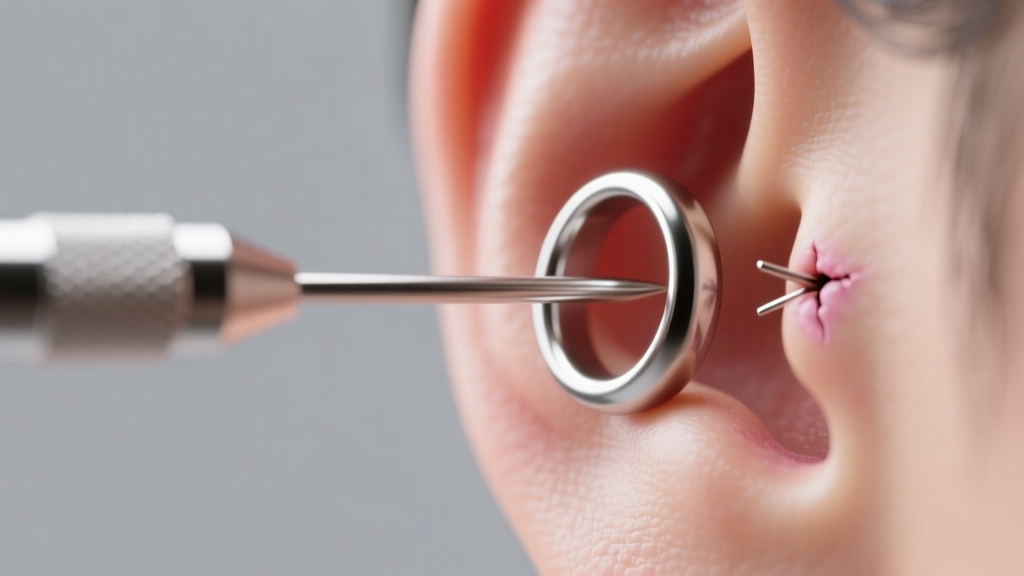
To safely bridge the gap between your earring gauge chart actual size and your current fistula, you must use an insertion taper. Tapers are conical rods that gradually stretch the tissue over a few seconds rather than forcing a blunt edge through it.
- Select the Right Material: Use only surgical steel or glass tapers. Avoid acrylic tapers, as they are porous, harbor bacteria, and can snap under pressure.
- Lubricate: Apply a water-based lubricant or sterile saline to both the taper and the jewelry post.
- Align and Push: Align the narrow end of the taper with your piercing. Push gently and steadily. If you meet sharp resistance, stop immediately. Tissue needs time to expand.
- Follow Through: Once the thick end of the taper is flush with the piercing, attach your new jewelry (if using a taper with a thread) or push the jewelry directly behind the taper (if using a guide pin).
Note: Cartilage piercings are highly inelastic. Stretching a 16G helix to 14G is notoriously difficult and often requires the assistance of a professional piercer who can use a dermal punch or specialized stretching protocols.
Troubleshooting Scenario B: The Post is Too Thin
Conversely, what happens when you wear a 20-gauge earring in a 14-gauge piercing? While the jewelry will slide in effortlessly, wearing wire that is too thin for the fistula creates a biomechanical hazard known in the body modification industry as the cheese-cutter effect.
Understanding the Cheese-Cutter Effect
When a thin wire (like 22G or 20G) supports a heavy decorative element, or when it is subjected to the weight of a large hoop, the downward force is concentrated on a microscopic surface area. Over time, this thin wire acts exactly like a cheese wire slicing through a block of cheddar. It will slowly migrate downward through the earlobe tissue, eventually splitting the lobe entirely. If you consult an earring gauge chart actual size and realize your jewelry is more than two gauge sizes thinner than your healed fistula, you must upsize immediately. For heavy statement earrings, the minimum safe thickness for standard earlobes is 16-gauge (1.29mm) to distribute the weight and prevent tissue rejection.
Material Polish and Fistula Friction
Sometimes, the earring gauge chart actual size is perfectly matched, but the jewelry still refuses to slide in smoothly. Before you assume your piercing has shrunk, inspect the surface finish of the jewelry post. High-quality body jewelry from reputable brands is polished to a mirror finish. This ultra-smooth surface reduces the coefficient of friction, allowing the metal to glide through the fistula.
Cheaper, mass-produced earrings often have microscopic machining lines, burrs, or a matte finish on the post. These imperfections act like microscopic teeth, catching on the delicate epithelial cells lining your piercing channel. Furthermore, ensure your jewelry is crafted from implant-grade materials like ASTM F-136 Titanium. As noted by FreshTrends Body Jewelry, implant-grade titanium is not only hypoallergenic but also takes a superior mirror polish compared to lower-grade stainless steels, drastically reducing insertion friction.
How to Accurately Measure Your Gauge at Home
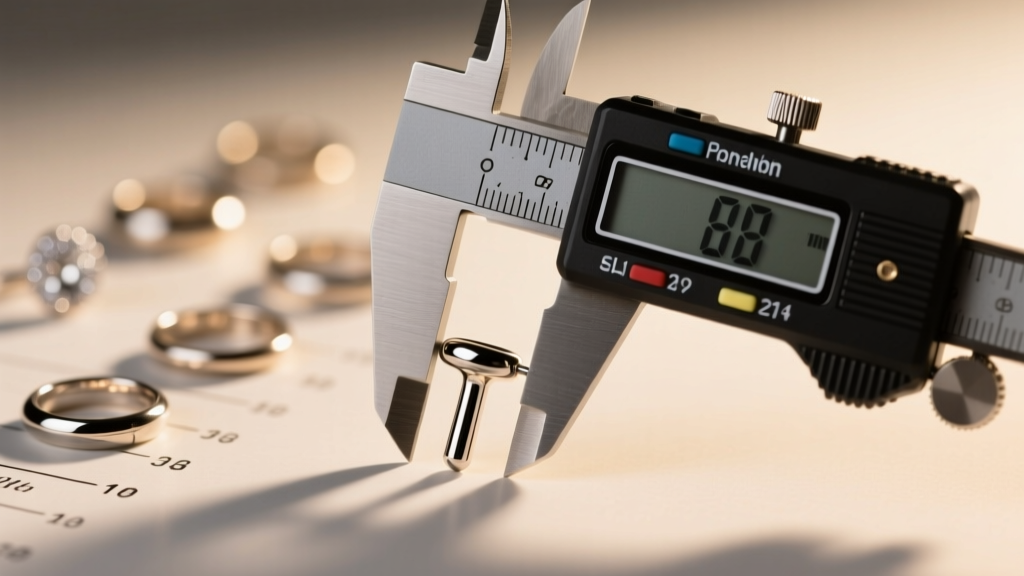
If you have lost the original documentation for your jewelry and need to verify your earring gauge chart actual size, do not rely on visual estimation or ruler measurements. The difference between 16G (1.29mm) and 14G (1.63mm) is only 0.34 millimeters—imperceptible to the naked eye but massive to your fistula.
Invest in a pair of digital vernier calipers. Available for under $20 at any hardware store, digital calipers measure to the hundredth of a millimeter. Simply close the caliper jaws gently around the bare post of your earring (avoid measuring the decorative end or the threading). Compare the digital readout to the master chart provided above. If your measurement reads 1.20mm, your jewelry is likely a worn-down 16G or a metric 1.2mm barbell. Accurate measurement is the cornerstone of troubleshooting piercing fit issues and ensuring the long-term health of your tissue.
Expert Troubleshooting Takeaway: Never ignore a tight fit. Your fistula is a living tube of tissue that reacts to trauma with inflammation. By strictly adhering to an earring gauge chart actual size, utilizing proper insertion tapers, and avoiding the cheese-cutter effect, you can maintain healthy, lifelong piercings that accommodate a wide variety of jewelry styles.
When to Seek Professional Piercer Assistance
While at-home troubleshooting solves most minor gauge discrepancies, certain situations require a professional. If your piercing has been without jewelry for several months, the fistula may have contracted or filled with dead skin cells and sebum, creating a false blockage. A professional piercer can safely use a sterile taper and an insertion pin to clear the blockage without creating a false exit wound. Additionally, if you are attempting to stretch a cartilage piercing beyond its original gauge, always consult a professional to avoid cartilage necrosis or severe blowouts. Remember, understanding the earring gauge chart actual size is your best defense against unnecessary tissue damage.


