Earring Keloid Removal: Treating Piercing Bumps and True Scars
Discover expert earring keloid removal methods, learn to distinguish true scars from piercing bumps, and find safe jewelry for healing.

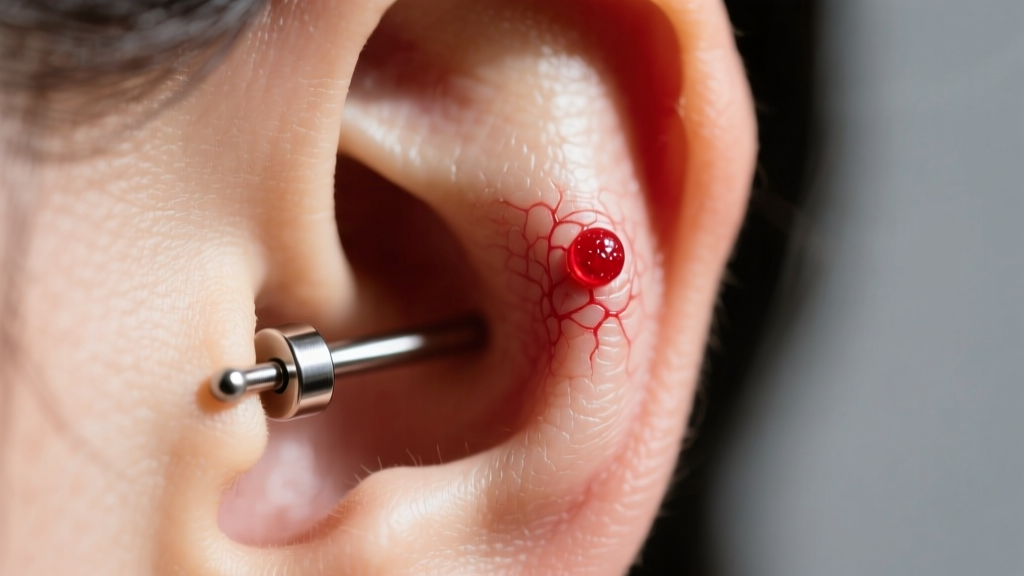
Dealing with a raised, stubborn bump on your earlobe or cartilage can be incredibly frustrating. When searching for earring keloid removal solutions, most people are actually dealing with a common case of mistaken identity. True keloids are complex, genetically driven fibroproliferative tumors, whereas the vast majority of "earring keloids" are actually hypertrophic scarring or localized piercing bumps caused by mechanical irritation, poor jewelry choices, or improper aftercare.
As a domain expert in body jewelry and piercing mechanics, I see countless individuals resort to harsh, unproven internet hacks—like applying tea tree oil or aspirin pastes—that only worsen tissue trauma. This comprehensive troubleshooting guide will help you accurately diagnose your ear bump, outline actionable steps for jewelry swaps, and detail the medical earring keloid removal protocols required for true cicatricial scars.
The Great Misconception: Piercing Bumps vs. True Keloids
Before attempting any removal or treatment, you must identify the nature of the tissue. The American Academy of Dermatology notes that true keloids extend beyond the original boundary of the wound, whereas hypertrophic scars remain confined to the piercing channel. Misdiagnosing a standard irritation bump as a keloid often leads to unnecessary anxiety and improper treatment.
| Characteristic | Hypertrophic Piercing Bump | True Keloid Scar |
|---|---|---|
| Boundary | Stays within the piercing site | Grows beyond the original wound margins |
| Onset Time | Weeks to a few months post-piercing | Months to years after the initial trauma |
| Primary Cause | Friction, angle issues, nickel allergy, moisture | Genetic predisposition, overproduction of collagen |
| Resolution | Resolves with jewelry changes and proper aftercare | Requires medical intervention (injections, surgery) |
| Texture & Color | Firm, red/purple, may secrete clear lymph fluid | Shiny, rubbery, dark pink to deep brown/black |
Troubleshooting "Fake Keloids" (Hypertrophic Piercing Bumps)
If your bump is localized strictly around the earring post and appeared shortly after getting pierced or changing jewelry, you are likely dealing with an irritation bump. The solution here is not medical earring keloid removal, but rather mechanical troubleshooting.
1. Ditch the Butterfly Backs and Hoops
Standard friction-back (butterfly) earrings are the leading cause of lobe irritation bumps. The backing traps dead skin cells, sebum, and bacteria against the wound, while the clutch mechanism often applies uneven pressure, causing localized tissue necrosis. Furthermore, most commercial butterfly backs are made from "surgical steel," which contains up to 10% nickel—a primary allergen that triggers contact dermatitis and subsequent swelling.
The Fix: Switch to an implant-grade titanium (ASTM F136) flat-back labret. The flat disc sits flush against the back of the ear, distributing pressure evenly and eliminating the moisture trap. For cartilage piercings, avoid hoops entirely during the first 12 months; the rotational movement of a hoop constantly introduces bacteria into the healing fistula.
2. Evaluate Your Gauge and Angle
A common failure mode in cartilage piercings (like the helix or conch) is the use of jewelry that is too thin. An 18-gauge (1.0mm) or 20-gauge (0.8mm) earring acts like a wire cheese-cutter through healing cartilage, leading to migration and severe hypertrophic scarring.
The Fix: Consult an APP-certified piercer to upsizing your jewelry to 14-gauge (1.6mm) or at least 16-gauge (1.2mm). A thicker post provides structural stability. Additionally, if the piercing was done at an improper angle (not perfectly perpendicular to the tissue plane), the body will attempt to reject it, forming a permanent bump until the jewelry is removed or the angle is corrected by a professional.
3. Implement the L.I.T.H.A. Protocol
L.I.T.H.A. stands for Leave It The Hell Alone. Stop touching, twisting, or sleeping on the affected ear. Use a sterile 0.9% sodium chloride saline spray (such as NeilMed Piercing Aftercare) twice daily. Do not use tea tree oil, hydrogen peroxide, or rubbing alcohol, as these destroy newly formed epithelial cells and guarantee prolonged inflammation.
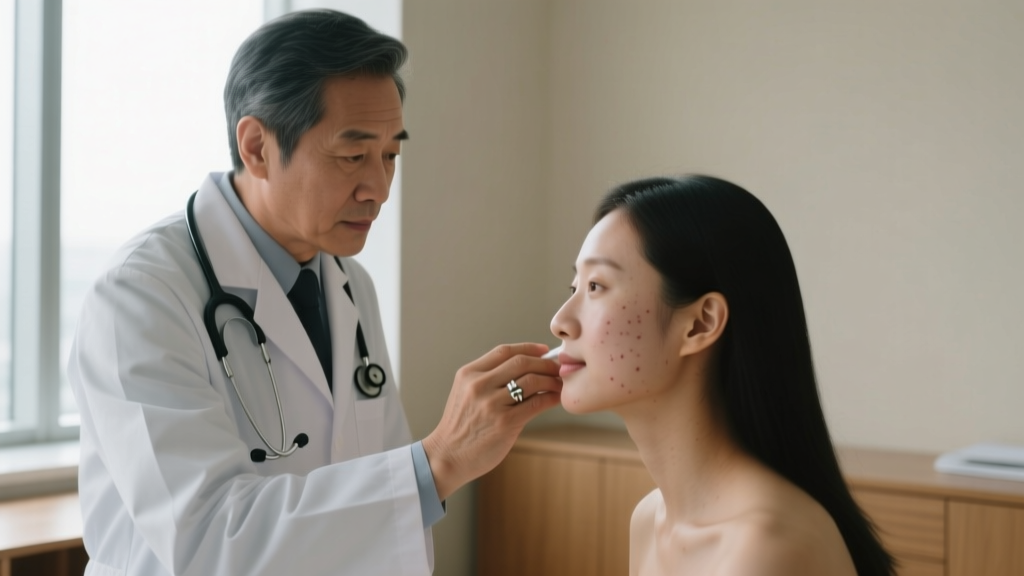
Medical Earring Keloid Removal Options for True Scars
If you have a confirmed true keloid—a shiny, overgrown mass of scar tissue that extends beyond the original earring hole—home remedies will not work. According to the Association of Professional Piercers, individuals with a known history of keloid formation should exercise extreme caution with body modifications, as the trauma of the needle can trigger aggressive collagen synthesis.
When true earring keloid removal is necessary, dermatologists and plastic surgeons typically employ a multimodal approach to prevent recurrence, which can happen in up to 80% of cases if treated with surgery alone.
- Intralesional Corticosteroid Injections: The first-line treatment. Triamcinolone acetonide (Kenalog) is injected directly into the keloid every 3 to 4 weeks. This breaks down collagen bonds, flattening the scar. Cost: $50 - $150 per session.
- Surgical Excision with Adjuvant Therapy: The keloid is surgically removed, but the wound is immediately treated with post-operative radiation or serial steroid injections to halt the fibroblast response. Cost: $250 - $800+ depending on size and facility fees.
- Cryotherapy: Liquid nitrogen is used to freeze the keloid from the inside out, causing cellular necrosis. Often combined with steroid injections for thicker earlobe keloids.
- 5-Fluorouracil (5-FU) Injections: An antimetabolite drug sometimes mixed with corticosteroids to inhibit the rapid division of scar-producing cells, highly effective for stubborn ear cartilage keloids.
"Surgical excision of an earlobe keloid without post-operative medical management is almost guaranteed to result in a larger, more aggressive keloid. Multimodal therapy is the gold standard." — Board-Certified Dermatologic Surgery Guidelines
Safely Re-Piercing and Wearing Earrings Post-Removal
Once your dermatologist has successfully flattened the keloid and cleared you for jewelry, you must be hyper-vigilant about the materials you introduce to the compromised tissue. The fistula (piercing channel) of a previously keloided ear is highly reactive.
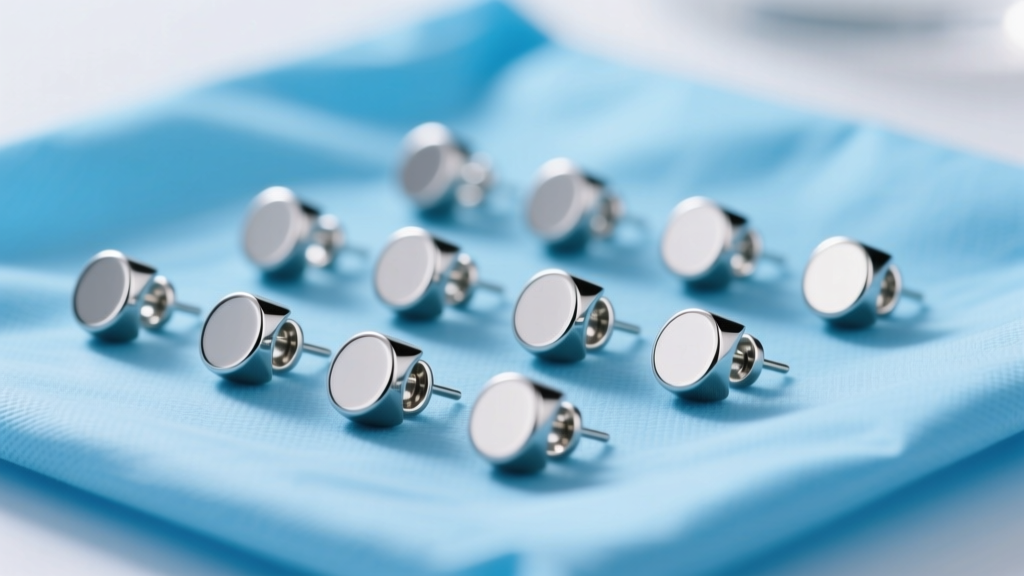
Approved Materials for Keloid-Prone Ears
You must strictly avoid anything containing nickel, cobalt, or unknown alloy mixtures. "Hypoallergenic" is a marketing term, not a metallurgical standard. Only trust the following materials for a previously traumatized ear:
- Implant-Grade Titanium (ASTM F136 / F67): The absolute safest metal for reactive bodies. It is completely nickel-free and biocompatible, widely used in orthopedic implants. Brands like NeoMetal and Anatometal are industry leaders.
- Niobium: A highly inert, unalloyed elemental metal that is exceptionally well-tolerated by sensitive skin, though it is heavier than titanium.
- Solid 14k or 18k Gold (Nickel-Free): Must be alloyed with silver or palladium, not nickel or zinc. Avoid gold plating or gold-filled jewelry, as the microscopic pores in the plating can harbor bacteria and wear away to expose base metals.
The Importance of Threadless Jewelry
For post-keloid removal wear, opt for threadless (press-fit) jewelry. Internally threaded jewelry can still harbor microscopic debris in the threads, and externally threaded jewelry acts like a file, tearing the delicate epithelial lining of the piercing channel upon insertion. Threadless titanium ends use tension to stay secure, offering a completely smooth, seamless post that glides through the tissue without causing micro-tears that could trigger a secondary keloid response.
Preventative Protocols for Keloid-Prone Earlobes and Cartilage
If you are genetically predisposed to keloids (a trait most common in individuals with darker Fitzpatrick skin types IV-VI), prevention is your only reliable strategy. If you choose to wear earrings, adhere to these strict protocols:
- Avoid Piercing Guns at All Costs: Piercing guns use blunt-force trauma to shove a dull stud through tissue, causing massive cellular crushing and severe inflammatory responses. Always use a single-use, hollow bevel needle from a professional piercer.
- Do Not Over-Stretch: Stretching an earlobe beyond 2-gauge (6mm) drastically increases the tension on the tissue matrix, which can trigger a delayed keloid response in prone individuals.
- Monitor for Early Signs: If you notice persistent itching, localized heat, or a slight raising of the tissue around an earring post that lasts more than 14 days, remove the jewelry immediately and switch to a sterile titanium retainer while consulting a dermatologist.
- Pressure Therapy: Some specialists recommend wearing specialized magnetic pressure earrings post-piercing or post-surgery to mechanically suppress collagen overproduction, though compliance can be difficult due to discomfort.
Ultimately, successful earring keloid removal and long-term ear health require a partnership between medical science and high-quality, biomechanically sound jewelry. By accurately diagnosing your bump, upgrading to ASTM F136 titanium, and seeking board-certified dermatological care for true scars, you can safely navigate the complexities of ear modifications.


