The Ultimate Earring Map: Technical Guide to Ear Piercings & Jewelry
Master the earring map with our technical guide to ear piercing zones, ASTM material grades, gauge sizes, and hardware mechanics.

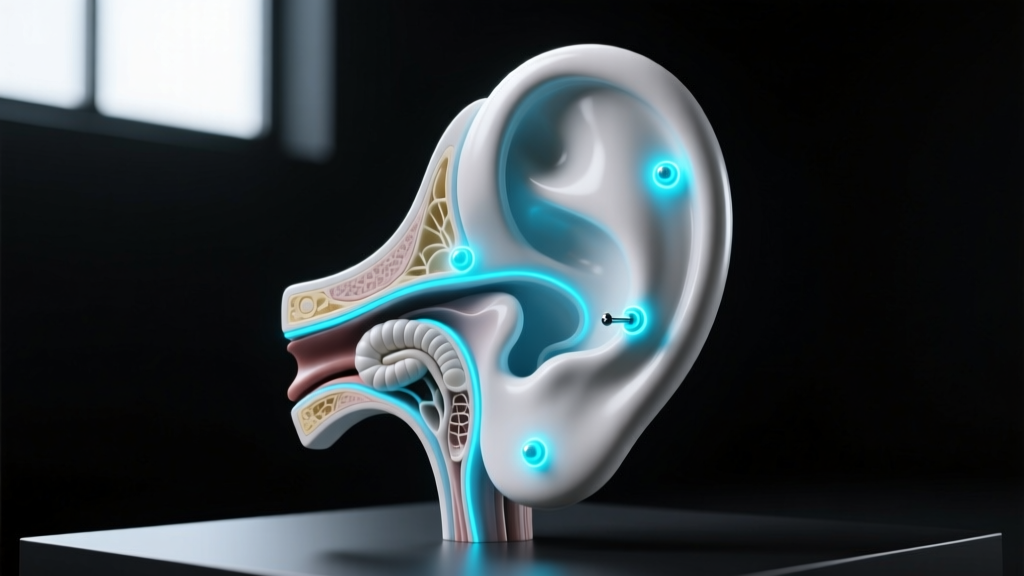
Understanding the earring map requires moving beyond simple aesthetic placement and diving into the biomechanics, tissue densities, and vascular realities of the human ear. For jewelry professionals, piercers, and dedicated collectors, an ear is not merely a canvas; it is a complex topographical layout of soft tissue and avascular fibrocartilage. Each zone on the earring map dictates specific hardware requirements, gauge tolerances, and material grades to ensure proper fistula formation and long-term tissue health.
This technical deep dive decodes the earring map, providing exact specifications for gauge sizing, ASTM-certified materials, and hardware mechanics necessary for a successful, curated ear project.
Decoding the Earring Map: Tissue Types and Vascularization
The fundamental rule of the earring map is recognizing the dichotomy between soft tissue and cartilage. The earlobe is primarily composed of adipose (fat) and fibrous connective tissue, heavily vascularized to promote rapid healing and accommodate a wide variety of jewelry weights. In contrast, the upper ear consists of fibrocartilage, an avascular tissue that relies on the perichondrium (the membrane covering the cartilage) for nutrient delivery and waste removal.
Because cartilage lacks direct blood supply, trauma from improper jewelry angles, heavy decorative ends, or low-porosity materials can lead to prolonged edema (swelling), hypertrophic scarring, and tissue necrosis. Mapping your ear correctly means respecting these biological limitations and selecting hardware that mitigates mechanical stress.
Technical Specifications by Piercing Zone
A precise earring map assigns specific gauge diameters and jewelry styles to each anatomical zone. Deviating from these standards often results in migration or the 'cheese-cutter effect,' where thin jewelry slowly slices through tissue under its own weight.
The Lobe Complex (Standard, Upper, Transverse)
- Standard Gauges: 18g (1.0mm) to 16g (1.2mm). While commercial fashion earrings often use 20g (0.8mm), professional piercers recommend 16g for lobes to provide structural stability and access to higher-quality, threadless jewelry.
- Hardware: Flat-back labrets or standard butterfly posts (though butterfly backs are discouraged due to bacteria trapping and pressure necrosis).
- Healing Timeline: 6 to 8 weeks for initial fistula formation; up to 6 months for full tissue maturation.
The Outer Cartilage (Helix, Forward Helix, Industrial)
- Standard Gauges: 16g (1.2mm) is the universal standard for helix piercings. Industrials are typically pierced at 14g (1.6mm) to support the long straight barbell and prevent bowing.
- Hardware: Flat-back labrets for helix and forward helix. Straight barbells for industrials. Hoops should be strictly avoided during the healing phase as their circular shape rotates, introducing bacteria into the fistula and causing severe irritation bumps.
- Healing Timeline: 6 to 12 months. Cartilage heals from the outside in; a helix that feels healed at 3 months is still highly vulnerable to internal trauma.
The Inner Cartilage (Conch, Rook, Daith, Tragus)
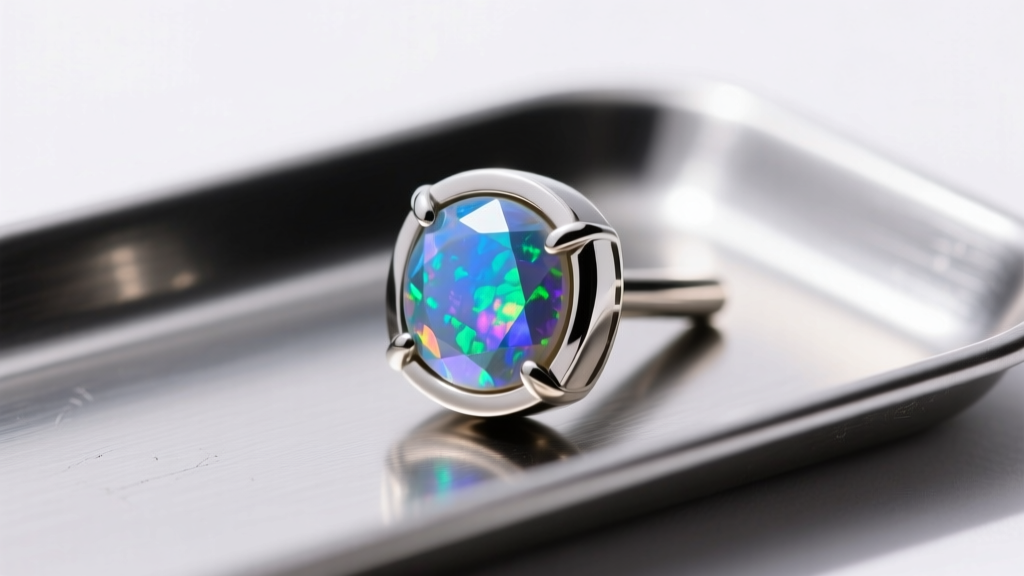
- Conch: 16g or 14g. Requires flat-back labrets with large, stable base plates to distribute pressure evenly across the concave tissue.
- Rook: 16g. Curved barbells are mandatory to match the natural fold of the antihelix. Clicker rings can be used only after full healing.
- Daith: 16g. Curved barbells or specialized cartilage clickers. The daith passes through the crus of the helix, a dense cartilage ridge that requires precise angling to avoid rejection.
- Tragus: 16g or 18g. Flat-back labrets are essential to avoid interfering with earbuds or phone receivers.
The Material Matrix: What Your Earring Map Demands
When plotting a long-term earring map, material biocompatibility is non-negotiable. The Association of Professional Piercers (APP) strictly outlines which materials are safe for initial piercings and long-term wear. Below is the technical breakdown of acceptable implant-grade materials.
| Material | Technical Standard | Nickel Content | Best Use Case on Earring Map |
|---|---|---|---|
| Implant-Grade Titanium | ASTM F-136 (Ti 6Al-4V-Eli) | Trace / None | Initial piercings, sensitive cartilage, MRI-safe. |
| Niobium | Ungraded (Highly Biocompatible) | None | Custom-bent rings, daith clickers, rook jewelry. |
| Solid Gold | 14k or 18k (Nickel-Free Alloy) | Varies by Alloy | Healed piercings only. Avoid white gold (contains nickel). |
| Surgical Steel | ASTM F-138 | 8-12% | Healed lobes only. Not recommended for fresh cartilage. |
For any fresh cartilage piercing on your earring map, ASTM F-136 titanium is the gold standard. Its high strength-to-weight ratio and complete lack of nickel eliminate the risk of contact dermatitis, which is a primary catalyst for hypertrophic scarring in the helix and conch.
Hardware Mechanics: Thread Types and Post Lengths
The mechanics of how jewelry assembles directly impact tissue health. The earring map relies heavily on two professional assembly methods: internally threaded and threadless (press-fit).
Why External Threading is Obsolete
Externally threaded jewelry (where the screw is on the post) features sharp, microscopic ridges that act like a file, tearing the delicate epithelial lining of the fistula every time it is inserted or removed. This micro-trauma invites infection and delays healing.
The Threadless (Push-Pin) Advantage
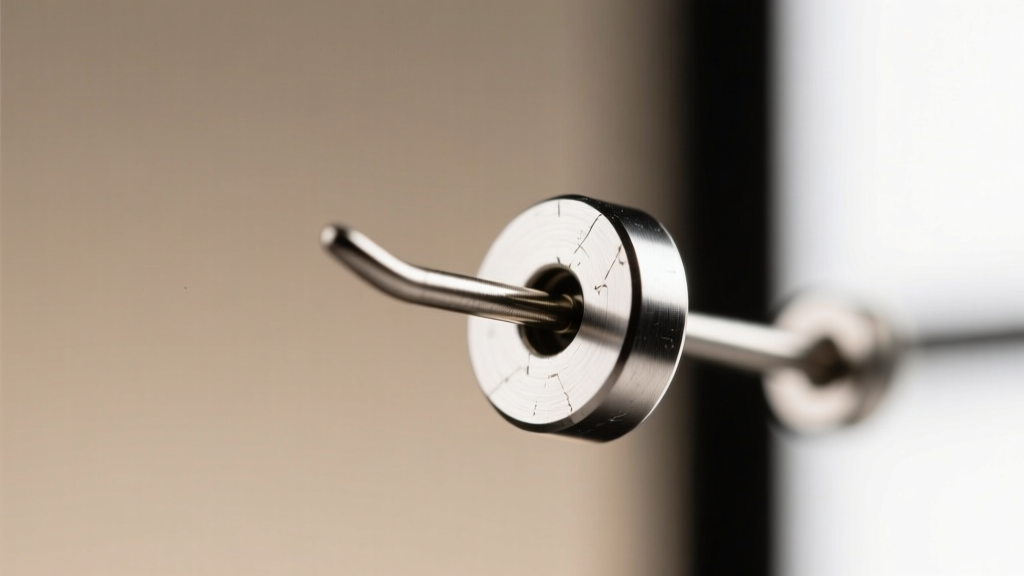
Threadless jewelry utilizes tension. The decorative end features a slightly bent pin that inserts into a hollow post. As documented in professional piercing literature, this creates a secure, seamless fit that will not unscrew itself during sleep or hair brushing. It also allows for infinite micro-adjustments in post length, which is critical for managing the varying stages of cartilage edema.
Post Length Calibration
Selecting the correct post length is vital. A post that is too long will snag and cause angle shifts; a post that is too short will embed into the swelling tissue, requiring emergency surgical removal.
- Initial Helix/Conch: 5/16' (8mm) or 3/8' (10mm) to accommodate the first 4 weeks of swelling.
- Downsizing (Weeks 4-8):strong> 1/4' (6mm) to prevent snagging once edema subsides.
- Fully Healed: 5/32' (4mm) or 3/16' (5mm) for a flush, comfortable fit.
Troubleshooting the Map: Migration, Rejection, and Hypertrophy
Even with a perfectly planned earring map, biological variables can cause complications. Understanding the difference between common failure modes is essential for intervention.
Hypertrophic Scarring vs. Keloids
Often misidentified by laypeople as 'keloids,' hypertrophic scars (irritation bumps) are localized, raised bumps that stay within the boundaries of the piercing site. They are caused by mechanical friction, excessive moisture, or improper jewelry angles. According to APP guidelines on fresh piercing care, treating these requires dry healing methods, sterile saline sprays, and correcting the jewelry angle to relieve pressure on the fistula. True keloids are genetic, grow far beyond the wound site, and require dermatological intervention.
Migration and Rejection
Migration occurs when the body slowly pushes the jewelry toward the surface of the skin. This is common in surface piercings but can happen in the helix or tragus if the jewelry is too heavy, the gauge is too thin, or the piercing was placed too shallow. Once the tissue between the entry and exit points thins to less than 2mm, the jewelry must be removed immediately to prevent permanent scarring and tissue splitting.
Curating Your Layout: Spatial Planning and Angles
A successful curated ear relies on spatial planning. When mapping out multiple piercings, professionals use the 'rule of thirds' and follow the natural anatomical folds of the ear. For example, a triple forward helix must follow the exact curve of the crus of the helix; if the angles are mismatched, the flat-back posts will cross each other internally, causing severe tissue pressure and eventual rejection.
Furthermore, spacing is critical. Piercings placed too closely together (less than 6-8mm apart) will swell into each other during the healing phase, making cleaning impossible and trapping bacteria. Always map your ear with a professional who uses calipers to measure tissue thickness and ensure precise, parallel angling for a flawless, anatomically sound earring map.


