Earring Organizer DIY: The Ultimate 2026 Jewelry Gift Guide
Discover the ultimate earring organizer DIY guide for 2026. Learn to craft custom, occasion-matched storage gifts for every jewelry lover in your life.

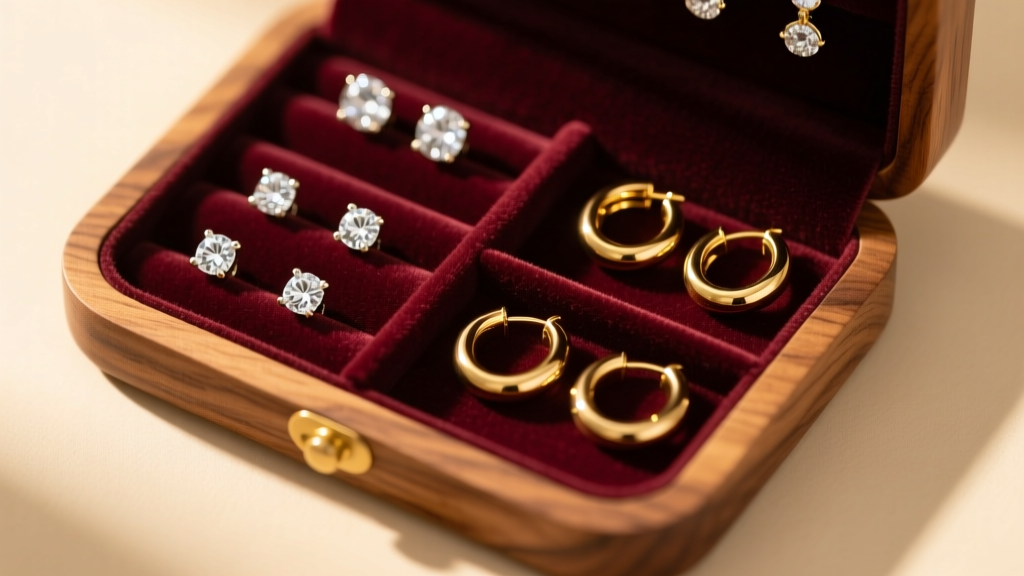
Gifting fine jewelry is an art form, but presenting a pair of delicate diamond drops or heavy brass chandeliers in a flimsy cardboard box is a missed opportunity. In 2026, the most thoughtful jewelry gifts are meta-gifts: bespoke storage solutions that protect and showcase the recipient's collection. If you are looking for an earring organizer diy project that doubles as a luxury gift, you have arrived at the definitive guide. By matching your DIY storage build to the recipient's specific lifestyle and earring wardrobe, you elevate a simple craft into a highly personalized, occasion-matched masterpiece.
According to the Gemological Institute of America (GIA), improper storage is a leading cause of micro-scratches on precious metals and gemstone abrasion. Tangled chains and crushed filigree are the enemies of fine jewelry. Below, we break down three distinct earring organizer DIY builds tailored to different occasions, earring styles, and piercing types.
Decoding the Recipient's Earring Wardrobe
Before cutting materials or mixing adhesives, you must analyze the recipient's jewelry habits. A minimalist office worker requires a vastly different storage solution than a gallery-hopping enthusiast with a curated cartilage setup. Use this matrix to determine which DIY project to build.
| Recipient Profile & Occasion | Primary Earring Types | Storage Requirement | Recommended DIY Build |
|---|---|---|---|
| The Corporate Minimalist (Daily Office) | 14k/18k Gold Studs, Small Huggies, 20g Posts | Anti-tarnish, compact, travel-ready | The Leather-Bound Stud Book |
| The Gala Goer (Evening & Formal) | Chandelier Drops, Heavy Hoops, Dangles | Vertical hanging, weight-bearing, tangle-free | The Brass & Driftwood Hanging Display |
| The Curated Ear (Casual & Trend) | 16g/14g Flatback Labrets, Climbers, Cuffs | Shallow grooved trays, compartmentalized | The Polymer Clay Tiered Cartilage Tray |
Build 1: The Leather-Bound Stud Book (For the Everyday Minimalist)
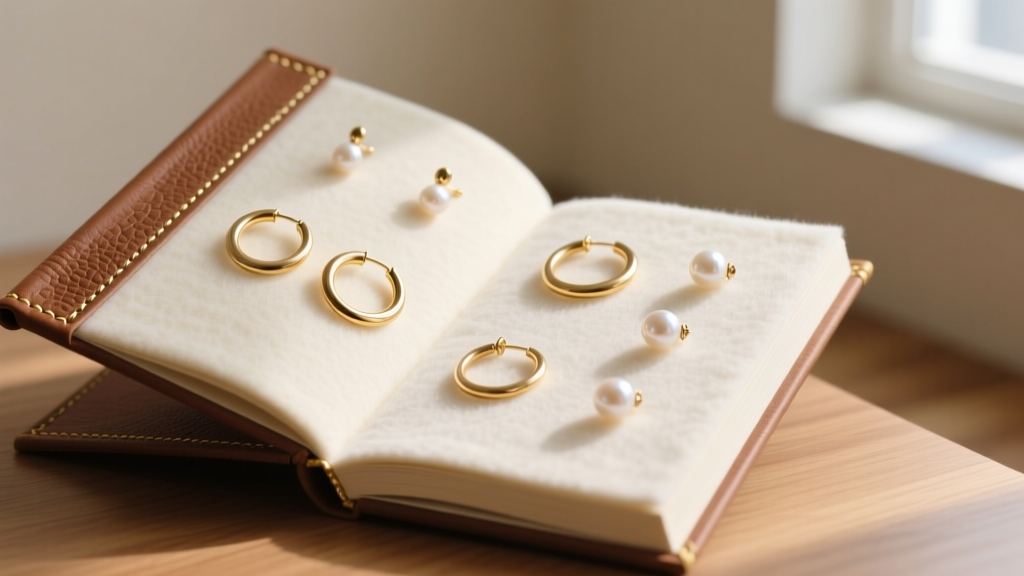
For the recipient who wears classic diamond solitaires, pearl studs, or seamless huggie hoops to the office, a travel-friendly "stud book" is the ultimate gift. Standard jewelry boxes often allow studs to roll around, leading to bent posts (especially in softer 24k gold or high-karat alloys).
Materials & Specifications
- Cover: 4oz vegetable-tanned leather (approx. 1.6mm thick) for durability and a luxury patina.
- Pages: 100% cotton flannel treated with anti-tarnish properties. Do not use standard felt, as synthetic fibers can trap moisture and accelerate silver oxidation. Sourcing a Jewelers Mutual approved Pacific Cloth is ideal.
- Core: 2mm EVA foam sheets to provide structural rigidity and allow posts to pierce through without damaging the backing.
- Binding: Waxed linen bookbinding thread.
Execution Strategy
Cut the leather and EVA foam into 4x6-inch rectangles. Sandwich the foam between two layers of the anti-tarnish flannel, using a fabric-safe spray adhesive on the outer edges only—never spray adhesive directly where the earrings will sit, as chemical off-gassing can damage porous gems like pearls or opals. Use an awl to punch binding holes along the left edge. When the recipient pushes their 20-gauge or 22-gauge earring posts through the flannel and foam, the EVA core grips the metal securely, keeping butterfly backs or screw-backs perfectly aligned and protected.
Build 2: The Brass & Driftwood Hanging Display (For the Statement Lover)
Dangle earrings and chandelier drops are notoriously difficult to store. Laying them flat causes chain tangling and bends delicate filigree wire. If your recipient attends formal events, galas, or evening dinners, they likely own statement pieces that demand vertical suspension.
Materials & Specifications
- Base: A piece of cured, sealed driftwood or a heavy walnut beam (minimum 12 inches long, 2 inches thick to prevent tipping).
- Hanging Elements: 18-gauge solid brass wire. Avoid aluminum or craft wire, which will sag under the weight of heavy gemstone drops.
- Finish: Microcrystalline wax (like Renaissance Wax) to seal the wood and prevent brass oxidation.
Execution Strategy
Drill 1/16-inch pilot holes into the top of the wood base at 2-inch intervals. Cut the 18-gauge brass wire into 4-inch lengths. Use a jewelry mandrel or a wooden dowel to bend the top 1/2 inch of each wire into a smooth hook, leaving the bottom straight. Insert the straight ends into the pilot holes, securing them with a drop of cyanoacrylate (CA) glue. The varying heights of the hooks allow long chandelier earrings to hang freely without their gemstones clinking against the wooden base. This display acts as a functional piece of vanity art, perfect for a dressing room.
Build 3: The Polymer Clay Tiered Cartilage Tray (For the Curated Ear)
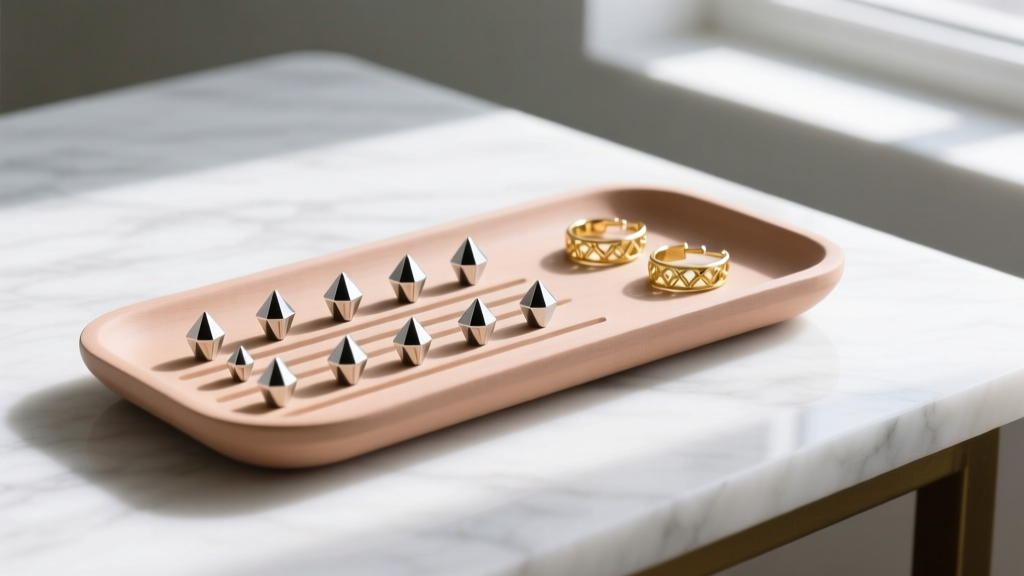
The "curated ear" trend shows no signs of slowing down in 2026. Enthusiasts who collect 16-gauge and 14-gauge flatback labrets, ear cuffs, and climbers face a unique storage nightmare: traditional earring holes are too large for thick cartilage posts, and cuffs easily vanish into the abyss of standard ring dishes.
Materials & Specifications
- Medium: Premium polymer clay (e.g., Sculpey Premo or Fimo Professional) in a neutral tone like alabaster or charcoal.
- Sealant: Water-based polyurethane (matte finish). Avoid solvent-based sprays that can react with the clay over time.
- Tools: A 1.5mm silicone sculpting tool for carving precise channels.
Execution Strategy
Condition the polymer clay and roll it into a slab roughly 6mm thick. Using a small, circular cutter, create three tiered, overlapping organic shapes (resembling smooth river stones). The critical E-E-A-T detail here is the channel sizing: standard 16-gauge cartilage posts are 1.2mm thick, and 14-gauge posts are 1.6mm. Use your 1.5mm sculpting tool to carve shallow, parallel grooves across the clay. These grooves must be just wide enough to cradle the post while allowing the 3mm to 5mm flatback disc to rest flat against the clay surface. This prevents the delicate threading on internally threaded titanium labrets from getting crushed. Bake according to the manufacturer's instructions, sand lightly with 600-grit wet/dry sandpaper, and seal. The result is a bespoke, museum-like display tray specifically engineered for modern cartilage jewelry.
Sourcing Premium Finishing Touches
The difference between a "craft project" and a "luxury gift" lies in the finishing materials. When sourcing hardware or linings for your earring organizer DIY builds, bypass the big-box craft stores. Instead, look to specialized suppliers:
- Anti-Tarnish Strips: Embed 3M anti-tarnish strips into the hidden layers of your DIY builds to absorb sulfur compounds from the air, keeping silver and white gold bright.
- Magnets: For closing stud books or tray lids, use rare-earth neodymium magnets (grade N42 or higher) encased in brass cups to provide a satisfying, high-end snap closure.
- Branding: Consider ordering a custom brass stamp with the recipient's initials to blind-deboss the leather or clay, adding a layer of permanent personalization.
Presentation and Gifting Etiquette
When presenting your custom earring organizer, do not hand it over empty. The golden rule of jewelry gifting is that the organizer should be "seeded" with at least one new piece of jewelry that fits the intended storage type. If you built the cartilage tray, include a high-quality 16g titanium flatback with a genuine bezel-set gemstone. If you built the hanging display, thread a pair of new drop earrings onto the brass hooks. Wrap the entire assembly in unbleached cotton muslin rather than synthetic tissue paper, which can generate static electricity and attract dust to the jewelry. By executing a highly specific, occasion-matched earring organizer DIY project, you are not just giving a gift; you are providing a sanctuary for their most cherished accessories.


