Using Earring Pictures to Track Tarnish and Cleaning Cycles
Learn how to use macro earring pictures to diagnose hidden tarnish, track cleaning efficacy, and spot prong wear before damage becomes irreversible.

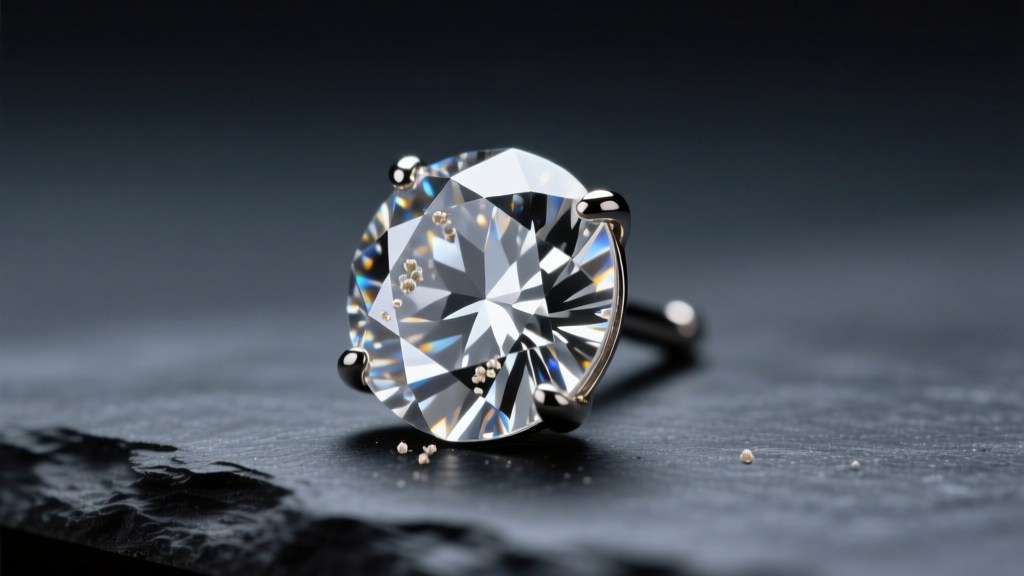
The Science of Visual Documentation in Jewelry Care
When building a high-value jewelry collection, relying on the naked eye to assess the condition of your pieces is a critical mistake. The human eye, even with perfect 20/20 vision, struggles to resolve details smaller than 0.1 millimeters. This means early-stage oxidation, microscopic prong wear, and sub-surface gemstone inclusions go completely unnoticed until they escalate into irreversible damage or stone loss. This is where the strategic use of macro earring pictures transforms your maintenance routine from reactive guesswork into a proactive, data-driven science.
According to the Gemological Institute of America (GIA), regular inspection is paramount for diamond security, yet most consumers only check their jewelry when it looks visibly dirty. By integrating high-resolution earring pictures into your care regimen, you create a visual baseline. This allows you to track the exact rate of tarnish accumulation, monitor the wear of delicate rhodium plating on white gold, and determine the precise moment your cleaning solutions are losing their efficacy.
How to Take Diagnostic Earring Pictures
Taking a standard smartphone photo from arm's length is useless for diagnostic maintenance. To capture the micro-details required for proper jewelry care, you need to replicate the conditions of a professional gemological microscope.
Lighting and Equipment Specifications
The most common failure in amateur jewelry photography is mixed color temperatures, which can artificially mask the yellowish tint of wearing rhodium or the brownish hue of early silver sulfide formation. You must use a dedicated lighting setup:
- Color Temperature: Use 5000K to 5500K daylight-balanced LED panels. This neutral white light renders metal colors accurately.
- Diffusion: Place your earrings inside a light tent or use a softbox to eliminate harsh specular highlights that blow out the details of pave settings.
- Optics: Attach a high-quality macro lens to your smartphone (such as a Moment Macro Lens or Olloclip) or use a dedicated mirrorless camera with a 90mm to 105mm macro lens capable of 1:1 magnification.
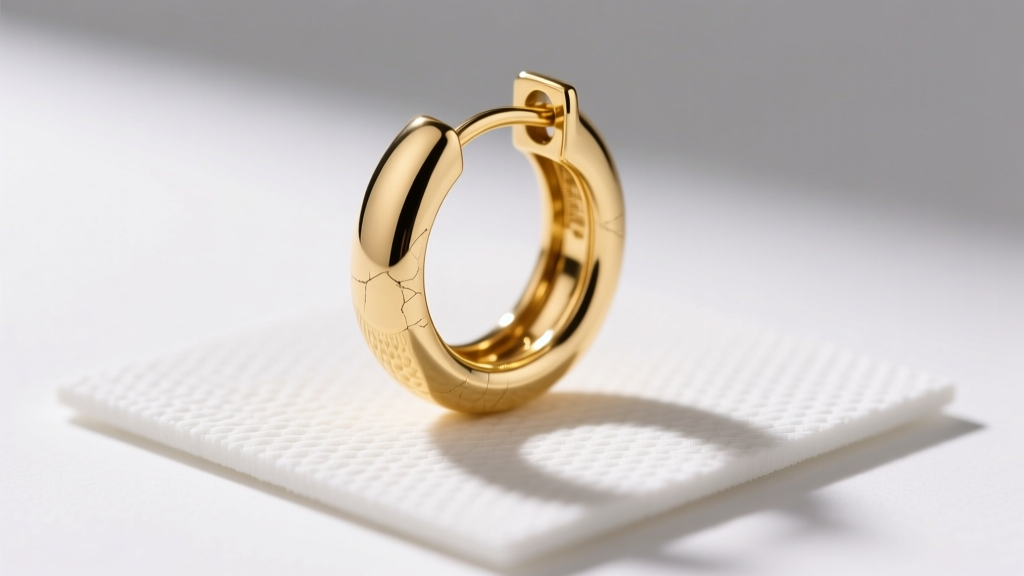
Angles for Prong and Post Inspection
When documenting your pieces, take three specific earring pictures for each item. First, a top-down shot to evaluate the table of the gemstone and the symmetry of the prongs. Second, a strict profile shot (90 degrees) to check the structural integrity of the post and the tension of the clutch or screw-back. Finally, a 45-degree angled macro shot to inspect the gallery and undercarriage, where skin oils and lotion residue accumulate and cause localized metal degradation.
Decoding Tarnish and Damage Through the Lens
Once you have captured high-fidelity earring pictures, the next step is diagnosing the chemical and physical state of the jewelry. Tarnish is not a monolith; its color and texture tell you exactly what chemical reaction is occurring and which cleaning protocol is required.
| Visual Indicator | Material Affected | Chemical Cause | Recommended Action |
|---|---|---|---|
| Faint Yellow Haze | Sterling Silver (925) | Initial Silver Sulfide (Ag2S) reaction with atmospheric sulfur | Gentle wash with warm water and phosphate-free dish soap; microfiber polish |
| Brown to Black Patches | Sterling Silver / Copper Alloys | Advanced oxidation and heavy sulfide buildup | Electrolytic cleaning (aluminum foil, baking soda, hot water) or commercial dip |
| Green Powdery Residue | Copper / Low-Karat Gold | Verdigris (copper carbonate) from sweat and moisture exposure | Mechanical removal with a soft brass brush; avoid acidic solutions |
| Yellowing of White Metal | White Gold (14k/18k) | Wear of the 0.5 to 1.0-micron rhodium plating layer | Professional re-rhodium plating; ultrasonic cleaning will not fix this |
By comparing your current earring pictures to your baseline images, you can spot the faint yellowing of white gold weeks before it becomes obvious to the naked eye, allowing you to schedule a jeweler visit before the underlying porous alloy is exposed to harsh environmental contaminants.
Tracking Cleaning Efficacy and Maintenance Cycles
Jewelry cleaning is not a "set it and forget it" task. Over time, chemical cleaning solutions become saturated with dissolved metals and oils, losing their effectiveness. Furthermore, ultrasonic cleaners operate at specific frequencies—typically 40,000 Hz to 45,000 Hz (40-45 kHz)—which create microscopic cavitation bubbles to blast away debris. If the transducer in your ultrasonic machine begins to fail, the cleaning power drops, but the machine will still hum and vibrate, giving a false sense of security.
"Relying on the naked eye for jewelry maintenance is a gamble. Macro documentation transforms guesswork into a precise, data-driven care regimen, ensuring you never miss a failing ultrasonic transducer or a lifting pave prong."
— Master Bench Jeweler
By taking macro earring pictures immediately after every cleaning cycle, you can track the baseline brilliance of your stones. If your diamonds or sapphires begin to look slightly cloudy or retain a microscopic film on the pavilion facets despite a full 3-minute cycle in a 42kHz ultrasonic bath, your visual log will prove that the cleaning solution needs replacing or the machine requires servicing.
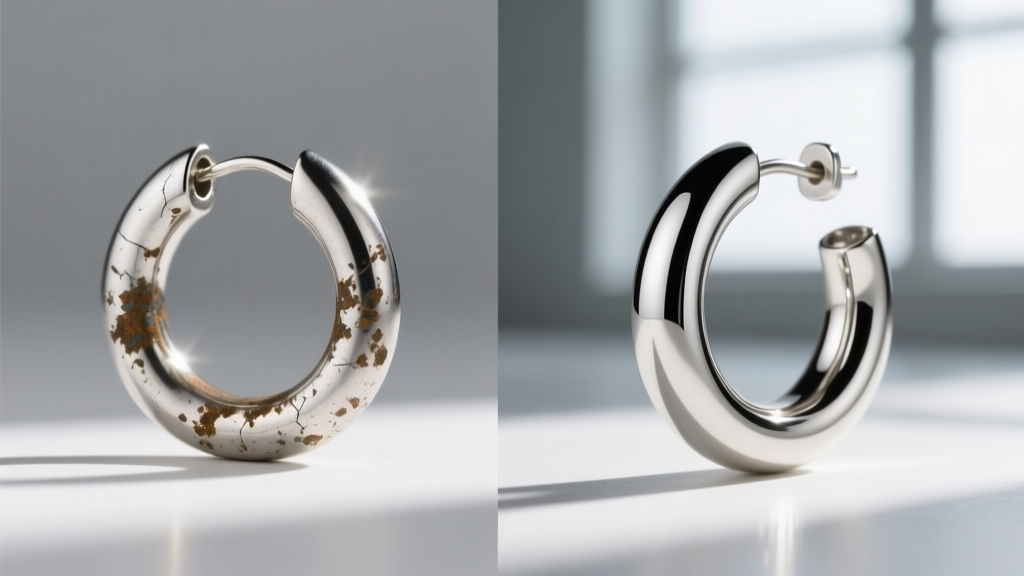
Material-Specific Cleaning Warnings
While visual tracking is universally safe, the cleaning methods you apply based on your findings must be tailored to the material. The American Gem Society (AGS) strictly warns against using ultrasonic cleaners on porous or heavily included gemstones. If your earring pictures reveal fractures or surface-reaching inclusions in emeralds, opals, pearls, or turquoise, you must bypass ultrasonics entirely and rely on gentle, manual cleaning with a soft camel-hair brush and lukewarm water.
When Visual Evidence Dictates Professional Intervention
There is a distinct line between routine maintenance and structural repair. Your earring pictures serve as an early warning system for catastrophic failure. When reviewing your macro images, look for the following red flags that require immediate professional bench work:
- Prong Thinning: If the tips of the prongs holding your center stone look flat or noticeably thinner than your baseline photos, the metal has worn away from friction against clothing and hair.
- Solder Joint Fatigue: On huggie hoops and clicker rings, inspect the hinge and clasp mechanism. Micro-cracks in the solder joints are visible under macro magnification long before the hinge snaps.
- Post Bending: A profile shot will reveal if a 20-gauge or 18-gauge earring post has slightly bent, which can cause stress fractures at the base where it meets the earring cup.
Building Your Digital Jewelry Care Log
To implement this system effectively, create a dedicated digital folder or use a specialized inventory app to store your earring pictures. Tag each image with the date, the cleaning method used, and the specific chemical solution. Over the course of a year, this visual data will reveal the unique wear patterns dictated by your body chemistry, your local climate's humidity, and your daily activities. Ultimately, mastering the art of diagnostic jewelry photography ensures that your most cherished pieces remain pristine, secure, and structurally sound for generations.


