Earring Piercing Names: Troubleshooting Fit, Gauge, and Healing
Master earring piercing names with our troubleshooting guide. Fix fit issues, learn correct gauges, and solve cartilage healing bumps.

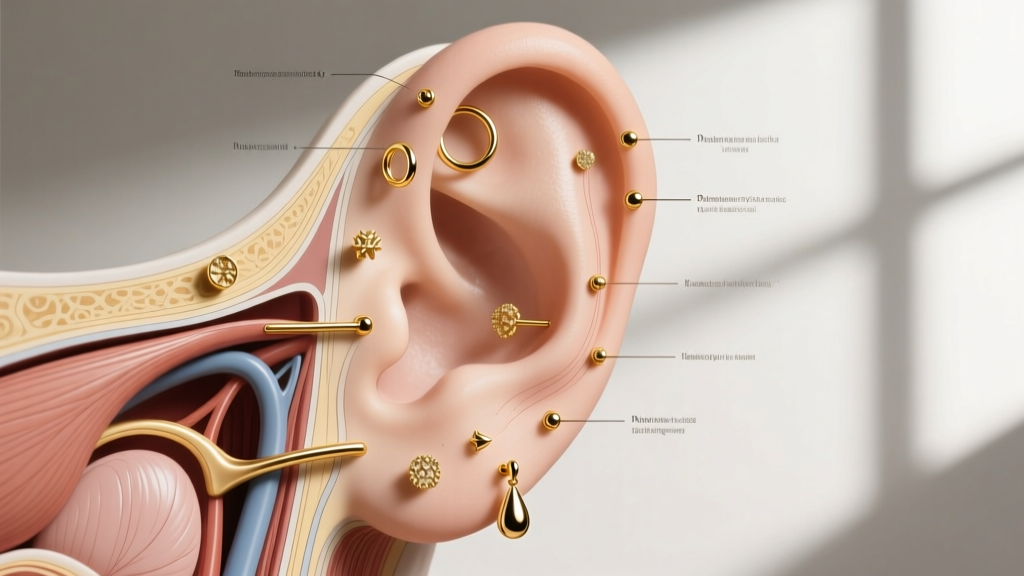
The Anatomy of Confusion: Why Earring Piercing Names Matter
Walk into any jewelry store and ask for a 'cartilage earring,' and you will likely be handed a 20-gauge butterfly-back stud meant for a standard lobe piercing. This widespread terminology gap is one of the leading causes of jewelry rejection, irritation bumps, and outright discomfort. Understanding exact earring piercing names is not just about anatomical trivia; it is a critical troubleshooting skill for anyone looking to buy jewelry that actually fits, heals properly, and sits flush against the ear.
When you misidentify a piercing, you risk buying the wrong gauge (thickness), the wrong post length, or the wrong backing mechanism. A standard lobe stud will spin and snag in a helix, while a heavy daith clicker will migrate if placed in a delicate tragus. This guide cuts through the retail fluff to provide a technical, problem-solving framework for matching earring piercing names to their exact jewelry requirements and healing behaviors.
The Master Chart: Earring Piercing Names, Gauges, and Jewelry Types
To troubleshoot fit issues, you must first establish the baseline specifications for your specific anatomy. The table below maps the most common earring piercing names to their industry-standard gauges and ideal jewelry styles. Note that gauges are inverse; a 14-gauge wire (1.6mm) is thicker than a 16-gauge wire (1.2mm).
| Piercing Name | Anatomical Zone | Standard Gauge | Ideal Jewelry Style | Common Fit Mistake |
|---|---|---|---|---|
| Standard Lobe | Soft lower tissue | 20g - 18g | Friction backs, screw-backs | Using heavy drop earrings on stretched holes |
| Helix | Outer upper cartilage rim | 16g (1.2mm) | Flat-back labrets, seamless hoops | Using butterfly backs that trap bacteria |
| Conch | Inner cartilage bowl | 14g - 16g | Flat-back labrets, large hoops | Posts too short for the thick cartilage fold |
| Tragus | Small cartilage flap over canal | 16g (1.2mm) | Short flat-back labrets (5mm-6mm) | Gemstone diameter too wide, blocking ear canal |
| Daith | Innermost cartilage crus | 16g (1.2mm) | Clicker rings, captive bead rings | Ring inner diameter too small, causing pressure |
| Rook | Upper antihelix fold | 16g (1.2mm) | Curved barbells, small clickers | Using straight barbells that reject at the angle |
Troubleshooting Fit Issues by Piercing Name
Even when you know the correct earring piercing names, physical fit can vary wildly based on individual ear topography. Here is how to troubleshoot the most common mechanical failures associated with specific placements.
Helix and Forward Helix: The Post-Length Dilemma
The most frequent complaint with helix piercings is that the jewelry 'sticks out' or snags on hair and headphones. This happens when a piercee fails to downsize their jewelry post. Initial piercings require an 8mm or 10mm post to accommodate swelling. Once healed (usually 6 to 9 months), the tissue shrinks. If you do not swap to a 5mm or 6mm flat-back labret, the excess metal will act as a lever, causing the gem to tilt backward and the backplate to press into the rear of the ear. Brands like BVLA and Industrial Strength offer threaded ends that allow you to simply unscrew the front and swap the post without removing the backplate.
Conch and Daith: Snagging and Pressure Necrosis
Conch piercings sit in a deep bowl, making them prone to accumulating shampoo and dead skin if the jewelry sits too flush. Conversely, if the gem face is too wide (over 6mm), it can press against the antihelix ridge. For the daith, the inner diameter (ID) of a clicker ring is critical. A standard 8mm ID might work for one person but cause 'pressure necrosis' (tissue death from restricted blood flow) in someone with a thicker daith fold. If your daith ring feels like it is pinching or leaving a deep indent, you must upgrade to a 9mm or 10mm ID ring immediately.
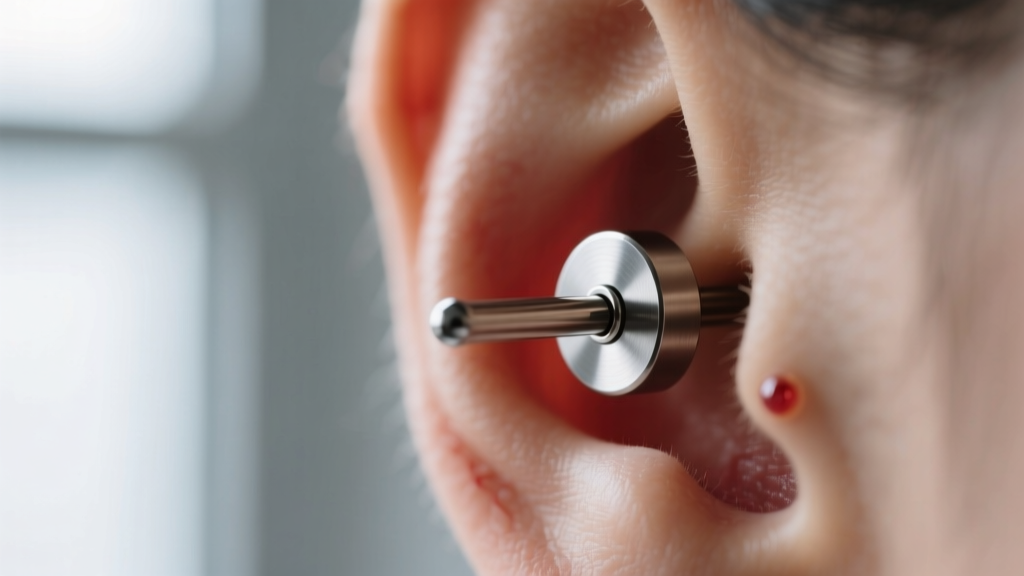
Healing Bumps vs. Infections: Location-Specific Troubleshooting
Cartilage lacks the direct blood supply found in soft tissue lobes, meaning it heals slower and is highly reactive to trauma. Misidentifying a healing complication based on the piercing name can lead to disastrous home remedies.
The Vascular Divide: Lobe vs. Cartilage Timelines
Standard lobe piercings heal in 6 to 8 weeks due to high vascularity. Cartilage placements (helix, conch, rook) take 9 to 12 months. If you develop a bump on a helix at month four, it is almost certainly a hypertrophic scar (an irritation bump), not an infection. These bumps are caused by mechanical stress: sleeping on the ear, using a post that is too long, or cleaning it too aggressively. According to the Association of Professional Piercers (APP), the solution is not tea tree oil or aspirin pastes (which cause chemical burns), but rather correcting the jewelry angle and switching to sterile saline spray twice daily.
When to Suspect a True Infection
True infections are rare in properly performed piercings but can occur. The American Academy of Dermatology (AAD) notes that signs of infection include spreading redness, severe throbbing pain, and opaque yellow/green discharge. If you suspect an infection in a cartilage piercing like a rook or conch, do not remove the jewelry; removing it can trap the infection inside the tissue, leading to an abscess. Seek a medical professional immediately for oral antibiotics.
Material Upgrades Based on Earring Piercing Names
The anatomical location of your piercing dictates how strictly you must adhere to high-end material standards. While a fully healed, standard lobe might tolerate sterling silver or surgical steel, cartilage piercings are notoriously unforgiving.
- ASTM F-136 Implant Grade Titanium: The absolute gold standard for any fresh cartilage piercing (helix, tragus, daith). It contains zero nickel and has a mirror-polished surface that prevents bacterial adhesion.
- 14k or 18k Solid Gold (Nickel-Free):strong> Excellent for healed piercings. However, avoid gold-plated or gold-filled jewelry in any cartilage placement, as the microscopic friction of cartilage healing will wear the plating away, exposing base metals that cause contact dermatitis.
- 316L Surgical Steel: Often sold as 'hypoallergenic' in mall kiosks, this metal contains up to 10% nickel. It should be avoided for any fresh piercing, regardless of the earring piercing name.
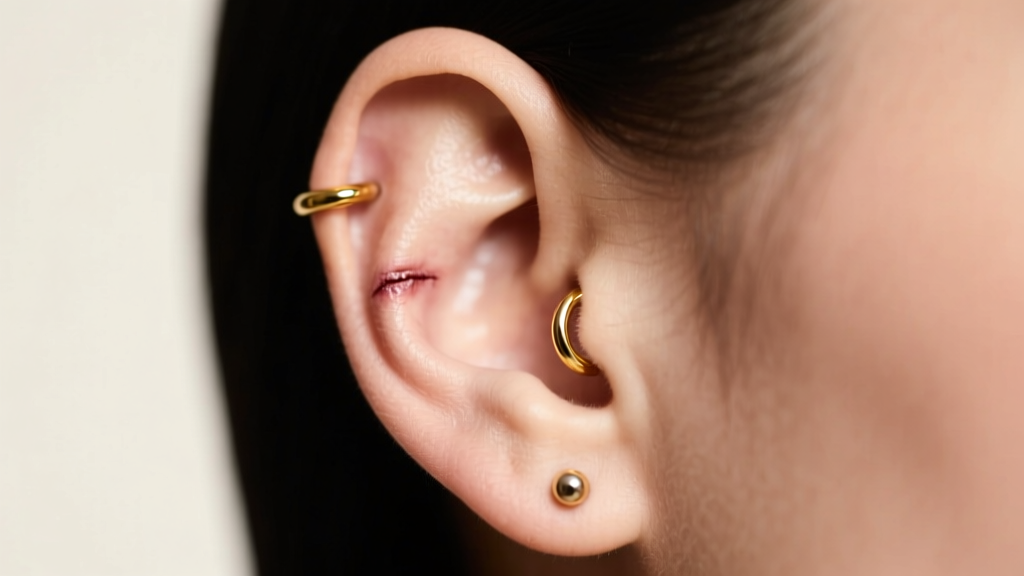
How to Communicate with Your Piercer Using Correct Terminology
When visiting a professional to troubleshoot a fit issue or purchase new jewelry, using precise earring piercing names saves time and prevents costly mistakes. Instead of saying 'I need a hoop for the top part of my ear,' specify: 'I need a 16-gauge seamless hoop with a 10mm inner diameter for my forward helix.' If you are experiencing discomfort in a conch piercing, tell your piercer: 'The 6mm post on my flat-back labret feels too tight against the swelling; can we upsize to an 8mm temporarily?'
Final Troubleshooting Checklist
Before buying your next piece of jewelry, run through this rapid diagnostic:
- Confirm the Name: Is it a helix, auricle, or conch? Check an anatomical chart.
- Verify the Gauge: Check your current jewelry or ask your piercer. Never force a 14g piece into a 16g hole.
- Measure the Length/Diameter: Use digital calipers to measure your current comfortable post length or hoop inner diameter.
- Check the Threading: Ensure you are buying internally threaded or threadless (push-pin) jewelry to avoid tearing the fistula during insertion.
Mastering the vocabulary of ear anatomy transforms jewelry shopping from a guessing game into a precise, rewarding science. By respecting the unique requirements of each earring piercing name, you ensure your curated ear project remains healthy, comfortable, and visually flawless for years to come.


