Earring Placement Chart: Custom Cleaning & Care Guide
Use our earring placement chart to master aftercare. Learn specific cleaning routines, healing times, and maintenance tips for every ear piercing zone.

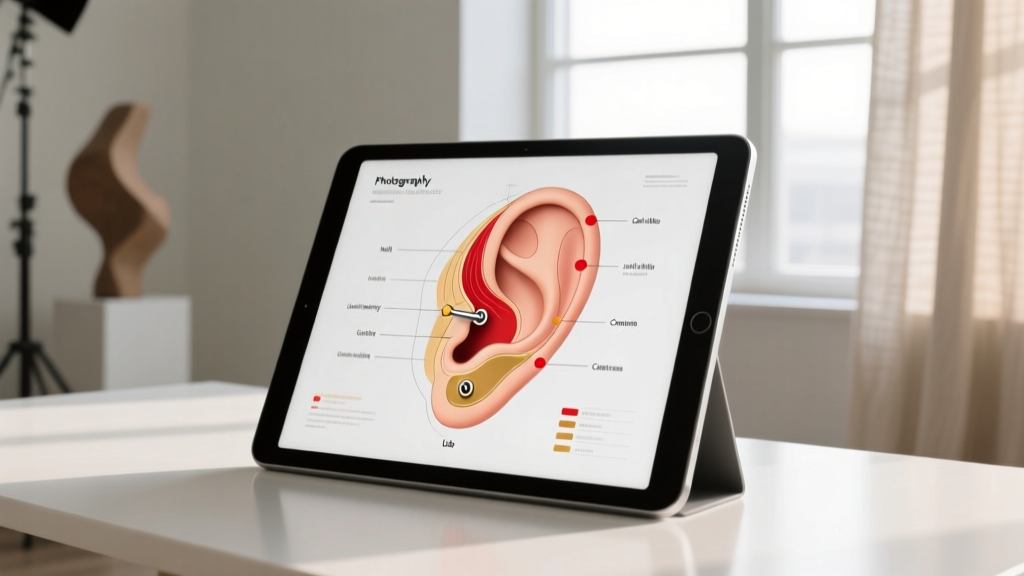
Why Your Earring Placement Chart Dictates Your Cleaning Routine
When most enthusiasts consult an earring placement chart, they are usually focused on aesthetics, symmetry, and jewelry selection. However, from a professional aftercare perspective, this anatomical map is actually a biological blueprint. The ear is not a uniform canvas; it is a complex topography of highly vascular lobes, dense avascular cartilage, deep folds, and sebum-producing glands. Because blood flow, tissue density, and exposure to environmental friction vary drastically across the ear, a one-size-fits-all cleaning approach is a recipe for migration, rejection, and chronic irritation.
Understanding your specific earring placement chart allows you to tailor your maintenance routine to the unique healing timeline and failure modes of each zone. According to the Association of Professional Piercers (APP), cartilage piercings can take anywhere from six to twelve months to fully heal, compared to the six to eight weeks required for standard lobes. This guide breaks down the exact cleaning protocols, jewelry gauges, and long-term maintenance strategies required for every major zone on the earring placement chart.
The Lobe Zone: Standard Care & Maintenance
The standard lobe and upper lobe consist of fibro-fatty tissue with excellent blood supply, making them the most forgiving placements on the earring placement chart. Standard lobe piercings are typically performed at 20-gauge or 18-gauge, though many professional studios now default to 16-gauge to provide better stability and accommodate a wider range of high-quality jewelry.
Cleaning Protocol and Downsizing
For the first four weeks, clean the area twice daily using a sterile 0.9% sodium chloride saline spray. Avoid antibacterial soaps, alcohol, and hydrogen peroxide, as these destroy the delicate fibroblasts required for tissue regeneration. The most critical maintenance step for lobes is downsizing. Initial jewelry posts are usually 1/4-inch (6mm) or longer to accommodate swelling. If you do not return to your piercer at week three to downsize to a 3/16-inch (5mm) or 4mm post, the excess metal will catch on hair and clothing, leading to angle distortion and irritation bumps.
Outer Cartilage (Helix & Forward Helix): The Snag-Prone Zones
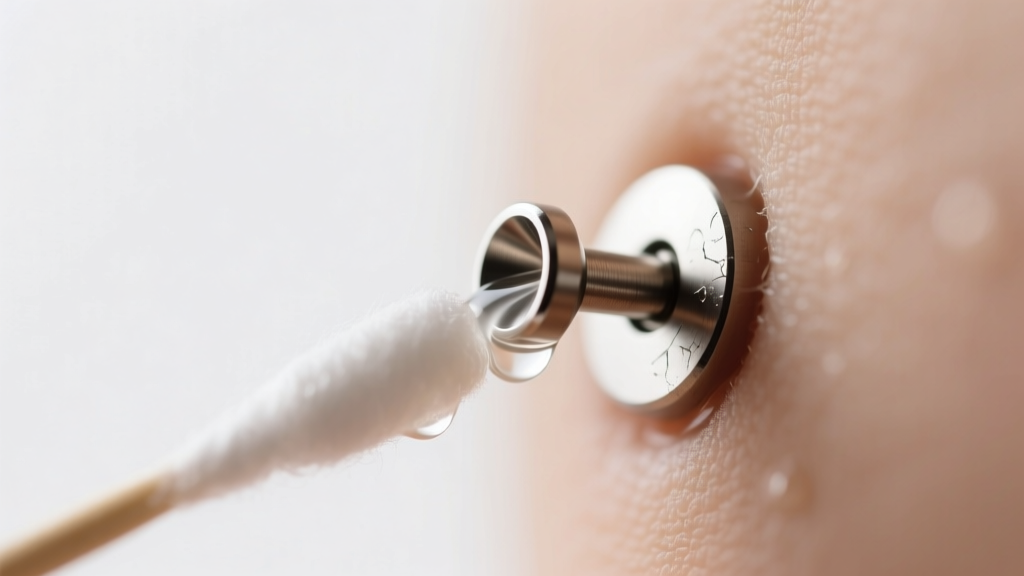
Moving up the earring placement chart, we encounter the outer cartilage rim. The helix and forward helix are notoriously prone to snagging due to their proximity to the hairline and the edge of the ear. These placements are almost exclusively pierced at 16-gauge or 14-gauge using flat-back labret studs to minimize catching.
Managing Hair Entanglement and Sleep Friction
The primary failure mode for helix piercings is hair wrap. Long hair easily tangles around the flat-back disc, creating a tourniquet effect that cuts off circulation and introduces bacteria. When cleaning a helix, gently pull the hair back and use a non-woven sterile gauze pad soaked in saline to wipe the front and back of the jewelry. Avoid cotton swabs, which can leave microscopic fibers trapped behind the cartilage. Furthermore, sleep friction is a major disruptor. Investing in a specialized piercing travel pillow (a U-shaped pillow with a hollow center) is non-negotiable for side-sleepers to prevent pressure necrosis and migration during the 6-to-9-month healing window.
Inner Ear & Complex Folds (Daith, Rook, Conch)
The inner ear represents the most complex region of the earring placement chart. Piercings like the rook, daith, and conch navigate deep anatomical folds where moisture, dead skin cells, and sebum naturally accumulate. Because these areas are avascular (lacking direct blood vessels), they rely on surrounding tissue for nutrients, resulting in notoriously slow healing times of up to 12 months or more.
| Placement | Standard Gauge | Jewelry Type | Primary Maintenance Challenge |
|---|---|---|---|
| Rook | 16g | Curved Barbell | Crust buildup in the antihelix fold |
| Daith | 16g | Clicker / Captive Bead | Snagging on masks, towels, and hair |
| Conch | 14g - 16g | Flat-back Labret / Hoop | Pressure from headphones and phone calls |
The 'Fold-Flush' Cleaning Technique
Standard spraying is often insufficient for the rook and daith. Instead, utilize the 'fold-flush' method: saturate a piece of non-woven gauze with warm saline and press it gently against the fold for 3 to 5 minutes. This softens the lymphatic crusties (healing secretions) without forcing you to pick or twist the jewelry. Once softened, gently slide the saturated gauze around the exposed ends of the jewelry. For long-term maintenance of daith clickers, an ultrasonic jewelry cleaner used once a month will safely vibrate sebum and dead skin out of the intricate hinge mechanisms without damaging the metal.
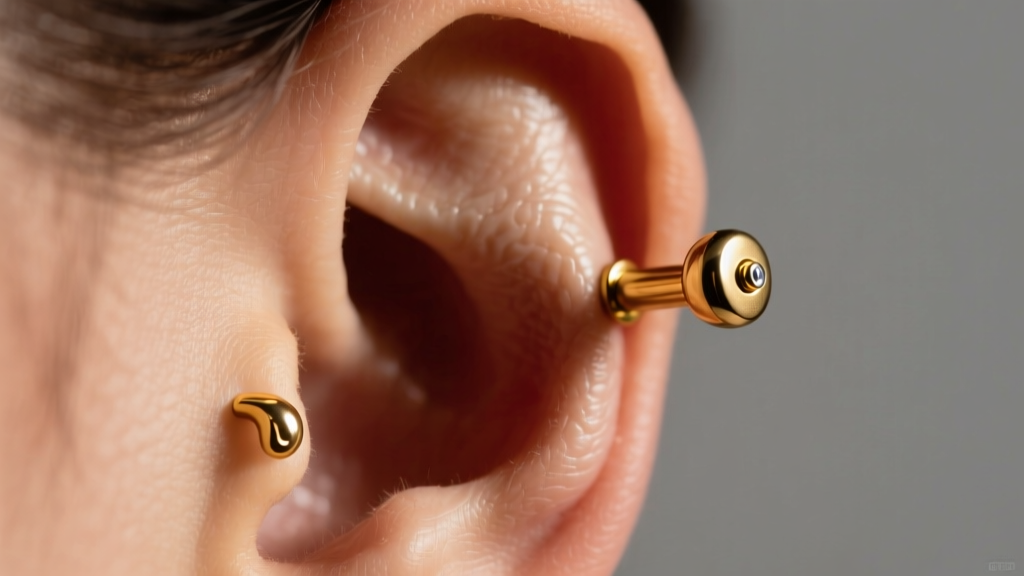
Tragus & Anti-Tragus: Managing Sebum and Audio Friction
The tragus sits directly over the ear canal, making it a unique challenge on the earring placement chart. It is highly exposed to environmental debris, earbud friction, and the natural migration of earwax and sebum.
The Headphone Hazard
If you are a regular user of in-ear headphones or over-ear headsets, the tragus and anti-tragus require heightened vigilance. The constant rubbing of silicone earbud tips against a healing tragus stud (typically 16-gauge) creates micro-trauma that can lead to hypertrophic scarring. For the first three months, switch to over-ear headphones that rest on the helix rather than the tragus, or use bone-conduction audio devices. When cleaning, be hyper-aware of the ear canal; never spray saline directly into the ear. Instead, apply the solution to a gauze pad first, then press it to the tragus to prevent fluid from pooling inside the canal, which can cause swimmer's ear or fungal infections.
Long-Term Maintenance: Upgrading & Material Selection
Once your piercing has fully matured—a process that can take over a year for cartilage—the earring placement chart becomes a guide for jewelry upgrades. The inner ear folds (rook, daith) are highly sensitive to metal alloys. If you experience chronic redness or flaking, it is often a reaction to nickel found in low-grade surgical steel. Upgrading to ASTM F-136 implant-grade titanium or solid 14k/18k nickel-free gold ($40 to $150 per piece, depending on the brand and gemstones) is the most effective long-term maintenance strategy for sensitive cartilage. Titanium is highly biocompatible, non-porous, and resists the buildup of sebum and tarnish far better than silver or plated metals.
Troubleshooting Common Placement-Specific Issues
Even with meticulous care, issues can arise. The Mayo Clinic notes that recognizing the difference between a localized irritation bump and a keloid is crucial for proper intervention.
- Moisture Bumps (Hypertrophic Scarring): Common on the helix and rook, these small, fleshy bumps are caused by trapped moisture and friction. The solution is to reduce cleaning frequency to once a day, ensure the ear is completely dry after showering (using a hairdryer on the cool setting), and apply a warm, dry chamomile tea bag compress.
- Angle Migration: If the jewelry on your earring placement chart appears to be sitting at a different angle than when it was first pierced, the tissue is rejecting it. This is common in forward helixes subjected to sleep pressure. Consult a professional immediately; removing the jewelry and allowing the fistula to close is often the only way to preserve the tissue for future repiercing.
- Sebum Plugs: The flat back of a conch or lobe stud can trap a foul-smelling mix of dead skin and oils. During your regular cleaning routine, gently press the skin around the piercing to express these plugs, and wipe the back of the jewelry with a saline-soaked pad.
Pro Tip: Never use tea tree oil, aspirin pastes, or undiluted essential oils on any placement on the earring placement chart. These harsh compounds cause chemical burns on the delicate mucosal lining of the fistula, turning a minor irritation into a severe contact dermatitis flare-up.
Ultimately, mastering the care and maintenance of your ear piercings requires respecting the biology mapped out by your earring placement chart. By matching your cleaning techniques, jewelry materials, and daily habits to the specific demands of each anatomical zone, you ensure your curated ear project remains healthy, vibrant, and beautifully healed for a lifetime.


