Earring Post Replacement: A Technical Repair Guide
Master earring post replacement with our technical guide. Explore laser welding, gauge sizing, and metal compatibility for secure, lasting jewelry repairs.

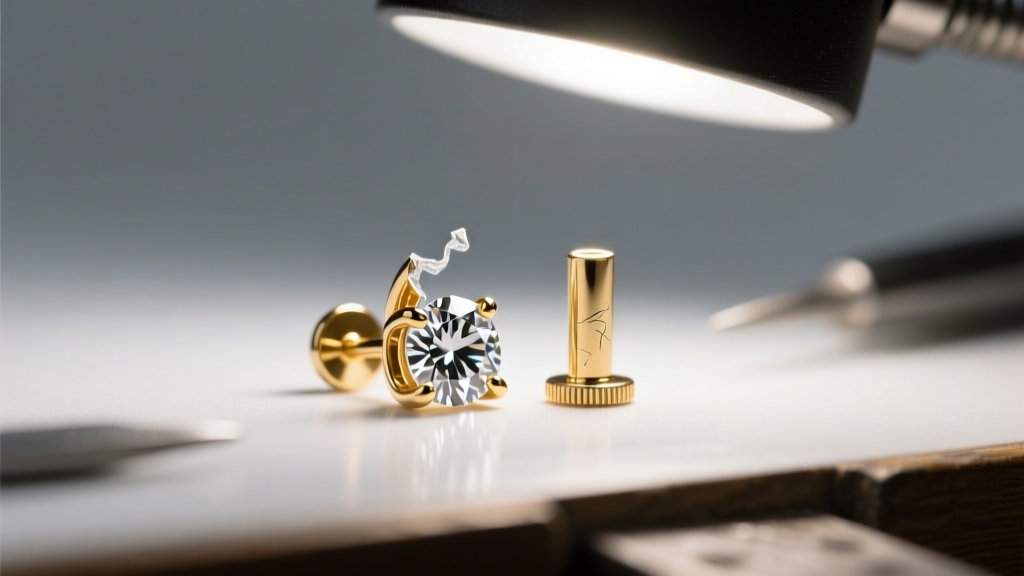
The Anatomy of a Post Failure: Why Earrings Break
Earring post replacement is often dismissed by consumers as a trivial bench repair, but for a master jeweler, it demands a rigorous understanding of metallurgy, thermal dynamics, and structural engineering. When a high-carat diamond stud or a heavy platinum drop earring loses its post, the repair must guarantee absolute security without compromising the gemstone or the alloy's crystalline integrity.
Shear Stress and Metal Fatigue
The most common cause of post failure is not a single traumatic pull, but cyclic loading. Sleeping in earrings, pulling off tight sweaters, and aggressive towel-drying introduce repetitive shear stress at the exact junction where the post meets the earring cup. Over time, this causes work hardening and eventual metal fatigue. In cast earrings, this stress is often exacerbated by microscopic porosity near the base of the post, creating a natural fault line that snaps under minimal torque.
Porosity and Casting Defects
Mass-produced earrings are typically investment cast. If the burnout cycle is rushed or the flask temperature is improperly calibrated, gas porosity becomes trapped in the shank or post base. A post replacement on a porous cup requires the jeweler to drill out the defect and use a filler wire during laser welding, rather than simply fusing the new post to a compromised surface.
Material Compatibility Matrix for Post Replacement
Selecting the correct replacement post is not merely about matching the color of the metal. The alloy composition dictates the melting point, the thermal conductivity, and the required welding parameters. Below is a technical matrix for common earring alloys.
| Metal Alloy | Approx. Melt Point | Weldability | Hypoallergenic Rating |
|---|---|---|---|
| 14k Yellow Gold | 1500°F (815°C) | Excellent (Standard Pulse) | Moderate (Contains Nickel/Zinc) |
| 14k White Gold (Nickel) | 1550°F (843°C) | Prone to Cracking (Requires Ramp-Down) | Poor (High Nickel Content) |
| 14k White Gold (Palladium) | 1650°F (898°C) | Very Good | Excellent (Nickel-Free) |
| 18k Yellow Gold | 1600°F (871°C) | Excellent (Softer, requires care) | Good |
| Platinum (950/50 Ru) | 3200°F (1760°C) | Excellent (High power, no oxidation) | Superior |
| Titanium (Grade 23) | 3000°F (1648°C) | Difficult (Requires Argon Shielding) | Superior |
As noted by industry suppliers like Rio Grande, matching the exact alloy of the original earring cup is critical. Fusing a 14k palladium white gold post to a 14k nickel white gold cup can result in a brittle intermetallic compound at the weld joint, leading to a secondary failure.
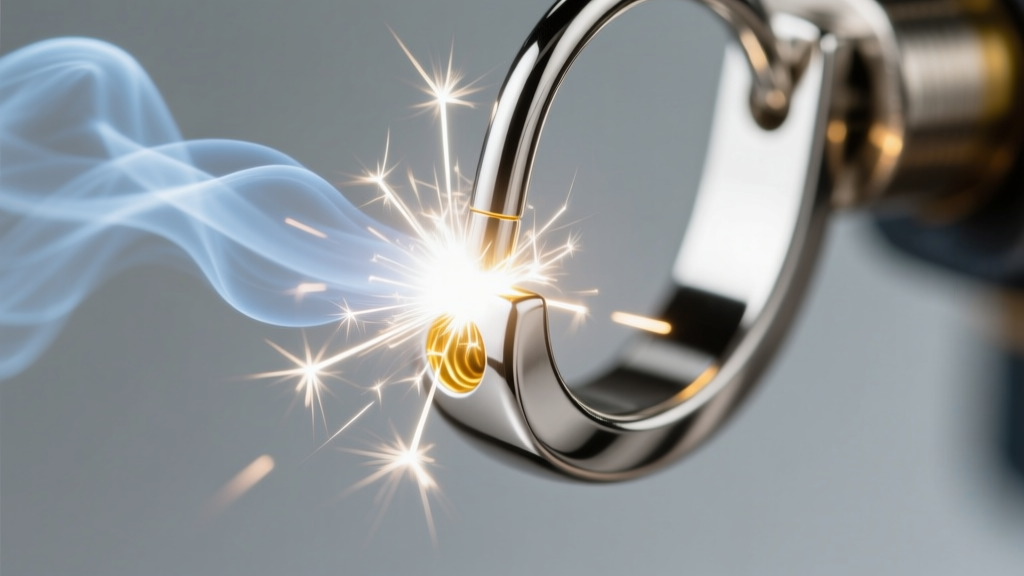
Traditional Soldering vs. Laser Welding
Historically, earring post replacement relied on torch soldering. While effective for simple gold bands, torch soldering poses severe risks to gemstone-set earrings.
The Thermal Impact on Gemstones
Applying a torch to an earring cup requires heating the entire setting to the flow temperature of the solder (typically 1300°F to 1450°F for hard solder). This global heat transfer can cause catastrophic thermal shock to gems like emeralds, opals, and tanzanite. Furthermore, the Gemological Institute of America (GIA) explicitly warns that fracture-filled diamonds can suffer severe clouding or melting of the glass filler when exposed to soldering temperatures or even the acidic pickle solutions used post-solder.
The Laser Welding Advantage
Modern earring post replacement relies heavily on Nd:YAG laser welders. Laser welding concentrates thermal energy into a spot size as small as 0.2mm, completing the weld in milliseconds. The heat-affected zone (HAZ) is so minimal that a jeweler can weld a post onto a cup set with a fracture-filled diamond or an emerald without raising the temperature of the gemstone by more than a few degrees.
'The true art of laser welding a post is in the pulse shaping. If you hit nickel-white gold with a flat, high-energy pulse, the rapid cooling causes grain boundary cracking. You must use a pulse that ramps up to melt the metal, holds to allow alloying, and ramps down slowly to anneal the joint and relieve internal stress.' - Master Bench Jeweler Protocol
Gauge Sizing and Friction Back Mechanics
A successful earring post replacement must also account for the mechanical interface between the post and the friction back (butterfly clutch). The standard gauge sizes for fine jewelry earrings are highly specific:
- 22-Gauge (0.64mm): Used for ultra-lightweight studs and vintage pieces. Prone to bending under lateral stress.
- 20-Gauge (0.81mm): The industry standard for diamond studs and gemstone earrings. Offers the best balance of tensile strength and earlobe comfort.
- 18-Gauge (1.02mm): Reserved for heavy drop earrings, cartilage piercings, and high-security screw-backs.
The retention of a friction back relies entirely on the machined notch (groove) on the post. If a replacement post is soldered or welded slightly crooked, or if the notch is filed too shallow during the polishing phase, the clutch will fail to engage, resulting in a lost earring. Bench jewelers must use a specialized notch-cutting burr or a precision lathe to cut the groove exactly 1.5mm from the post tip.
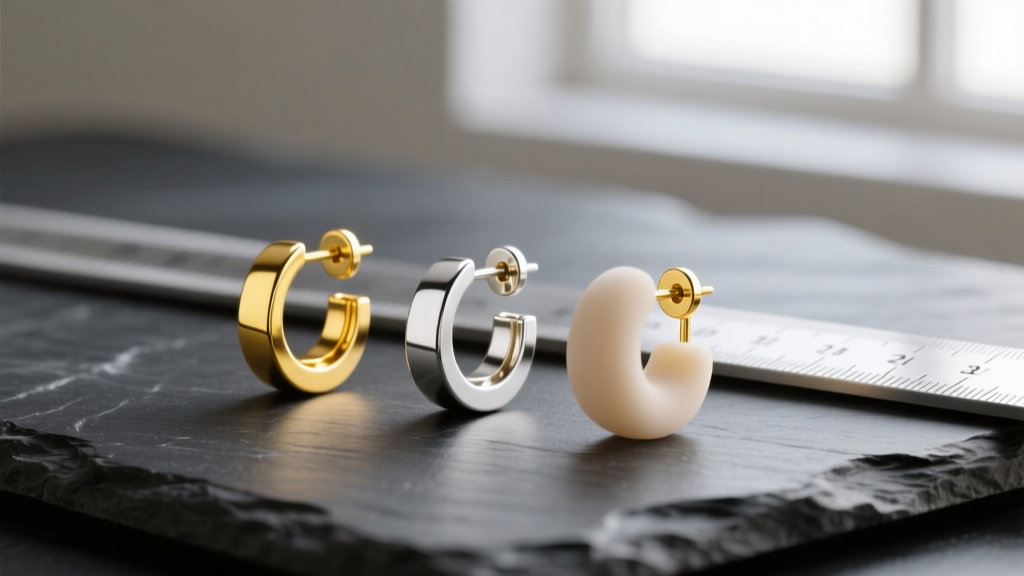
Step-by-Step Bench Protocol for Post Replacement
For jewelers and advanced repair technicians, adhering to a strict protocol ensures structural integrity. The following methodology aligns with best practices recommended by Stuller's bench jeweler resources.
1. Preparation and Surface Cleaning
The broken post must be removed completely. Using a high-speed flex shaft with a #50 carbide bur, the jeweler hollows out the center of the earring cup to remove any remnants of the old post and any casting porosity. The cup is then ultrasonically cleaned and steamed to remove all skin oils, lotions, and polishing compounds, which can cause vapor explosions and porosity during laser welding.
2. Alignment and Tacking
The new 20-gauge post is secured in a cross-locking ceramic tweezers. The tweezers act as a heat sink and a positioning jig. The post is inserted into the hollowed cup. The laser is set to a low-voltage 'tack' setting to place four microscopic spot welds at the compass points (North, South, East, West) to lock the alignment.
3. The Fill Weld and Annealing
Once tacked, the voltage is increased to the fusion threshold. The jeweler walks the laser beam around the circumference of the post base, melting the post and the cup wall together. For platinum, no filler wire is needed due to its non-oxidizing nature. For karat gold, a matching alloy filler wire is fed into the puddle to build a structural fillet. Finally, a defocused, low-energy pulse is applied over the joint to anneal the metal and relieve crystalline tension.
Troubleshooting Common Weld Failures
Even with advanced equipment, earring post replacement can fail if metallurgical variables are ignored.
The 'Cold Weld' Phenomenon
If the laser voltage is too low, or the metal surfaces are contaminated with microscopic oxides, the post will appear attached but will snap off under light pressure. This is a cold weld, where the metals have fused on the surface but lack deep penetration. The fix requires drilling out the joint, increasing the pulse width, and ensuring the argon shielding gas is flowing at 2 CFM to displace atmospheric oxygen.
Post Discoloration
When welding white gold without proper shielding gas or flux, the zinc and nickel in the alloy can oxidize, turning the post joint a dull grey or black. While this can be polished away, it indicates a localized depletion of alloying elements, which weakens the joint. Using high-purity argon gas prevents this oxidation entirely.
When to Upgrade to Threaded or Screw Backs
During an earring post replacement consultation, jewelers should advise clients with active lifestyles or high-value stones to upgrade their findings. Standard friction backs lose tension over time as the metal springs fatigue.
Upgrading to a threaded post with a screw-back, or a La Pousette locking mechanism, fundamentally changes the retention mechanics. A threaded post requires the jeweler to use an 18-gauge or 16-gauge shank to accommodate the depth of the threads without compromising the core tensile strength of the wire. While the replacement cost is higher—typically ranging from $85 to $150 per pair depending on the metal and mechanism—the elimination of shear-stress vulnerabilities makes it a mandatory recommendation for any diamond stud over 2.0 carats.


