How to Treat an Ear Infection From Earrings: A Step-by-Step Guide
Learn how to treat an ear infection from earrings with our step-by-step guide. Discover safe cleaning methods, metal grades, and when to see a doctor.

Waking up with a swollen, painful, or weeping ear piercing is a frustrating experience that can quickly derail your jewelry plans. Whether you are dealing with a fresh lobe piercing, a newly pierced helix, or a decades-old earlobe that suddenly flared up after wearing a new pair of statement hoops, proper intervention is critical. When researching how to treat an ear infection from earrings, most people immediately reach for rubbing alcohol or hydrogen peroxide. However, these harsh astringents can actually destroy newly forming tissue, delay healing, and exacerbate the problem.
As a domain expert in jewelry styling and piercing aftercare, I have compiled this comprehensive, step-by-step guide to help you accurately identify the root cause of your ear distress and treat it effectively using clinically sound methods and proper material science.
Identify the Culprit: Bacterial Infection vs. Metal Allergy
Before you begin any treatment protocol, you must determine if you are dealing with a true bacterial infection or contact dermatitis (a metal allergy). According to the American Academy of Dermatology, nickel allergy is the most common cause of allergic contact dermatitis, affecting millions of people worldwide. Misdiagnosing an allergy as an infection leads to improper treatment, such as using antibiotics when a simple metal swap is required.
| Symptom | Bacterial Infection (e.g., Staphylococcus) | Contact Dermatitis (Nickel Allergy) |
|---|---|---|
| Onset | Gradual; worsens over 24-48 hours | Rapid; begins within hours of wearing the metal |
| Discharge | Thick, opaque, yellow/green pus; foul odor | Clear, watery weeping; crusty when dry |
| Pain Level | Throbbing, deep ache, hot to the touch | Intense itching, surface burning, tenderness |
| Redness | Spreading outward; red streaks possible | Localized strictly to the metal contact area |
Step-by-Step Guide: How to Treat an Ear Infection From Earrings
If your symptoms align with a bacterial infection, follow this clinical protocol to clear the fistula (the piercing channel) and salvage your jewelry wear.
Step 1: Hand Hygiene and Assessment
Never touch an infected ear with unwashed hands. Wash your hands thoroughly with antimicrobial soap for a full 20 seconds. Gently assess the earring. If the earring back is digging into a swollen lobe, creating an indentation, you must relieve the pressure. For standard 20-gauge or 18-gauge lobe earrings, carefully unclasp the backing. If the tissue has swollen over the earring back (an embedded earring), do not force it. Skip to the medical intervention section below.
Step 2: Sterile Saline Cleansing
Discard rubbing alcohol, hydrogen peroxide, and tea tree oil. These agents are cytotoxic to fibroblasts, the cells responsible for healing your piercing channel. Instead, use a sterile 0.9% sodium chloride wound wash.
- Application: Spray the sterile saline directly onto the front and back of the earlobe or cartilage.
- Soak: Allow it to sit for 3 to 5 minutes to soften any crusted lymph or discharge.
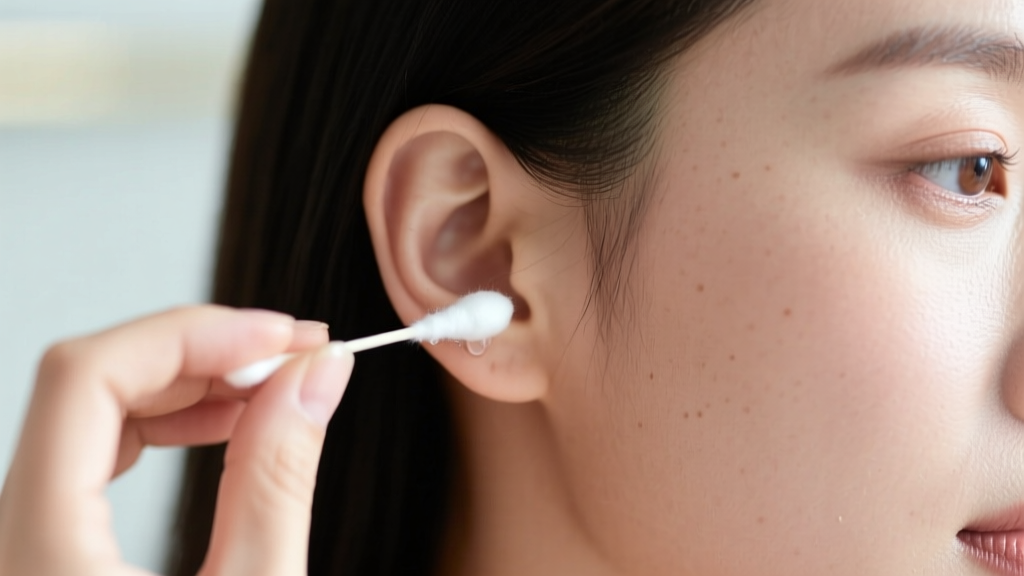
- Removal: Gently wipe away the softened debris using a non-woven sterile gauze pad. Avoid cotton balls or swabs, as they leave microscopic fibers trapped in the wound.
Step 3: Targeted Topical Applications
For localized bacterial infections on the earlobe, apply a thin layer of an over-the-counter antibiotic ointment like Polysporin. Avoid Neosporin if possible, as it contains neomycin, a common allergen that can trigger secondary contact dermatitis. If the infection is in the cartilage (such as a helix or tragus), avoid thick ointments that can block the fistula and trap anaerobic bacteria. Stick strictly to the sterile saline soaks and warm compresses to encourage natural drainage.
The Material Science of Healing: Upgrading Your Jewelry
You cannot heal an ear infection if the jewelry acting as the vector remains contaminated or chemically reactive. The Association of Professional Piercers (APP) strictly outlines which materials are safe for compromised tissue. If your current earrings are made of "surgical steel," you are likely wearing an alloy containing 8% to 12% nickel, which is a massive trigger for inflammation.
Approved Metals for Infected or Healing Ears:
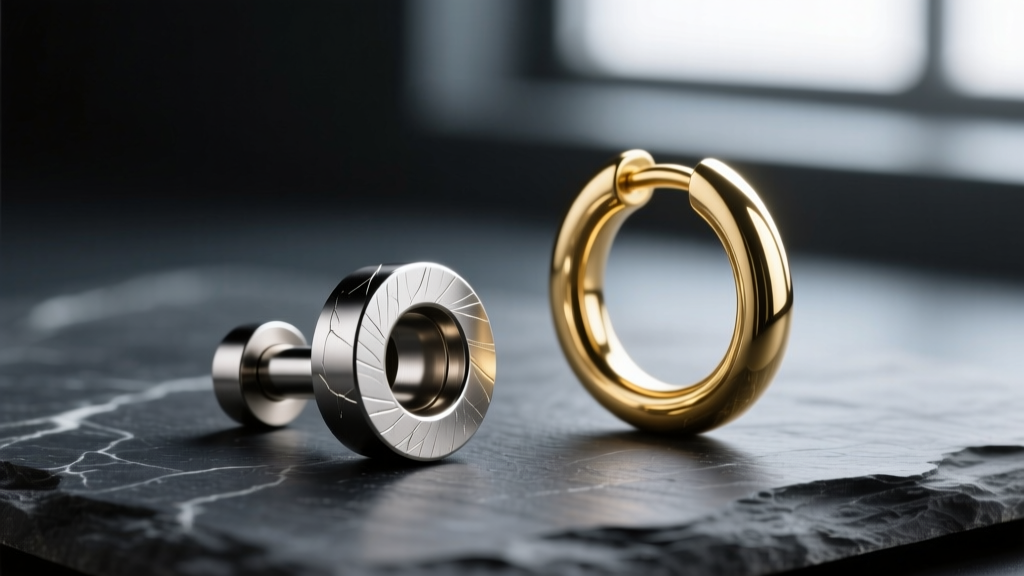
- ASTM F136 Implant-Grade Titanium: The gold standard. It is completely nickel-free, highly biocompatible, and can be autoclaved. Ideal for both lobe and cartilage.
- Niobium: A highly reactive, unalloyed element that is exceptionally well-tolerated by sensitive skin, though slightly heavier than titanium.
- 14k or 18k Solid Gold: Must be solid, not plated. Gold-plated or gold-filled earrings will eventually wear down, exposing the reactive brass or copper base metals underneath to your open wound.
When swapping jewelry during an infection, ensure the gauge is appropriate. Standard lobes require 20g (0.81mm) or 18g (1.02mm), while cartilage piercings generally require 16g (1.29mm) to prevent the "cheese cutter effect," where a wire that is too thin slowly migrates through the swollen tissue.
Troubleshooting Cartilage Bumps and Embedded Earrings
Cartilage piercings are notoriously prone to irritation bumps (hypertrophic scarring) that are frequently mistaken for infections. These bumps are usually caused by mechanical trauma, improper jewelry angles, or sleeping on the healing ear. If you have a bump, switching to a flat-back titanium labret stud with a longer post to accommodate swelling is the most effective intervention.
The Embedded Earring Emergency:
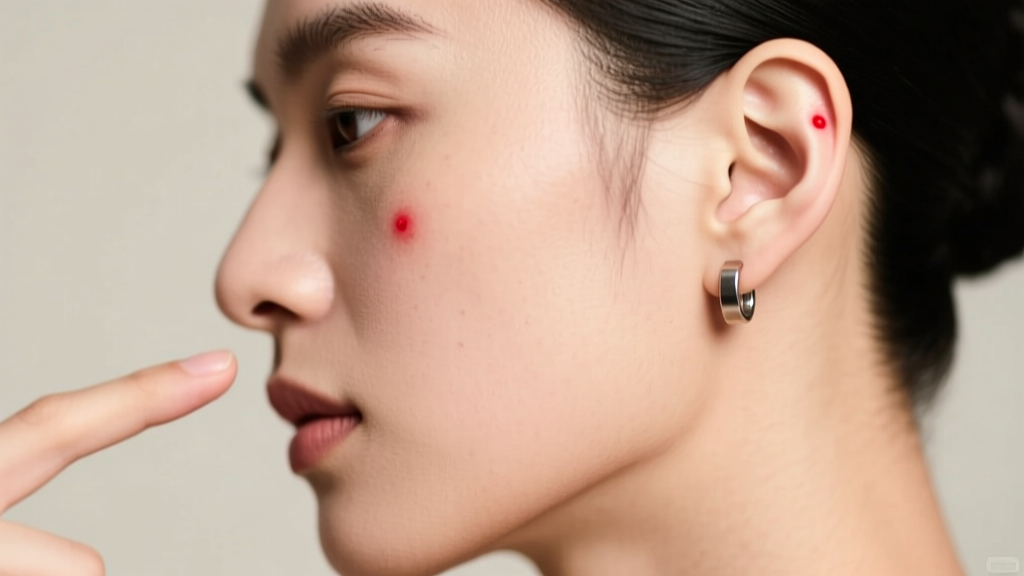
If your earlobe swallows the earring backing due to severe edema (swelling), the tissue will begin to heal over the metal. This requires immediate professional attention. A professional piercer can use a sterile taper and a dermal clamp to safely push the post through the tissue without causing further tearing. If a piercer is unavailable, an urgent care clinic can perform a minor incision to remove the embedded hardware. Never attempt to cut or dig an embedded earring out at home with unsterilized tweezers.
When to See a Medical Professional
While most localized earring infections respond beautifully to sterile saline and a metal upgrade within 48 to 72 hours, certain red flag symptoms require a doctor's prescription for oral antibiotics. According to the Mayo Clinic, you should seek immediate medical care if you experience:
- Redness or red streaks spreading outward from the earlobe down the neck.
- A systemic fever or chills.
- The earring becomes completely embedded and cannot be moved.
- The cartilage of the upper ear becomes hot, swollen, and misshapen (a sign of perichondritis, which can cause permanent ear deformity if untreated).
By understanding the difference between allergies and infections, utilizing sterile 0.9% saline, and strictly wearing ASTM F136 titanium or solid gold, you can effectively treat your ear and return to wearing your favorite earrings safely.


