Earrings DIY Buying Guide: Best Kits, Wire Gauges & Metals
Master your earrings DIY projects with our expert buying guide. Discover the best hypoallergenic metals, wire gauges, and essential jewelry tools.

The Hidden Costs of Cheap Earrings DIY Kits
The resurgence of bespoke, handcrafted jewelry has made at-home jewelry crafting more popular than ever. However, when sourcing materials for an earrings DIY project, beginners often fall into the trap of purchasing bulk kits from unverified online marketplaces. These kits frequently contain low-grade alloys masquerading as 'hypoallergenic,' leading to severe contact dermatitis for the end wearer. Furthermore, the wire provided in these generic kits is often dead-soft and poorly tempered, meaning your finished ear wires will bend and warp after a single use. To create professional-grade, comfortable, and durable earrings, you must bypass the gimmick kits and source your metals, gauges, and tools with precision. This guide breaks down exactly what to look for when buying supplies for your earrings DIY ventures in 2026.
Decoding Wire Gauges for Earrings DIY Projects
Wire gauge dictates both the structural integrity of your earring and its comfort within the piercing. The Standard Wire Gauge (SWG) and American Wire Gauge (AWG) systems are inversely scaled: the higher the gauge number, the thinner the wire. Understanding this metric is non-negotiable for any serious crafter.
| AWG Size | Millimeter (mm) | Primary Earrings DIY Use Case |
|---|---|---|
| 18 Gauge | 1.02 mm | Heavy hoops, structural ear cuffs, and thick cartilage clickers. Too thick for standard lobe piercings. |
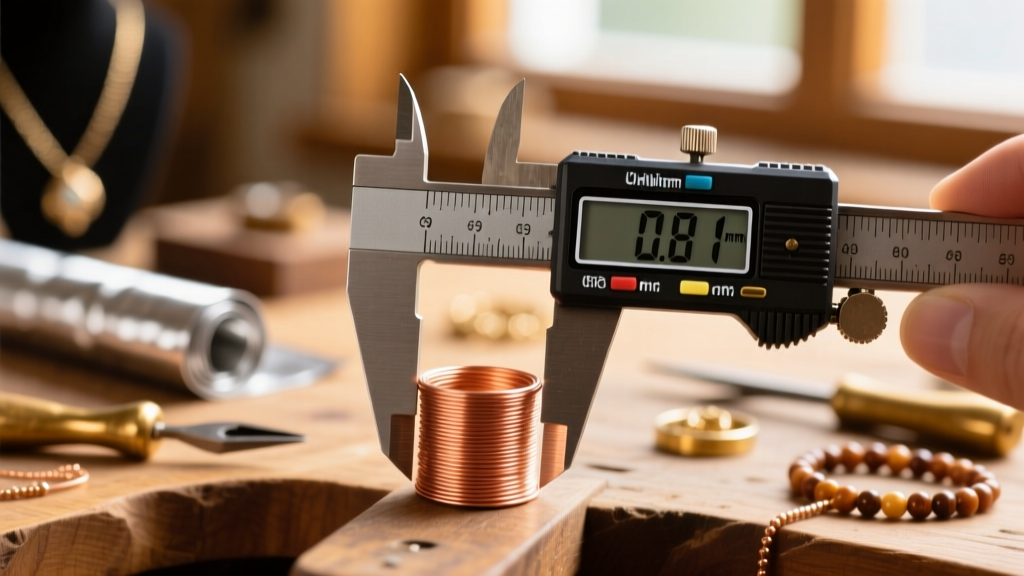
| 20 Gauge | 0.81 mm | The industry standard for French ear wires, fishhooks, and standard hoop earrings. Fits most healed piercings perfectly. |
| 22 Gauge | 0.64 mm | Lightweight ear wires for delicate gemstone drops, or wrapping thicker beads. |
| 24 Gauge | 0.51 mm | Wire wrapping, weaving, and securing briolettes to pre-made findings. Too fragile for structural hooks. |
When buying wire for ear hooks, always default to 20-gauge half-hard wire. The 'half-hard' temper means the wire has been slightly work-hardened at the mill, allowing it to hold a looped shape without snapping or bending out of place. According to the jewelry supply experts at Rio Grande, attempting to use dead-soft wire for ear wires will result in immediate deformation when the wearer puts them on.
Hypoallergenic Metals: What to Buy for Sensitive Ears
The term 'surgical steel' is largely a marketing fabrication. Most wire labeled as 316L surgical stainless steel contains between 8% and 10% nickel. While the nickel is bound in the alloy, prolonged exposure to skin oils and moisture can cause leaching, triggering allergic reactions in roughly 15% of the population. When sourcing metals for your earrings DIY inventory, prioritize these three alternatives:
1. ASTM F136 Implant-Grade Titanium
This is the gold standard for body jewelry. ASTM F136 titanium is entirely nickel-free and highly biocompatible. It is slightly harder to manipulate than silver, so you will need high-quality flush cutters to snip it without damaging your tool blades. It is ideal for initial piercings and ultra-sensitive cartilage projects.
2. Niobium
Niobium is a highly reactive elemental metal that is naturally hypoallergenic. Its greatest advantage for DIY crafters is its ability to be anodized using a simple DC power supply and a saltwater bath, allowing you to create vibrant, permanent colors without using toxic paints or platings. It is softer than titanium, making it excellent for wire-wrapping.
3. Argentium Silver
If you prefer the look of precious metals, skip traditional sterling silver (which contains copper and tarnishes rapidly) and buy Argentium silver. Argentium replaces some of the copper with germanium, making it highly tarnish-resistant and brighter than standard sterling. It is an exceptional choice for high-end earrings DIY projects that require a polished, white-metal finish.
Essential Tools for Earrings DIY Assembly
You cannot execute precise wire work with hardware-store pliers. The teeth on standard pliers will mar, scratch, and weaken your precious metal wire. To build a proper earrings DIY toolkit, invest in the following specialized instruments:
- Micro-Shear Flush Cutters: Brands like Lindstrom or Tronex offer micro-shears that cut wire perfectly flat on one side. This eliminates the sharp 'pinch' left by standard bevel cutters, ensuring your ear wires do not scratch the wearer's neck or earlobe.
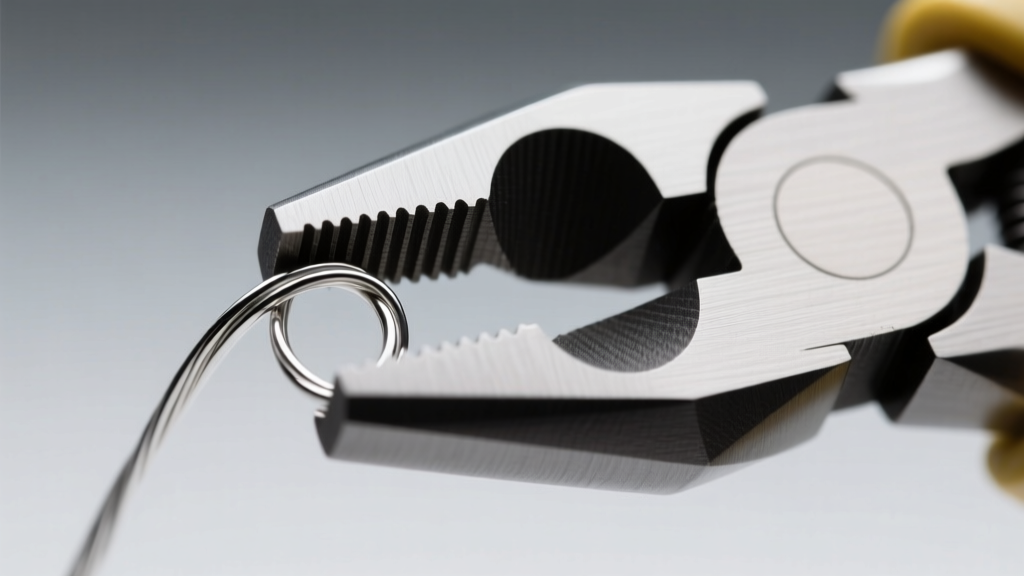
- Nylon-Jaw Pliers: These feature interchangeable nylon inserts over the metal jaws. They are essential for gripping and pulling wire loops closed without leaving tool marks or scratching soft metals like 24k gold-fill or pure silver.
- Round-Nose Pliers with Tapered Barrels: Look for a pair with a smooth, un-serrated taper. This allows you to create consistent, perfectly round loops of varying diameters depending on where you grip the wire along the barrel.
- Cup Burs and Pin Vise: If you are cutting your own ear wires, the cut end will be sharp. A 2.0mm cup bur attached to a pin vise allows you to manually round off the tip of the wire, making insertion into the piercing painless.
Sourcing Findings: Ear Wires, Posts, and Clutches
If you are not forging your own ear wires from raw wire, you will need to buy pre-made findings. When evaluating suppliers like Halstead Bead or local wholesalers, pay strict attention to the plating and base metals of these components.
For stud earrings, avoid cheap brass posts plated in silver. Once the plating wears off, the brass will react with the skin and turn the piercing green or cause irritation. Instead, source solid 925 sterling silver posts or titanium posts with laser-welded pads. Furthermore, the clutches (the backings that hold the stud in place) are just as critical. Standard 'butterfly' friction backs trap dead skin and bacteria. Upgrade your earrings DIY kits by purchasing silicone disc backs or secure screw-back clutches, which offer vastly superior comfort and hygiene for the wearer.
Evaluating Earrings DIY Kits: A 2026 Buyer's Checklist
If you still prefer the convenience of an all-in-one kit for beginners or for teaching workshops, use this checklist to evaluate the quality before purchasing:
The Sourcing Checklist:
1. Does the kit specify the exact metal alloy (e.g., 'Niobium' or 'ASTM F136 Titanium') rather than vague terms like 'hypoallergenic metal'?
2. Are the wire spools labeled with both the AWG gauge and the temper (dead-soft, half-hard, full-hard)?
3. Do the pliers feature smooth, un-serrated jaws?
4. Are the included gemstone beads drilled with holes large enough to accommodate 22-gauge or 24-gauge wire (typically 0.6mm to 0.8mm)?
By applying these strict material and tool standards to your purchasing process, you elevate your craft from amateur assembly to professional jewelry design. Sourcing the right components ensures that every piece you create is not only visually stunning but structurally sound and comfortable for years of wear.