Beginner's Guide to Earrings Ear Anatomy and Placement
Discover the ultimate beginner's guide to earrings ear anatomy. Learn about lobe and cartilage placements, gauge sizes, and healing times.

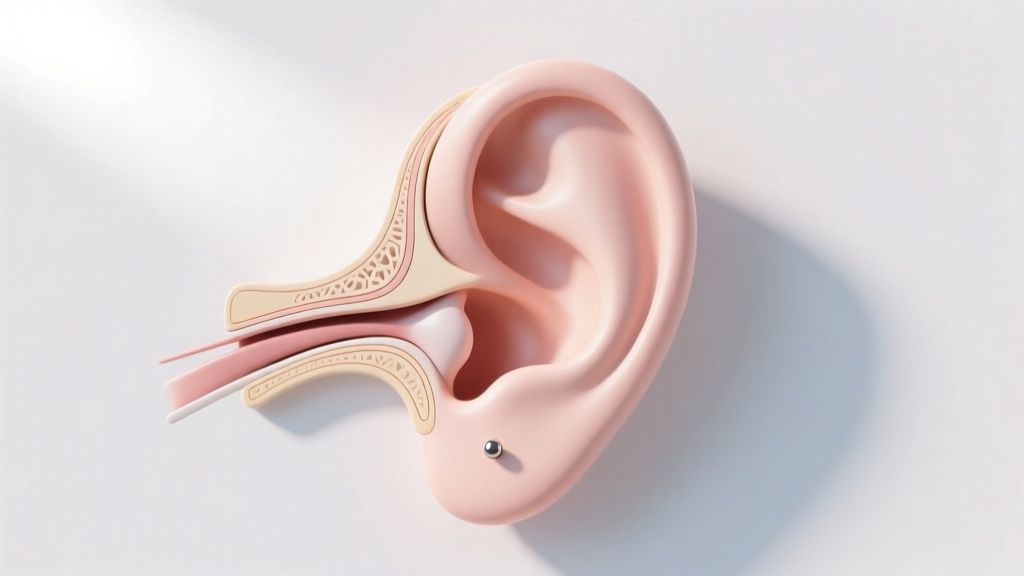
Understanding Earrings Ear Anatomy and Placement
Choosing the perfect jewelry goes far beyond simple aesthetics; understanding your unique earrings ear anatomy is the first step toward a comfortable, long-lasting piercing. The human ear is a complex landscape of soft tissue, dense cartilage, and intricate nerve endings. Whether you are planning your very first lobe piercing or looking to curate a curated 'ear stack' with multiple cartilage placements, knowing the biological realities of your ear will save you months of frustration, irritation, and unnecessary spending.
According to the Association of Professional Piercers (APP), the angle and depth of a piercing must be customized to the individual's specific ear shape. A placement that looks stunning on one person may cause chronic irritation on another due to differences in the helix fold or tragus prominence. This beginner-friendly explainer will break down the essential zones of the ear, the exact gauge sizes required for each, and the material science behind safe jewelry.
The Lobe: Standard and Upper Lobe Placements
The earlobe is the most common and forgiving piercing site because it consists of soft, vascular tissue that heals relatively quickly. However, not all lobe piercings are created equal.
Standard Lobe vs. Upper Lobe
- Standard Lobe: Placed in the lower, fleshy part of the ear. The standard gauge is 18g (1.0mm) or 16g (1.2mm). Healing typically takes 6 to 8 weeks. Because the tissue is soft, it can accommodate a wide variety of jewelry styles, from delicate studs to heavy dangles (once fully healed).
- Upper Lobe: Positioned higher up, where the soft tissue begins to transition toward the cartilage of the conch. Upper lobes often require a slightly longer post during the initial healing phase due to increased swelling. Healing takes 8 to 12 weeks. Flatback labrets are highly recommended here to prevent the jewelry from catching on hair or clothing.
The Butterfly Back Problem: Many beginners start with standard 'butterfly' or 'push' back earrings. These should be avoided for fresh piercings. The small crevices trap dead skin cells and sebum, creating a breeding ground for bacteria. Furthermore, the sharp prongs apply uneven pressure on the fistula (the piercing channel), leading to localized swelling. Upgrading to a 16-gauge titanium flatback labret ($25–$45) is the single best investment for lobe health.
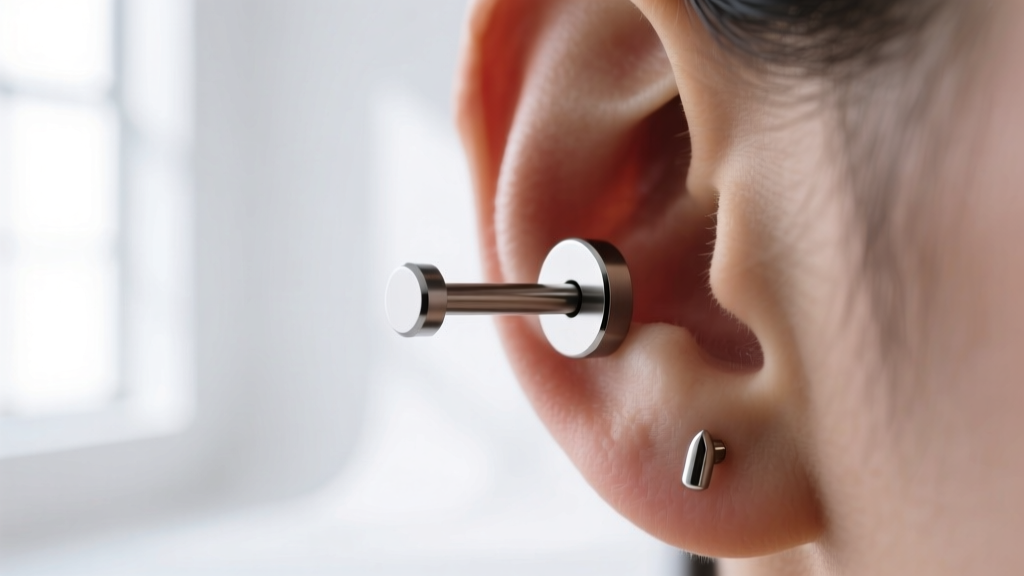
Cartilage Zones: Helix, Tragus, and Conch
Cartilage piercings require significantly more patience and precision. Cartilage is avascular, meaning it lacks its own direct blood supply. It relies on surrounding tissues for nutrients and immune response, which is why cartilage piercings take anywhere from 6 to 12 months to fully heal.
| Piercing Zone | Standard Gauge | Best Initial Jewelry | Average Healing Time | Pain Level (1-10) |
|---|---|---|---|---|
| Helix (Outer Rim) | 16g (1.2mm) | Flatback Labret | 6 - 12 Months | 4 - 5 |
| Tragus (Ear Flap) | 16g (1.2mm) | Flatback Labret | 8 - 12 Months | 5 - 6 |
| Conch (Inner Cup) | 14g (1.6mm) or 16g | Flatback Labret | 9 - 12 Months | 6 - 7 |
| Rook (Inner Ridge) | 16g (1.2mm) | Curved Barbell | 10 - 12 Months | 6 - 8 |
The 'Cartilage Bump' Reality Check: Often misidentified as keloids, hypertrophic scars (commonly called irritation bumps) are usually caused by mechanical stress rather than allergic reactions. If you sleep on a healing helix, the pressure forces the jewelry to sit at an angle, causing the fistula to heal crooked. The body responds by generating excess collagen at the exit point, forming a bump. Using a travel neck pillow to keep your ear suspended in the center hole is a highly effective, non-medical troubleshooting strategy.
Material Grades and Jewelry Mechanics
When browsing for jewelry, the material grade is non-negotiable. The American Academy of Dermatology (AAD) strongly advises against using cheap alloys in any puncture wound. Here is the hierarchy of safe metals:
- ASTM F-136 Implant-Grade Titanium: The gold standard for fresh piercings. It is completely nickel-free, lightweight, and highly biocompatible. Expect to pay $25 to $50 for a basic titanium post.
- 14k or 18k Solid Gold: Must be solid, not plated. High-quality body jewelry brands use nickel-free gold alloys. Decorative gold ends for threadless posts typically range from $60 to $250+.
- Niobium: A highly reactive metal that can be anodized into vibrant colors without using paints or dyes. Excellent for those with extreme metal sensitivities.
- Avoid 'Surgical Steel' (316L): Despite the medical-sounding name, 316L stainless steel contains 8% to 10% nickel. While fine for healed piercings in some people, it is a primary culprit for contact dermatitis in fresh wounds.
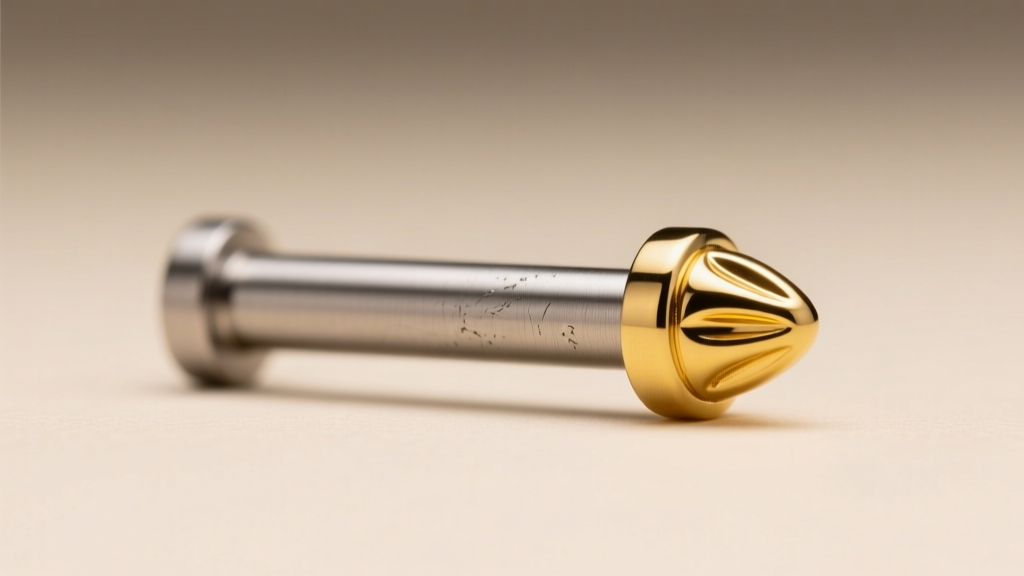
Threadless vs. Externally Threaded: Never use externally threaded jewelry (where the screw is on the post that passes through the skin). The sharp threads act like a cheese grater, tearing the delicate fistula tissue every time you insert it. Instead, opt for internally threaded or threadless (press-fit) jewelry. Threadless systems use a tiny bend in the pin to create tension against the inside of the post, offering a secure, seamless fit that will not snag on towels or hair.
Common Beginner Mistakes and How to Avoid Them
'The most common mistake beginners make is treating a cartilage piercing like a lobe piercing. Cartilage requires strict aftercare, zero pressure, and immense patience.' — Certified Professional Piercer
- Using Piercing Guns: Piercing guns use blunt force trauma to shove a dull stud through the tissue. In the lobe, this causes unnecessary tearing; in the cartilage, it can literally shatter the tissue structure, leading to permanent deformity and chronic inflammation. Always seek a professional who uses single-use, sterilized hollow needles.
- Over-Cleaning with Harsh Chemicals: Avoid tea tree oil, rubbing alcohol, hydrogen peroxide, and antibacterial soaps. These destroy the fragile new cells forming the fistula. The only liquid you need is sterile 0.9% sodium chloride wound wash, sprayed gently twice a day.
- Changing Jewelry Too Early: A lobe might feel healed at 4 weeks, and a helix might stop hurting at 3 months. However, the fistula is still fragile. Changing jewelry before the 6-month mark for cartilage often results in immediate swelling and irritation bumps. Have your piercer do your first 'downsize' (switching to a shorter post once initial swelling subsides) at the 4-to-6-week mark.
Non-Pierced Alternatives: Ear Cuffs and Clip-Ons
If you are not ready to commit to the healing journey of a cartilage piercing, modern non-pierced alternatives offer incredible aesthetic value. Tension-based ear cuffs are designed to wrap around the thinnest part of the helix rim. When shopping for ear cuffs, look for adjustable sterling silver or gold-filled options that allow you to gently squeeze the metal for a custom, secure fit.
For the lobe, modern clip-on earrings have evolved far beyond the painful, screw-back vintage styles of the past. Magnetic lobe cuffs and invisible resin clip-ons provide the illusion of a piercing without the biological commitment, making them perfect for testing out how a specific metal color or gemstone size complements your unique face shape before making a permanent decision.


