Earrings Placement Guide: Cleaning and Care by Piercing Type
Discover how your exact earrings placement dictates your cleaning routine, ideal materials, and maintenance protocols for long-term ear health.

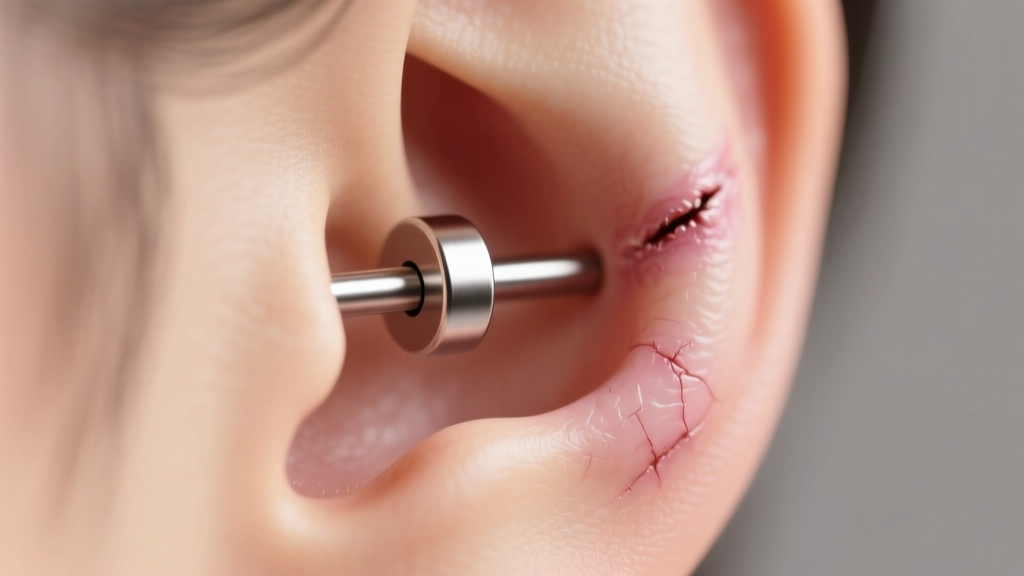
Choosing the perfect earrings placement is often viewed purely through an aesthetic lens. You might select a helix, daith, or upper lobe based on how it frames your face or complements your other jewelry. However, from a biological and dermatological perspective, your exact earrings placement is the single most critical factor in determining your long-term maintenance routine, cleaning protocols, and hardware requirements. A standard lobe piercing and a rook piercing exist in entirely different micro-environments, requiring vastly different approaches to hygiene and material selection.
In this comprehensive guide, we break down the anatomical realities of various ear placements and provide actionable, expert-level maintenance frameworks to keep your piercings healthy, bump-free, and pristine for decades.
The Biological Reality of Earrings Placement
The human ear is not a uniform canvas; it is a complex topography of vascular tissue, avascular cartilage, and deep dermal folds. The healing speed, infection risk, and daily maintenance requirements of your piercing are directly tied to the blood supply and tissue density of the specific placement.
- Vascular Tissue (Lobes): High blood flow delivers oxygen and white blood cells rapidly, promoting fast healing (6-8 weeks) and easy recovery from minor irritation.
- Avascular Cartilage (Helix, Conch, Daith): Cartilage lacks its own direct blood supply, relying on the perichondrium (the connective tissue covering it) for nutrients. This results in prolonged healing windows (6-12 months) and a high susceptibility to hypertrophic scarring (irritation bumps) if subjected to pressure or improper cleaning.
- Debris Traps (Rook, Tragus, Snug): Placements situated in the deep folds of the antihelix or tragus naturally accumulate sebum, dead skin cells, shampoo residue, and earwax, requiring specialized mechanical cleaning tools.
The Lobe Zone: Standard and Upper Lobes
Standard lobe piercings (typically 20g to 18g, or 0.8mm to 1.0mm) and upper lobe placements are the most forgiving. Because of the robust vascularity, the fistula (the tube of healed skin lining the piercing channel) forms quickly and resiliently.
Daily Cleaning Protocol
For fully healed lobes, aggressive chemical cleaners are unnecessary and can disrupt the skin's acid mantle. Wash your lobes daily in the shower using a mild, fragrance-free liquid castile soap. Rinse thoroughly to ensure no soap residue dries against the jewelry backing, which is a common cause of contact dermatitis.
Material Tolerance
Healed lobes can tolerate a wide array of materials, including 14k or 18k solid gold, platinum, niobium, and even high-quality surgical stainless steel. However, if you frequently swap jewelry, opt for threadless (push-pin) or internally threaded options. Externally threaded jewelry can cause micro-tears in the fistula during insertion, leading to localized swelling.
Cartilage Placements: Helix, Conch, and Flat
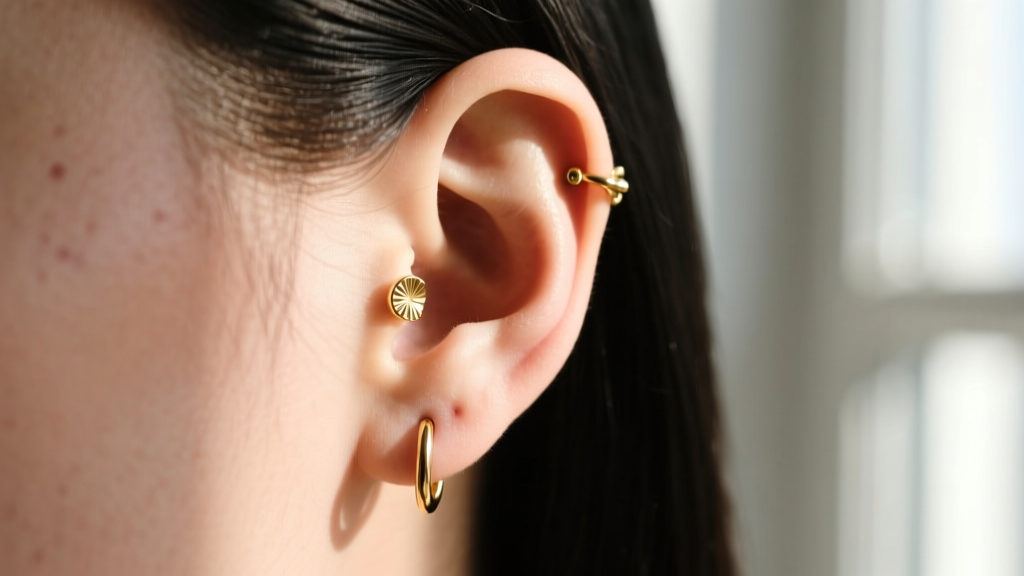
Cartilage placements—most commonly pierced at 16g (1.2mm) or 14g (1.6mm) to reduce the "cheese-cutter effect" (where thin wire migrates through tissue)—demand rigorous, hands-off maintenance. The Association of Professional Piercers (APP) strongly advises against twisting or rotating cartilage jewelry, as this introduces surface bacteria into the healing channel and tears delicate new tissue.
The Sterile Saline Standard
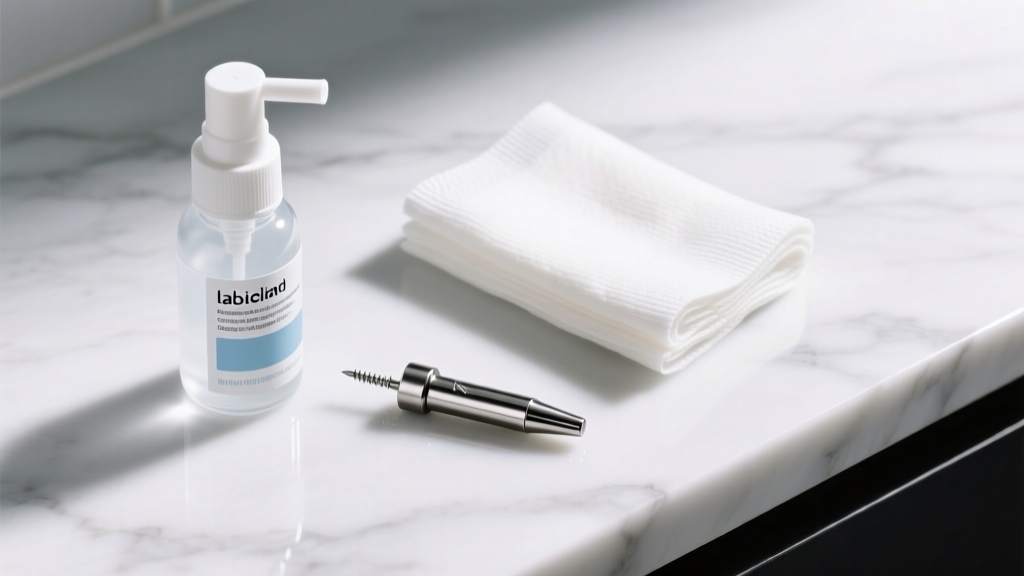
For cartilage, your primary cleaning agent must be sterile 0.9% sodium chloride wound wash with absolutely no additives. Avoid solutions containing benzalkonium chloride, alcohol, or hydrogen peroxide, as these are cytotoxic and will kill the fibroblasts responsible for collagen synthesis in the cartilage matrix. Spray the saline directly onto the entry and exit points twice daily, let it sit for 30 seconds, and gently pat dry with non-woven sterile gauze. Avoid cotton balls, which can leave microscopic fibers tangled around the jewelry post.
Hardware Selection: The Flat-Back Labret
For helix, conch, and flat placements, flat-back labrets made from ASTM F136 implant-grade titanium are mandatory. Unlike ASTM F67 (commercially pure titanium), F136 is an alloy specifically engineered for surgical implants, offering superior tensile strength and a mirror-polished surface that resists bacterial adhesion. The flat disc sits flush against the back of the ear, distributing pressure evenly and preventing the "sleeping bump"—a hypertrophic scar caused by the sharp point of a standard butterfly backing digging into the tissue overnight.
High-Risk Debris Traps: Tragus, Daith, and Rook
Placements located in the inner concave folds of the ear present unique maintenance challenges. The daith (pierced through the crus of the helix) and the rook (pierced through the antihelix fold) are notorious for trapping hair products, hard water minerals, and natural earwax.
Mechanical Debris Removal
Saline spray alone is often insufficient to dislodge compacted sebum from the tight spaces around a daith clicker or a rook curved barbell. Incorporate a soft interdental brush (the kind used for braces or retainers) into your weekly maintenance routine. Dip the brush in sterile saline and gently sweep the crevices around the jewelry hinge and clasp. This prevents the buildup of "ear cheese" (a mix of dead skin and sebum) that can cause foul odors and localized bacterial infections.
According to the Cleveland Clinic, persistent warmth, throbbing pain, and thick, discolored discharge are signs of infection rather than mere irritation, requiring medical evaluation rather than just enhanced cleaning.
Maintenance Matrix: Cleaning Protocols by Earrings Placement
Use the following data matrix to tailor your maintenance routine to your specific earrings placement.
| Earrings Placement | Avg. Healing Time | Primary Cleaning Agent | Ideal Hardware Material | Common Failure Mode |
|---|---|---|---|---|
| Standard Lobe (18g-20g) | 6 - 8 Weeks | Mild Liquid Soap / Water | 14k Gold, Titanium | Migration from heavy dangles |
| Helix / Flat (16g) | 6 - 12 Months | 0.9% Sterile Saline | ASTM F136 Titanium | Hypertrophic scarring (pressure) |
| Conch (14g-16g) | 6 - 12 Months | 0.9% Sterile Saline | ASTM F136 Titanium | Angle migration from long posts |
| Daith / Rook (16g) | 9 - 18 Months | Saline + Interdental Brush | Titanium, Niobium | Sebum impaction, clicker snags |
| Tragus (16g) | 4 - 8 Months | 0.9% Sterile Saline | Flat-back Titanium | Earbud friction, shampoo buildup |
Troubleshooting Irritation Bumps and Migration
Irritation bumps (often misidentified as keloids) are the most common issue associated with improper cartilage care. True keloids are genetic, overgrown scar tissues that extend beyond the original wound site and require surgical removal. Irritation bumps, however, are localized hypertrophic scars caused by environmental friction, moisture entrapment, or incorrect jewelry angles.
The Travel Pillow Hack
If you are a side sleeper, your head weight applies approximately 8 to 12 pounds of direct pressure to a helix or flat piercing. This pressure bends the jewelry post inside the channel, forcing the tissue to heal at an angle. When you stand up, the straight jewelry fights against the angled fistula, causing chronic inflammation. The solution: Sleep with a U-shaped travel pillow, positioning your ear in the center hole to eliminate all contact pressure.
The Crucial Step: Downsizing Your Hardware
When a cartilage piercing is first performed, the piercer uses an extra-long post (often 8mm to 10mm) to accommodate the initial swelling phase. Once the swelling subsides (usually between weeks 4 and 8), that excess post becomes a liability. It catches on hair, gets bumped by towels, and acts as a lever that torques the jewelry inside the ear. You must return to your piercer for a post-downsize to a snugger fit (typically 5mm or 6mm). Failing to downsize is the number one cause of delayed healing and angled migration in cartilage placements.
Final Thoughts on Ear Health
Ultimately, respecting the biology of your specific earrings placement is the key to a lifetime of comfortable, beautiful wear. By matching your cleaning agents to the tissue type, investing in implant-grade hardware, and utilizing targeted tools for debris traps, you transform your piercing maintenance from a daily chore into a seamless, proactive health routine. For further reading on safe jewelry standards and anatomical guidelines, always consult resources provided by the Mayo Clinic and certified professional piercing studios.


