Easy Leather Earring Ideas: The Ultimate Beginner Guide
Discover easy leather earring ideas perfect for beginners. Learn about material grades, hardware gauges, and step-by-step DIY techniques for stunning styles.

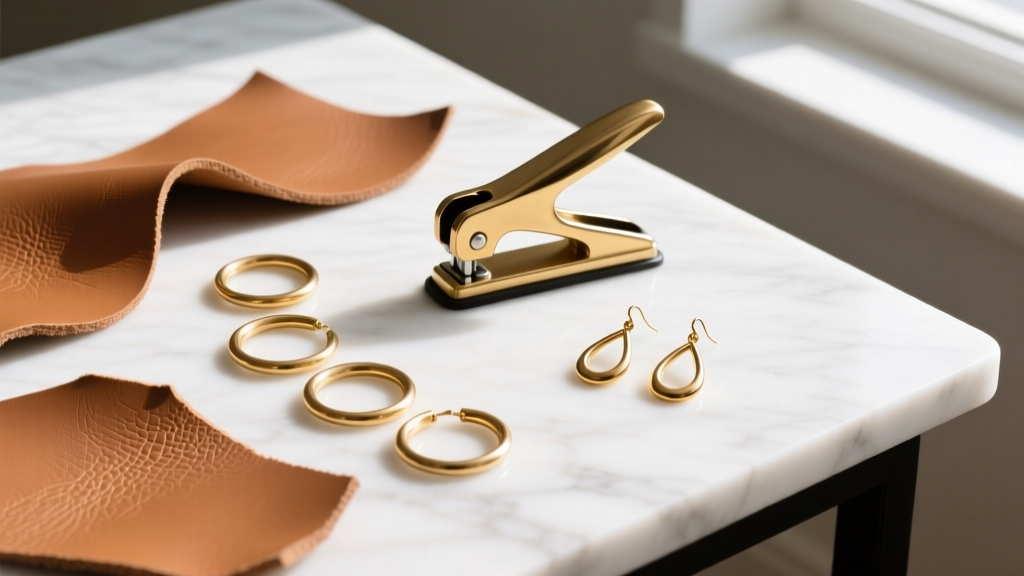
Why Leather Earrings Are Dominating 2026 Craft Markets
If you are looking to break into jewelry making, exploring leather earring ideas is one of the most rewarding entry points. Unlike metalsmithing, which requires expensive torches, anvils, and specialized safety gear, leathercraft is accessible, highly tactile, and incredibly forgiving. In 2026, the trend has shifted heavily toward sustainable, lightweight, and hypoallergenic statement pieces, making vegetable-tanned leather a favorite among indie designers and hobbyists alike.
However, creating professional-looking leather earrings requires more than just cutting shapes and hanging them on a wire. You must understand leather weights, hardware gauges, and edge-finishing techniques to prevent your pieces from looking like amateur school projects. This guide breaks down the exact specifications, tools, and beginner-friendly designs you need to craft boutique-quality earrings from home.
The Crafter’s Blueprint: Leather Weights and Thickness
The most common mistake beginners make is choosing the wrong leather thickness, measured in ounces (oz). Using a heavy 5-oz belt leather for a delicate dangle earring will result in a piece that drags the earlobe down uncomfortably. According to Tandy Leather, understanding the ounce-to-millimeter conversion is critical for jewelry making.
| Leather Weight (oz) | Thickness (mm) | Best Earring Applications |
|---|---|---|
| 1 - 2 oz | 0.4 - 0.8 mm | Fringe tassels, layered delicate shapes, kid leather studs |
| 2 - 3 oz | 0.8 - 1.2 mm | Standard teardrops, geometric blocks, arches (The Sweet Spot) |
| 3 - 4 oz | 1.2 - 1.6 mm | Small ear cuffs, heavy structural studs (requires skiving) |
| 4+ oz | 1.6+ mm | Avoid for earrings (too heavy, will tear the piercing hole) |
Pro Tip: Always purchase vegetable-tanned leather for crafting. Chrome-tanned leather has a fuzzy suede-like back and cannot be burnished or edge-painted effectively.
Hardware, Gauges, and Hole Punching
Leather is a skin, meaning it can stretch and tear if the hardware puts too much stress on the puncture point. When sourcing findings from suppliers like Rio Grande, pay strict attention to wire gauges.
- Ear Wires (French Hooks): Opt for 20-gauge (0.81mm) or 22-gauge (0.64mm) wire. If you or your customers have sensitive ears, use Niobium or Grade 23 Titanium ear wires.
- Jump Rings: Use 4mm or 5mm outer diameter (OD) jump rings in 20-gauge wire. Avoid 24-gauge or thinner jump rings, as the sharp wire edge will act like a cheese cutter and slice right through the leather over time.
- The Punch: Never use a standard office hole punch. Invest in a 1.5mm or 1/16-inch hollow drive punch. This creates a clean, tight slit that snugly fits a jump ring without excess wiggling.
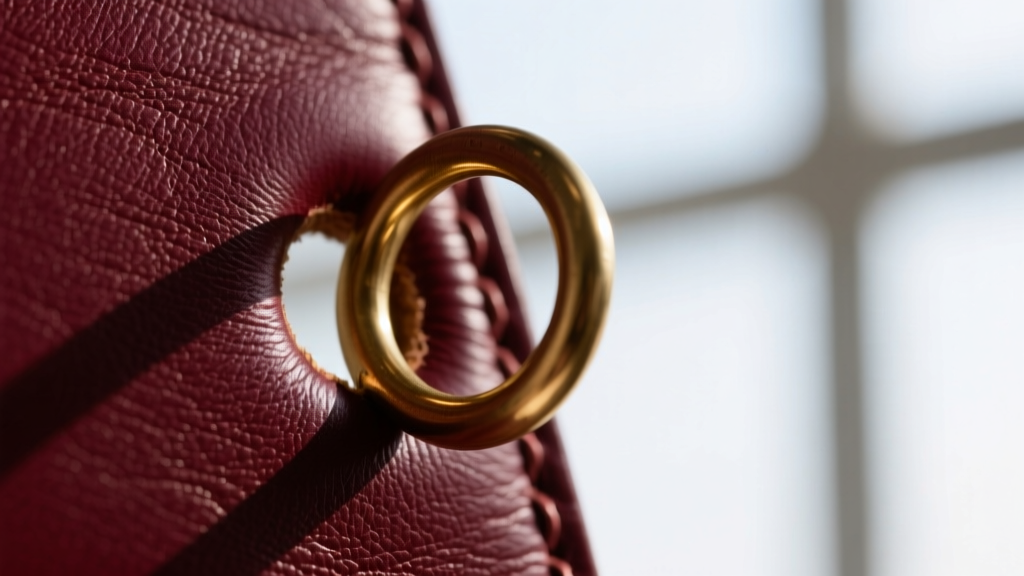
5 Easy Leather Earring Ideas for Beginners
Once you have your 2-3 oz vegetable-tanned leather and your 1.5mm punch, you are ready to design. Here are five highly marketable, beginner-friendly concepts.
1. The Minimalist Teardrop
The teardrop is the quintessential leather earring. Using a brass template or a stiff paper stencil, trace an elongated teardrop shape (about 2 inches long). Cut it out with a sharp rotary blade or an X-Acto knife. Punch a single 1.5mm hole at the narrow top tip, roughly 3mm down from the edge. Attach a 4mm brass jump ring and a gold-plated French hook. Estimated Cost per Pair: $0.45.
2. The Layered Art Deco Arch
This design uses two contrasting pieces of leather to create depth. Cut a large semi-circle from natural tan leather (2.5 inches wide). Cut a smaller, contrasting semi-circle from black or oxblood leather (1.5 inches wide). Use a tiny drop of leather weld or double-sided jewelry tape to adhere the smaller arch to the center-bottom of the larger arch. Punch through both layers at the top center. The dual-tone effect looks incredibly high-end with minimal effort.
3. The Hand-Cut Fringe Dangle
Fringe earrings require 1-2 oz leather so the strips move fluidly. Cut a rectangle measuring 2 inches by 1 inch. Using a ruler and a sharp blade, slice vertical strips up the rectangle, stopping 1/4 inch from the top edge. Roll the uncut top edge tightly into a cylinder and secure it with a dab of leather glue. Once dry, punch a hole through the rolled cylinder and attach your hardware. Brush the fringe with a wire brush to separate the strips and give them a suede-like texture.
4. The Riveted Faux-Gemstone Stud
Not all leather earrings need to dangle. Cut two small 10mm circles from a thick 3-oz scrap. Take a flat-back crystal or glass cabochon and adhere it to the center of the leather circle using E6000 craft adhesive. Once cured, use a 14-gauge brass rivet and a rivet setter to punch through the center of the gemstone and leather, attaching a flat brass post back. This creates a mixed-media stud that bridges the gap between rustic and glamorous.
5. The Two-Tone Geometric Block
Embrace the 2026 trend of bold, brutalist geometry. Cut two identical elongated hexagons from different colored leather scraps. Instead of hanging them vertically, use a 3mm brass eyelet to rivet them together side-by-side, creating a wide, abstract block. Attach a jump ring to the top center eyelet. The use of an eyelet not only adds a metallic industrial accent but also reinforces the hanging point, preventing tears.
Pro Finishing Techniques: Edges and Sealing
The difference between a $5 craft fair earring and a $35 boutique earring lies entirely in the edge finish. Raw, cut leather edges are fuzzy, porous, and prone to absorbing skin oils and dirt.
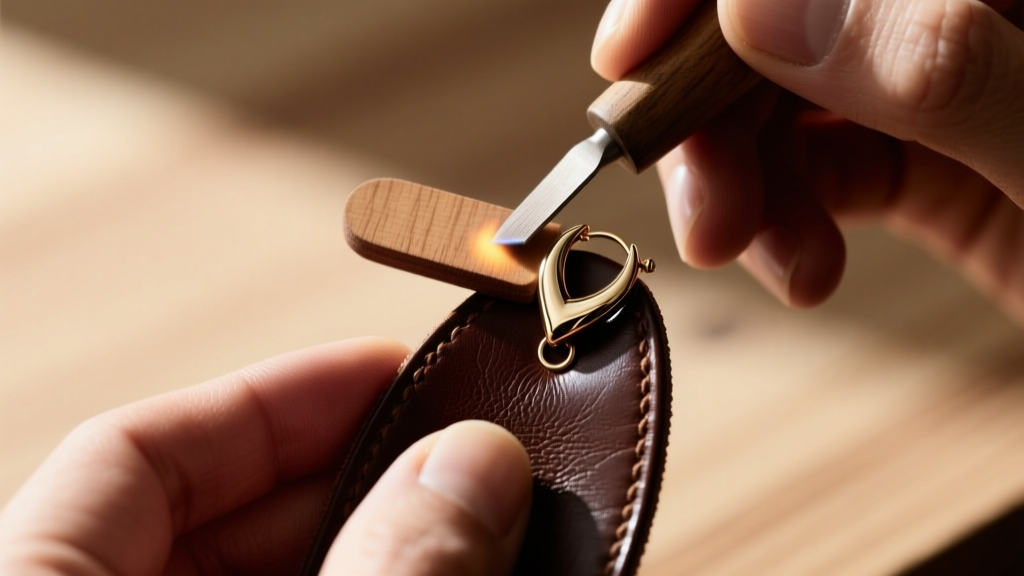
According to master leatherworkers, you have two primary options for finishing edges:
- Burnishing (For Natural Edges): Apply a thin layer of Tokonole (a Japanese water-based burnishing gum) to the raw edge. Take a wooden slicker or a piece of canvas and rub the edge vigorously until the friction generates heat, melting the gum into the fibers. This results in a glass-smooth, glossy edge.
- Edge Painting (For Colored Edges): If you are using black or brightly dyed leather, burnishing won't work well. Instead, apply a specialized leather edge paint (like Vernis or Fenice) using a wooden awl or an edge-painting pen. Let it dry, lightly sand it with 800-grit sandpaper, and apply a second coat for a seamless, factory-finished look.
Common Beginner Mistakes and How to Fix Them
"The longevity of a leather earring is entirely dependent on the structural integrity of the puncture point. Treat the hanging hole with the same respect you would a load-bearing wall." — Halstead Jewelry Making Guides
- The Tear-Out Failure: If your jump ring rips through the top of the earring, your hole is too close to the edge. The Fix: Always maintain a minimum 3mm border between the edge of the leather and the top of the punched hole. For heavy designs, install a metal eyelet to reinforce the stress point.
- The Warping Effect: Leather is hygroscopic (absorbs moisture from the air). If you only dye or seal the front of the earring, the back will absorb humidity and cause the earring to curl like a potato chip. The Fix: Always seal both the front and the back of the leather with a light acrylic finisher or leather balm to equalize moisture absorption.
- Tarnished Hardware: Brass and copper jump rings will oxidize and leave green marks on the leather or the wearer's skin. The Fix: Tumble your brass findings in a rotary tumbler with stainless steel shot and a drop of dish soap, or coat them in a micro-crystalline wax like Renaissance Wax to seal the metal.
Final Thoughts
Mastering these basic leather earring ideas opens the door to endless custom designs. By respecting the material—choosing the correct 2-3 oz weight, using properly gauged 20g hardware, and taking the time to burnish your edges—you elevate your craft from simple DIY to professional artisan jewelry. Grab your hollow punch, source some high-quality vegetable-tanned scraps, and start building your 2026 collection today.


