What Gauge Are Standard Earrings? A Step-by-Step Sizing Guide
Discover what gauge are standard earrings with our step-by-step guide. Learn how to measure, compare lobe vs cartilage sizes, and choose metals.

The Core Answer: What Gauge Are Standard Earrings?
If you have ever tried to buy replacement jewelry online or transition from a piercing studio to a retail boutique, you have likely encountered the confusing world of wire thickness. If you are asking yourself, what gauge are standard earrings, the short answer is that standard lobe piercings done at retail kiosks or with piercing guns are typically 20-gauge (20G), while lobe piercings done by professional piercers with a hollow needle are usually 18-gauge (18G) or 16-gauge (16G). Cartilage piercings, on the other hand, generally default to 16G or 14G.
The jewelry gauge system is inverse, meaning the higher the number, the thinner the metal wire. Understanding this metric is crucial for avoiding tissue damage, ensuring a comfortable fit, and preventing the dreaded "cheese-cutter effect" where a wire that is too thin slowly migrates through the earlobe.
Standard Earring Gauge Conversion Chart
| Gauge (G) | Millimeters (mm) | Inches (approx) | Common Placement & Context |
|---|---|---|---|
| 22G | 0.64mm | 0.025" | Ultra-fine nose studs, vintage clip-ons |
| 20G | 0.81mm | 0.032" | Standard retail mall/kiosk lobe piercings |
| 18G | 1.02mm | 0.040" | Professional needle lobe piercings, some nostrils |
| 16G | 1.29mm | 0.051" | Cartilage, helix, tragus, conch, industrial |
| 14G | 1.60mm | 0.063" | Daith, rook, snugs, heavy-gauge lobes |
Step-by-Step Guide to Identifying Your Current Gauge
Before purchasing new jewelry, you must accurately determine your current piercing size. Guessing can lead to forced insertions that tear the fistula (the healed skin tube inside the piercing). Follow this step-by-step protocol to measure your jewelry safely.
Step 1: Gather the Right Tools
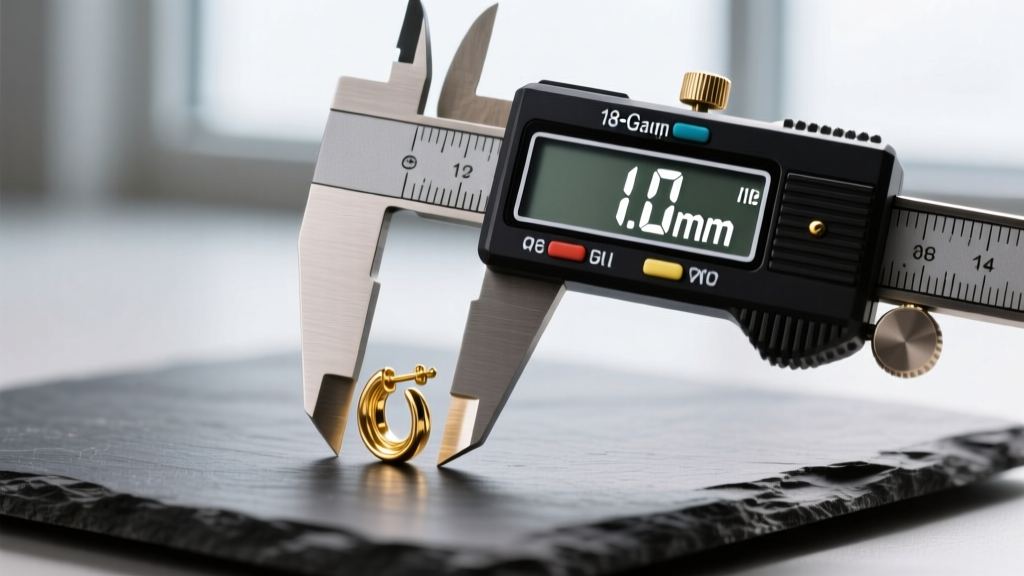
Do not rely on a standard ruler; the millimeter increments are far too large to differentiate between a 1.0mm (18G) and a 1.2mm (16G) post. You will need a digital vernier caliper. These are available online for under $15 and provide precise readings to the hundredth of a millimeter.
Step 2: Remove and Clean the Jewelry
Wash your hands thoroughly with antibacterial soap. Carefully remove the earring from your ear. Wipe the post clean with a sterile alcohol pad to remove any sebum, dead skin cells, or debris that could add fractional millimeters to your measurement and skew the results.
Step 3: Measure the Post or Wire
Turn on your digital caliper and zero it out. Gently clamp the jaws of the caliper around the thickest part of the earring post or wire. Do not measure the decorative end, the threading, or the butterfly backing. Record the millimeter measurement displayed on the screen and cross-reference it with the conversion chart above.
Step 4: Check for Threading Types
While measuring, note the threading. High-quality body jewelry uses internal threading (the screw is on the barbell, not the bead) or is threadless (push-pin). Externally threaded jewelry can cause micro-tears when inserted and is generally discouraged by the Association of Professional Piercers (APP).
Lobe vs. Cartilage: How Piercing Placement Dictates Gauge
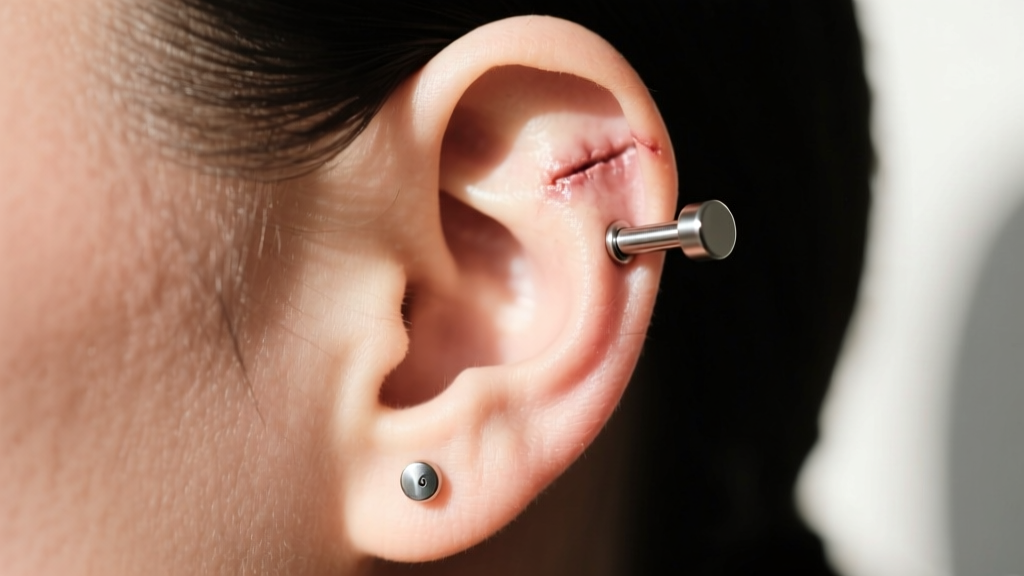
The reason there is no single answer to "what gauge are standard earrings" is that ear anatomy dictates structural requirements. Different regions of the ear experience different levels of tension, friction, and weight distribution.
Standard Lobe Piercings (20G - 18G)
The earlobe is composed of soft, vascular tissue without cartilage. Because it is highly pliable, it can accommodate thinner jewelry. However, wearing 20G or 22G earrings in a lobe long-term carries a risk. If the earring is heavy (like a dangling drop or a large hoop), a thin 20G wire will act like a cheese wire, slowly slicing downward through the tissue. For everyday wear and long-term lobe health, upgrading to an 18G or 16G post provides a wider surface area that distributes weight evenly.
Cartilage Piercings (16G - 14G)
The upper ear is made of rigid cartilage covered by a thin layer of skin. Cartilage is avascular (lacks direct blood supply), meaning it heals much slower than the lobe and is highly prone to hypertrophic scarring or irritation bumps if subjected to pressure. Professional piercers use 16G or 14G needles for cartilage to ensure the jewelry is thick enough to remain perfectly straight. A thinner wire in a helix or conch piercing can easily bend during sleep, causing the fistula to heal at a crooked, irritating angle.
How to Safely Transition Between Gauges
Once you know your current size, you may want to change it. Whether you are downsizing for delicate jewelry or upsizing for better structural support, the tissue must be coaxed, never forced.
Downsizing (Moving to a Higher Gauge Number)
If your piercer used a 14G needle but you want to wear a delicate 16G or 18G earring, you can usually step down easily once the piercing is fully healed.
- Lobe transitions: You can typically drop from 16G to 18G immediately after healing.
- Cartilage transitions: Proceed with caution. Cartilage fistulas are notoriously rigid. Forcing a thinner post into a healed 14G cartilage hole can cause micro-abrasions and trigger an irritation bump.
Upsizing / Stretching (Moving to a Lower Gauge Number)
If you have a standard 20G mall piercing and want to wear high-end, body-safe 16G or 14G jewelry, you must stretch the tissue. Never force thick jewelry into a small hole. Instead, visit a professional piercer. They will use a sterile, lubricated insertion taper to gently and safely expand the fistula by a fraction of a millimeter at a time without tearing the tissue.
Material Considerations When Changing Gauges
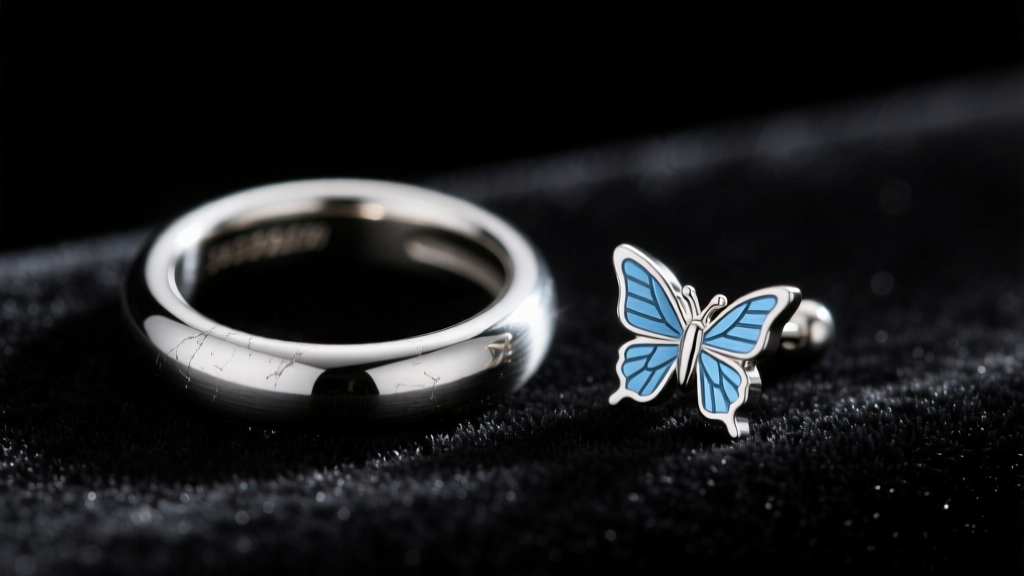
When evaluating standard earring sizes, the material is just as critical as the thickness. The APP recommends specific implant-grade materials to prevent contact dermatitis and heavy metal toxicity.
Implant-Grade Titanium (ASTM F-136)
This is the gold standard for all ear piercings, regardless of gauge. Titanium is completely nickel-free, lightweight, and highly biocompatible. If you are stretching a lobe or dealing with a stubborn cartilage bump, switching to an 18G or 16G implant-grade titanium flat-back labret is the best first step in your troubleshooting protocol.
Surgical Steel (ASTM F-138)
While often marketed as "hypoallergenic," standard surgical steel contains up to 8% nickel. Many people develop a nickel allergy over time, which presents as itching, flaking, and weeping around the earring hole. If you are wearing 20G fashion earrings from a standard retail store, they are likely made of low-grade steel or brass with a thin plating that will eventually wear off.
Common Gauge Mistakes and How to Fix Them
"One of the most common issues we see in the studio is clients trying to force standard 20-gauge fashion earrings into a freshly pierced 16-gauge cartilage hole. This not only introduces porous, unsafe metals into a vulnerable wound, but the thin wire also creates a high-pressure point that guarantees an irritation bump."
— Senior Piercer & APP Member
Troubleshooting: The Earring Won't Go In
If you are struggling to insert your earring, stop immediately. Do not use brute force.
- Verify the gauge: You may be trying to insert a 16G earring into an 18G hole.
- Check the angle: Piercings, especially in the tragus or conch, are rarely pierced perfectly perpendicular to the surface. Use a mirror to match the angle of the original needle.
- Use a taper: If the hole has slightly shrunk from being empty, a professional piercer can use an insertion taper to guide the jewelry through without trauma.
- Lubricate: A tiny drop of sterile saline or jojoba oil on the post can reduce friction, but never use petroleum-based products which can trap bacteria inside the fistula.
Final Thoughts on Standard Earring Sizing
Understanding what gauge your earrings are is the foundation of proper ear styling and piercing health. While 20G remains the retail standard for basic lobe studs, transitioning to an 18G or 16G implant-grade titanium post will vastly improve the longevity, comfort, and aesthetic of your piercings. Always measure your current jewelry with a digital caliper, respect the anatomical differences between your lobes and cartilage, and consult a professional piercer when making significant size transitions.


