How to Choose the Right Size of Earring Studs for Your Anatomy
Discover the exact size of earring studs for lobes and cartilage. Learn mm dimensions, gauge thicknesses, and post lengths for perfect fit and healing.

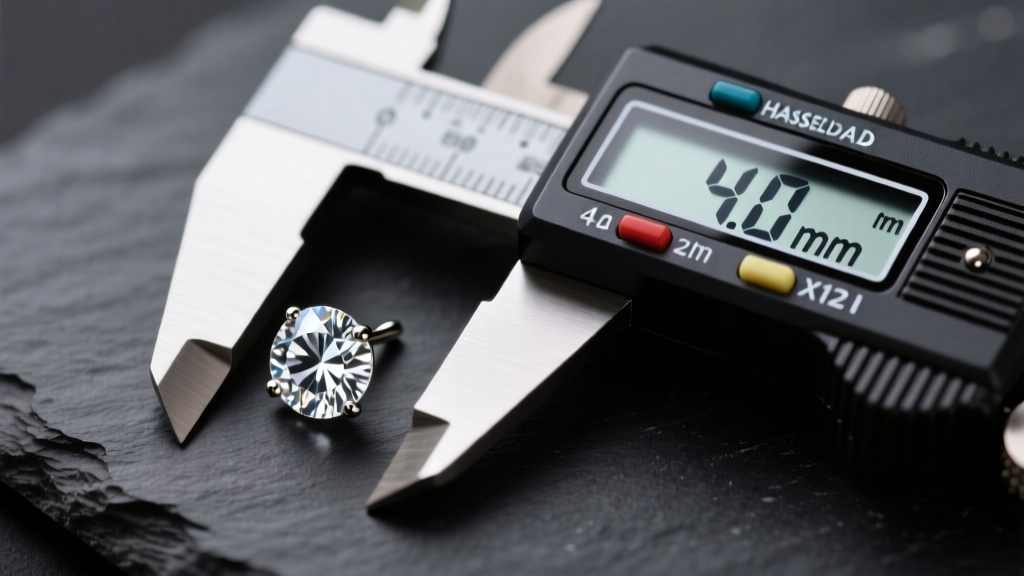
When evaluating the exact size of earring studs, most consumers only consider the visible face of the jewelry. However, from a technical and anatomical perspective, the true dimensions of a stud encompass three critical metrics: the face diameter (measured in millimeters), the post gauge (thickness), and the post length. Selecting the correct proportions is not merely an aesthetic choice; it is a biomechanical necessity that dictates how the jewelry interacts with your tissue density, swelling capacity, and long-term healing trajectory.
In this expert deep dive, we deconstruct the precise sizing parameters for earring studs across different piercing sites, material densities, and healing stages. Whether you are sizing for a fresh helix piercing or upgrading a healed lobe, understanding these technical specifications will prevent tissue damage, migration, and irritation.
The Anatomy of a Stud: Decoding Millimeters and Gauges
To communicate effectively with professional piercers and high-end jewelry fabricators, you must abandon ambiguous terms like "small" or "medium." The size of earring studs is strictly quantified using the metric system for facial dimensions and the American Wire Gauge (AWG) system for post thickness.
- 20 Gauge (0.81mm): The standard for traditional retail earring studs. Often too thin for fresh piercings, as the narrow profile can create a "cheese-cutter effect" under tension.
- 18 Gauge (1.02mm): The minimum recommended thickness for healed standard lobe piercings, offering better structural integrity than 20G.
- 16 Gauge (1.29mm): The gold standard for cartilage piercings (helix, conch, tragus) and high-quality lobe studs. This thickness resists bending and minimizes migration.
- 14 Gauge (1.63mm): Typically reserved for industrial barbells or stretched lobes, though some heavy-duty luxury studs utilize 14G posts for maximum stability.
According to the Association of Professional Piercers (APP), utilizing implant-grade materials at the correct gauge is paramount for avoiding contact dermatitis and mechanical irritation. The facial diameter, meanwhile, usually ranges from 2mm (micro-studs) to 8mm (statement solitaires), with 4mm to 5mm representing the most universally flattering proportion for standard earlobes.
Standard Lobe Piercings: Finding the Ideal Size of Earring Studs
The earlobe is composed of dense vascular tissue without underlying cartilage. Because lobes are highly elastic, they can accommodate a wider variance in the size of earring studs. However, the post length must be meticulously matched to the tissue thickness and the current healing state.
Healed vs. Healing Lobes: The Post Length Matrix
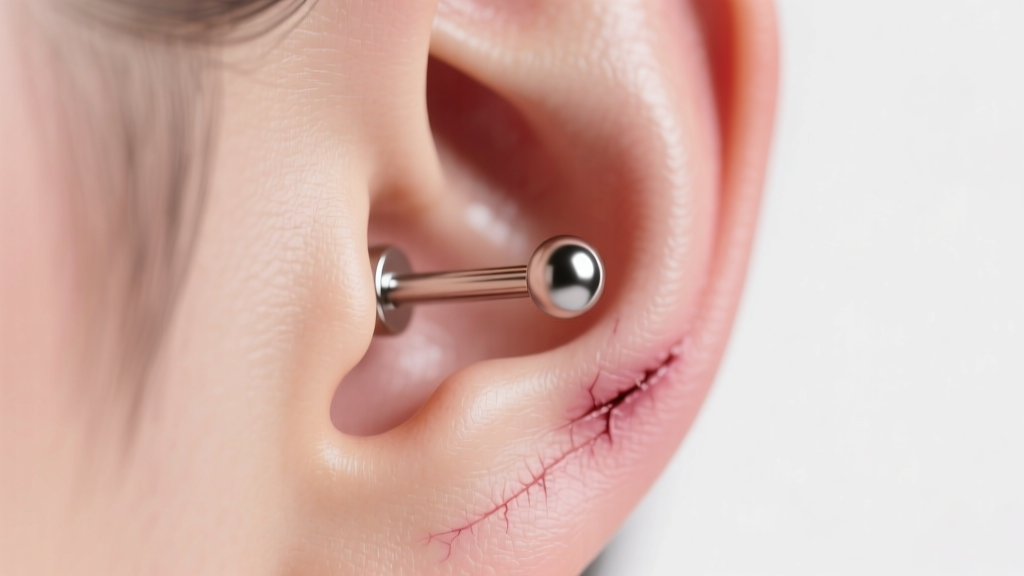
A freshly pierced lobe will swell significantly, often doubling in thickness within the first 48 hours. If the post is too short, the jewelry will embed into the tissue, requiring surgical removal. Conversely, a post that is too long in a healed lobe will catch on hair and clothing, leading to mechanical trauma.
| Piercing Stage | Ideal Gauge | Required Post Length | Recommended Face Size |
|---|---|---|---|
| Fresh Lobe (0-8 Weeks) | 18G or 16G | 8mm - 10mm | 3mm - 4mm (to minimize snagging) |
| Healed Lobe (Standard) | 18G or 16G | 5mm - 6mm | 4mm - 6mm |
| Healed Lobe (Thick Tissue) | 16G | 6mm - 8mm | 5mm - 8mm |
For healed lobes, flat-back labret studs are vastly superior to traditional butterfly-back posts. Butterfly backs harbor bacteria and apply uneven pressure to the posterior lobe, whereas a machined flat disc distributes the weight evenly across the tissue.
Cartilage and Helix Piercings: Technical Sizing Requirements
Cartilage is avascular, meaning it lacks a direct blood supply and heals much slower than lobe tissue. When determining the size of earring studs for the helix, conch, or tragus, precision is non-negotiable. The standard gauge for cartilage is strictly 16G (1.29mm). Attempting to wear a 20G or 18G stud in a cartilage piercing drastically increases the risk of the "cheese-cutter effect," where the thin metal slowly slices through the dense cartilage due to the weight of the jewelry or accidental snags.
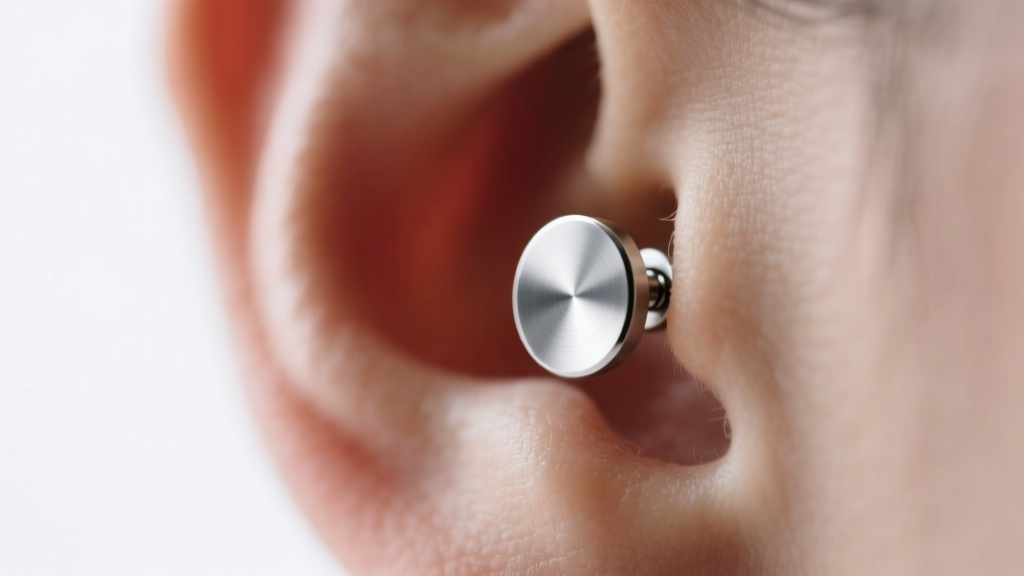
Post length in cartilage is highly individualized. A professional piercer will use a digital caliper to measure the exact thickness of your cartilage ridge. A typical helix piercing requires a 6mm to 8mm post during the initial swelling phase, which is later downsized to a 5mm or 6mm post once the fistula (the tube of healed skin) has matured. Wearing an 8mm post in a fully healed 5mm cartilage ridge leaves a gap where hair and debris can accumulate, frequently causing hypertrophic scarring (irritation bumps) at the exit hole.
Material Density and Weight: How Size Impacts Comfort
The physical dimensions of a stud are only half the equation; the specific gravity of the material dictates how that size feels on the ear. This is particularly crucial when selecting larger face sizes (6mm and above).
Consider the specific gravity of common jewelry metals:
- Implant-Grade Titanium (ASTM F-136): 4.43 g/cm³
- Surgical Steel (316L): 8.00 g/cm³
- 14k Gold: ~13.00 g/cm³
- 18k Gold: ~15.50 g/cm³
As noted by material standards outlined by ASTM International, implant-grade titanium (Ti-6Al-4V ELI) is the optimal choice for initial piercings due to its biocompatibility and low density. If you choose a large 8mm solid 18k gold stud, the immense weight of the gold will pull downward on the fistula. Over time, this gravitational drag elongates the piercing channel, causing the stud to droop forward rather than sitting flush against the ear. For larger statement studs, opting for a titanium base with a gold PVD coating or a hollowed-out gold casting reduces the overall mass while maintaining the desired aesthetic footprint.
Threadless vs. Internally Threaded Mechanisms
The sizing of the stud also encompasses the connection mechanism between the post and the decorative end. Externally threaded jewelry (where the screw is on the post) should be entirely avoided, as the sharp threads tear the delicate fistula tissue upon insertion.
High-end earring studs utilize either internally threaded or threadless (push-pin) mechanisms:
- Internally Threaded: The screw is located on the decorative end, which passes smoothly through the piercing. This requires precise tapping and is ideal for heavy, large-diameter ends that require a secure, permanent lock.
- Threadless (Push-Pin): The decorative end features a slightly bent pin that inserts into the hollow post. The tension of the bent pin against the inner wall of the post holds the jewelry together. Threadless systems are highly favored for cartilage studs because they allow for micro-adjustments in post length without needing to manufacture entirely new custom posts.
Troubleshooting Common Sizing Failures
Even with high-quality jewelry, incorrect sizing leads to predictable clinical failures. Here is how to diagnose and correct the most common issues related to the size of earring studs:
- Embedding (Post Too Short): The skin swells over the decorative end or the flat back. This is a medical emergency requiring immediate upsizing to a longer post by a professional to prevent the body from healing completely over the metal.
- Irritation Bumps (Post Too Long): A persistent, fluid-filled bump near the exit hole is often caused by a post that is 1mm to 2mm too long. The excess space allows the jewelry to pivot and move, creating micro-tears in the healing fistula. Downsizing the post length usually resolves the bump within two weeks.
- Migration and Rejection (Gauge Too Thin): If the body perceives a 20G post as a splinter, the immune system will slowly push it toward the surface of the skin. Upgrading to a 16G or 14G post provides the necessary surface area for the body to accept the jewelry as a permanent fixture.
- Pressure Necrosis (Incorrect Backing): Using a butterfly clutch or a flat back that is too small in diameter (under 3mm) concentrates the pressure on a tiny point of the posterior ear, cutting off circulation and causing tissue death. Always use a flat disc backing with a minimum diameter of 4mm for cartilage and 5mm for lobes.
Expert Sizing Framework by Face and Ear Proportion
Finally, the visual size of earring studs should be scaled to your unique anatomy. For individuals with smaller, delicate ear structures or close-set facial features, a 6mm stud can easily overwhelm the ear, making a 3mm or 4mm bezel-set stone the most harmonious choice. Conversely, those with larger, prominent earlobes or stretched piercing history will find that standard 4mm studs look disproportionately small; opting for 6mm to 8mm faces, or utilizing a curated "constellation" cluster of varying 3mm and 4mm studs, creates a balanced, intentional aesthetic.
Ultimately, mastering the size of earring studs requires looking beyond the display case. By prioritizing exact millimeter measurements, respecting gauge thicknesses, and choosing biomechanically sound connection types, you ensure that your jewelry remains a comfortable, lifelong enhancement rather than a source of chronic anatomical friction.


