Troubleshooting the EXP Earring KH1: Stuck Tapers & Fixes
Expert troubleshooting guide for the EXP Earring KH1. Learn how to fix stuck tapers, adjust threadless KH1 pins, and prevent stretching blowouts.

Understanding the EXP Earring KH1 System
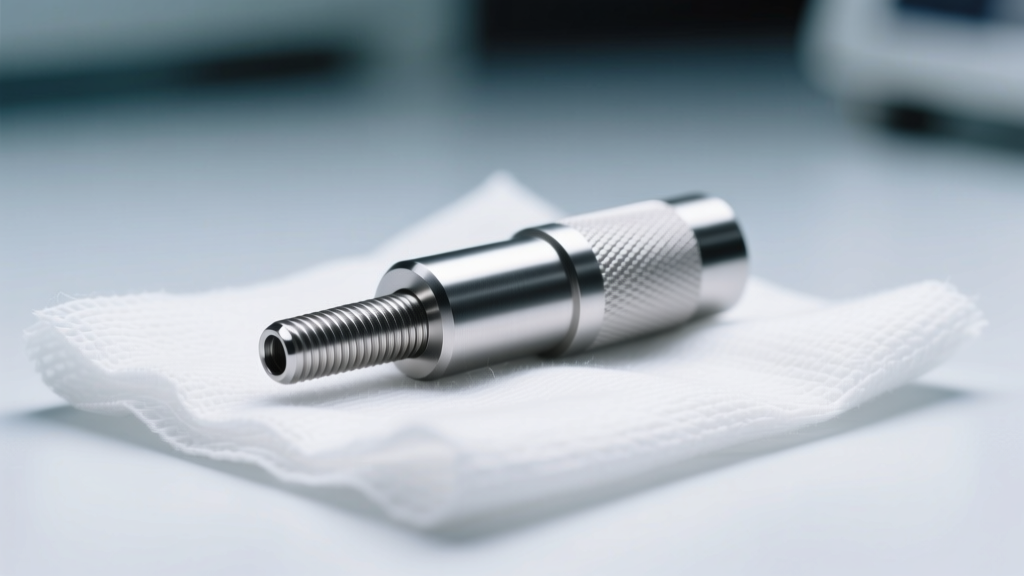
The EXP Earring KH1 has become a staple in the body modification community for those navigating the delicate process of ear stretching and heavy-gauge cartilage transitions. Unlike standard acrylic tapers or mass-produced steel plugs, the EXP Earring KH1 is precision-machined from ASTM F136 implant-grade titanium (Ti-6Al-4V ELI). This specific alloy is highly biocompatible, non-porous, and lightweight, making it the gold standard for fresh stretches and irritated fistulas. However, its advanced threadless locking mechanism and graduated taper profile can present unique troubleshooting challenges for both novices and veteran collectors.
Whether you are attempting a difficult jump from 10g (2.5mm) to 8g (3.2mm), or dealing with a KH1 threadless end that refuses to stay seated, understanding the mechanical and physiological variables at play is critical. This comprehensive guide addresses the most common failure modes associated with the EXP Earring KH1 and provides actionable, professional-grade solutions to get your stretching journey back on track.
Anatomy of a Threadless Expansion Taper
Before troubleshooting, it is essential to understand how the EXP Earring KH1 achieves its secure fit. The system relies on two primary components:
- The Graduated Taper Shaft: Machined to a mirror finish to minimize micro-tearing of the fistula tissue. The shaft features a hollow or semi-hollow internal channel designed to receive the threadless pin.
- The KH1 Threadless End: Instead of relying on delicate screw threads—which can easily cross-thread and strip when exposed to the torque of a tight earlobe—the KH1 end utilizes a bendable 18-gauge titanium pin. When inserted into the taper shaft, the bent pin creates spring-loaded tension against the interior wall, locking the jewelry in place.
'Threadless jewelry is vastly superior for stretching because it eliminates the rotational friction that can tear healing tissue. However, improper pin tension is the number one cause of jewelry loss during sleep.' — Association of Professional Piercers (APP) Jewelry Standards
Diagnostic Chart: Common EXP KH1 Failure Modes
When the EXP Earring KH1 fails to perform as expected, the issue usually stems from a mismatch between tissue elasticity, lubrication, or pin tension. Use the following diagnostic table to identify your specific issue and apply the corresponding fix.
| Symptom | Root Cause | EXP KH1 Solution |
|---|---|---|
| Taper halts at 75% insertion | Dry fistula or microscopic tissue tearing causing friction lock. | Apply warm compress for 5 mins, then lubricate with organic jojoba oil. |
| KH1 end ejects randomly | Insufficient pin bend angle; lack of internal tension. | Re-bend the KH1 pin to a 15-degree offset using brass-jaw pliers. |
| Blowout (tissue extrusion behind lobe) | Skipping gauge sizes or compressing O-rings too tightly. | Immediately downsize 1 full gauge; massage with Vitamin E oil. |
| Taper feels 'stuck' and won't push through | Swelling has trapped the taper's widest point inside the fistula. | Do not force. Use the 'push-pull' removal method and wait 48 hours. |
Step-by-Step: Removing a Lodged KH1 Taper
One of the most alarming issues users face is the EXP Earring KH1 becoming lodged midway through a stretch. This typically happens when the fistula swells in response to the pressure of the taper, effectively clamping down on the titanium shaft. Forcing the taper through will result in a severe blowout or a torn earlobe.
The Warm Compression Protocol
If your taper is stuck, your first step is to encourage vasodilation and tissue relaxation. Soak a clean, lint-free gauze pad in warm (not hot) sterile saline (0.9% sodium chloride). Hold this against the earlobe for 5 to 10 minutes. The warmth increases blood flow and naturally softens the collagen matrix of the fistula.
Proper Lubrication Selection
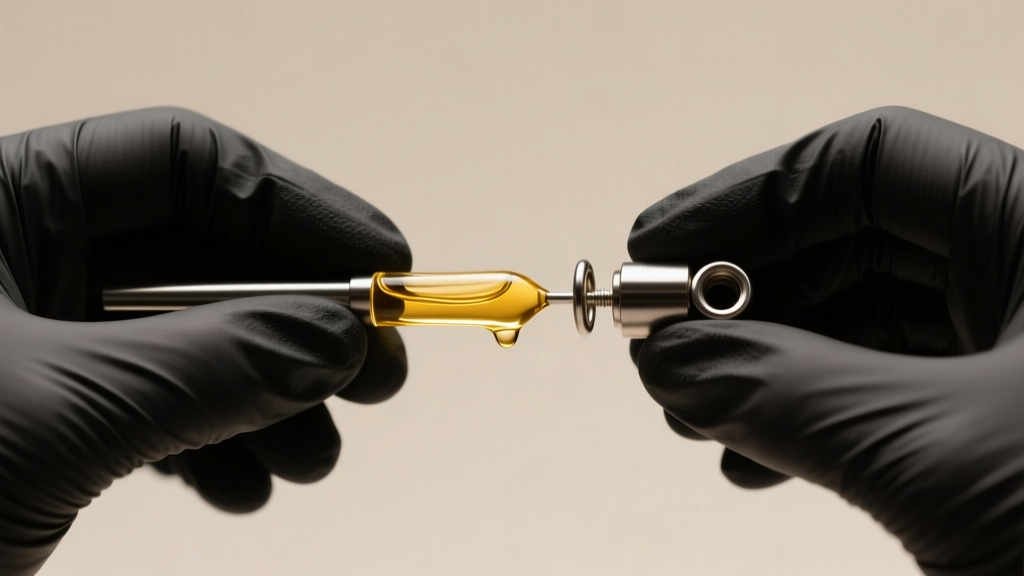
Never use petroleum jelly or synthetic ointments on a stuck taper. These heavy occlusives trap anaerobic bacteria inside the fistula and create a sticky residue that actually increases drag. According to dermatological best practices for wound care and modification, lightweight, sebum-mimicking oils are required. Organic jojoba oil or emu oil are the industry standards. Apply a generous drop to both the front and back of the taper where it meets the skin.
The Push-Pull Removal Method
If the taper refuses to move forward, you must safely reverse it. Grip the KH1 end firmly with your dominant hand. With your non-dominant hand, gently massage the tissue at the base of the taper. Push the tissue *toward* the taper while simultaneously pulling the KH1 end backward. If it does not yield within 30 seconds, stop. Leave a smaller, sterilized glass or titanium plug in the ear to maintain the current gauge, and wait 48 hours before attempting the stretch again. For more on safe stretching intervals, consult the APP Troubleshooting Guide.
Mastering the KH1 Threadless Pin Tension
The threadless KH1 end is a marvel of modern body jewelry engineering, but it requires manual calibration. If your KH1 end is popping out of the EXP taper shaft, the internal tension is too low. If you cannot push the pin into the shaft at all, the tension is too high.
How to Bend the Pin Correctly
The KH1 pin should not be bent at a sharp 90-degree angle, which will weaken the titanium and cause metal fatigue. Instead, you need a smooth, gradual curve. Using a pair of brass-jawed jewelry pliers (brass is softer than titanium and will not mar the mirror finish of the pin), grip the pin about one-third of the way down from the base of the decorative end. Apply gentle pressure to create a 10 to 15-degree offset.
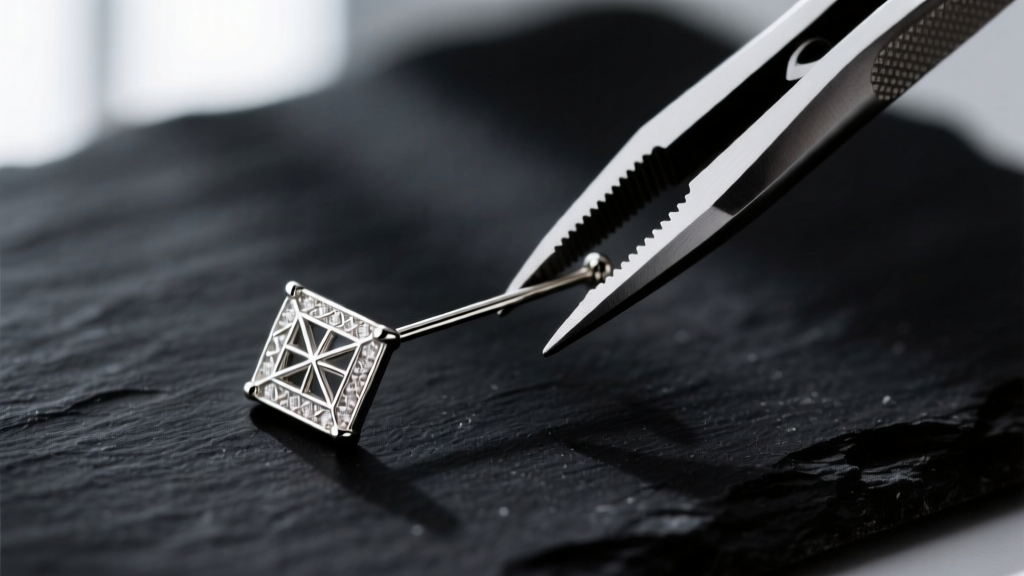
Insert the pin into the EXP Earring KH1 shaft about halfway. You should feel a distinct, springy resistance. If the pin slides in without any friction, remove it and increase the bend angle by 2 to 3 degrees. When properly calibrated, you should hear a faint 'click' or 'pop' as the pin passes the lip of the taper shaft, indicating that the tension has locked it securely against the interior wall.
Preventing Tissue Trauma and Cartilage Irritation
While the EXP Earring KH1 is frequently used for lobe stretching, some advanced collectors use specialized, shorter tapers for heavy-gauge cartilage modifications, such as conch or daith expansions. Cartilage tissue is entirely avascular, meaning it lacks a direct blood supply and relies on diffusion for healing and elasticity.
Attempting to stretch cartilage with a graduated taper requires extreme caution. The friction of a taper moving through a cartilage fistula can easily trigger hypertrophic scarring or keloid formation. The American Academy of Dermatology (AAD) notes that excessive mechanical tension is a primary catalyst for abnormal scar tissue development. If you are using the KH1 system for cartilage, bypass tapers entirely and opt for dead-stretching with single-flared glass or titanium plugs, using the KH1 threadless ends only on the final, static jewelry piece.
When to Downsize: Recognizing Rejection
Knowing when to abort a stretch is just as important as knowing how to execute one. If you experience a sharp, radiating pain, or if the tissue behind the lobe turns a deep purple and feels spongy to the touch, you are experiencing an impending blowout. Remove the EXP Earring KH1 immediately. Clean the area with sterile saline, apply a cold compress to reduce acute inflammation, and downsize your jewelry by at least one full gauge (e.g., from 8g back to 10g). Give the tissue a minimum of 4 to 6 weeks to rebuild its elastin network before attempting the jump again.