Expand Your Earring Ken: Fixing Bent Posts and Backs
Expand your earring ken with our expert troubleshooting guide. Learn to fix bent posts, secure loose backs, and understand jewelry metallurgy.

To truly master your jewelry collection, you must expand your earring ken—moving beyond basic styling into the mechanical and metallurgical realities of how these pieces function, fail, and can be repaired. While most guides focus on matching metals to skin tones or selecting the right silhouette for your face shape, very few address the frustrating, everyday mechanical failures that render expensive jewelry unwearable. Whether a favorite stud keeps slipping out, a delicate post has warped, or a cartilage piercing is rejecting an incompatible gauge, solving these issues requires a deeper understanding of jewelry engineering.
Many collectors lack the earring ken required to diagnose a failing clutch or recognize the early signs of metal fatigue. By treating your earrings as precision mechanical devices rather than mere accessories, you can extend their lifespan, protect your piercings, and save hundreds of dollars in unnecessary jeweler repair fees. This comprehensive troubleshooting guide dives deep into the material science of earring posts, the mechanics of backing systems, and the exact protocols for at-home emergency repairs.
The Anatomy of Earring Failure: Why Posts Bend and Backs Slip
Earring failures rarely happen by pure chance; they are usually the result of physics, material limitations, and daily wear-and-tear. The most common point of failure is the post—the slender wire that passes through the fistula (the piercing channel). Standard lobe earrings typically utilize a 20-gauge (0.81mm) or 18-gauge (1.02mm) post. Because these diameters are exceptionally thin, they are highly susceptible to lateral torque. When you pull a sweater over your head, sleep on a cotton pillowcase, or accidentally snag your hair, the kinetic energy transfers directly to the post, causing it to bend.
Simultaneously, the backing mechanism undergoes repetitive stress. Standard butterfly friction backs rely on the tension of two small metal prongs gripping a notched post. Over time, the repeated insertion and removal of the earring cause these prongs to lose their temper and spread apart, resulting in the dreaded 'lost back' scenario. Expanding your earring ken means recognizing these failure points before the jewelry is lost down a sink drain or embedded in your scalp.
Troubleshooting Bent Posts: A Metallurgical Approach
When a post bends, the immediate instinct is to bend it back. However, doing this without understanding the metal's crystalline structure can lead to catastrophic snapping. Metals undergo a process called work hardening (or strain hardening). Every time you bend a metal wire, the dislocations in its crystal lattice multiply and tangle, making the metal harder but significantly more brittle. If you bend a 20-gauge sterling silver post back and forth more than two or three times, it will snap cleanly.
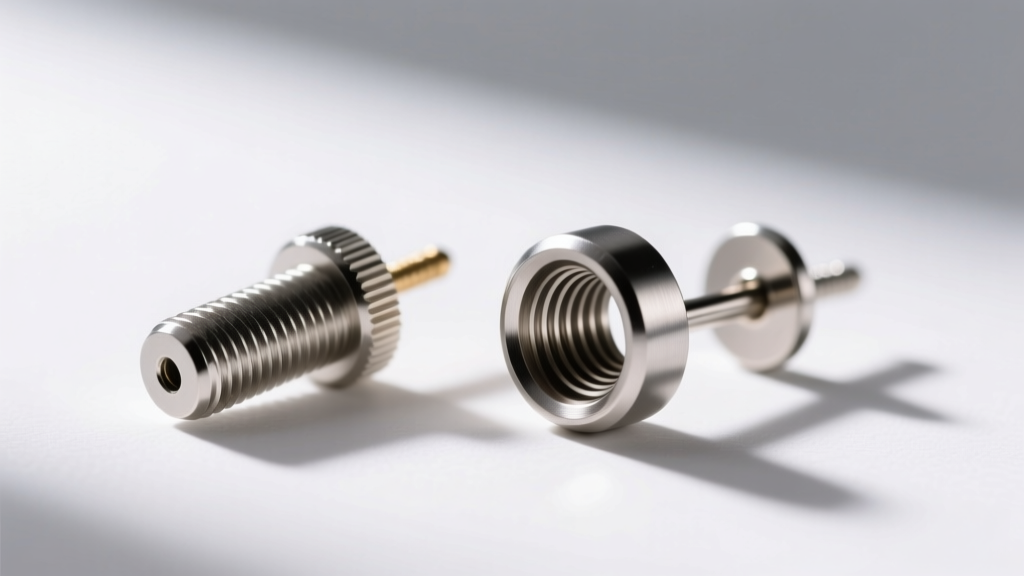
To safely straighten a bent post, you must use the correct tools and apply controlled, singular pressure. Never use standard steel pliers, as the hardened steel jaws will gouge the softer precious metal, creating micro-abrasions that harbor bacteria and weaken the structural integrity. Instead, use nylon-jawed pliers or wrap the tips of your flat-nose pliers in masking tape. Grip the base of the post firmly near the solder joint (where the post meets the earring head) to prevent the joint from fracturing, and apply a slow, steady bending force in one continuous motion.
Metal Hardness and Bend Resistance Chart
Not all metals react to bending equally. The Vickers Hardness (HV) scale provides a reliable metric for understanding how different jewelry alloys will behave under stress. According to the Gemological Institute of America (GIA), alloy composition drastically alters these properties.
| Metal Type | Vickers Hardness (HV) | Bend Resistance | Common Failure Mode |
|---|---|---|---|
| 925 Sterling Silver | 60 - 75 HV | Low | Post bending, prong wear, deep scratching |
| 14k Yellow Gold | 120 - 150 HV | Medium | Work hardening, sudden snapping at the bend |
| Grade 5 Titanium (Ti-6Al-4V) | 340 - 360 HV | Very High | Thread stripping (post rarely bends) |
| Platinum (950/50) | 110 - 130 HV | Medium (High Malleability) | Deformation without snapping, heavy patina |
As the table illustrates, platinum is highly malleable. A bent platinum post can often be straightened multiple times without snapping due to its low work-hardening rate, whereas 14k gold requires far more caution. Titanium, conversely, is so hard that the post will almost never bend; instead, the force of a snag will likely tear the earring head from the post or strip the threading.
Solving the 'Lost Back' Epidemic: Friction vs. Screw vs. Locking
If you are constantly losing earring backs, the issue is likely a mismatch between the backing mechanism and your lifestyle. Standard friction backs (butterfly clutches) are cheap to manufacture but inherently flawed for active individuals or those with fine, slippery hair. The friction relies entirely on the tension of the metal prongs against the notches on the post. Once those notches wear down or the prongs relax, the earring will fall out.
To permanently solve this, upgrade your backing systems based on the earring's value and your daily activity level:
- La Pousette (Locking) Clutches: These feature a spring-loaded internal mechanism that snaps securely behind the post's notch. They require two hands to operate (pinching the sides to release) and are virtually impossible to dislodge accidentally. They are the gold standard for high-value diamond studs.
- Screw Backs: These require the post to be threaded, and the back screws onto it. While highly secure, they demand perfect alignment. If the thread pitch (usually 0.9mm or 1.0mm for fine jewelry) is crossed, you will strip the threads and ruin the post. They are also time-consuming to put on, making them less ideal for daily-wear fashion jewelry.
- Silicone O-Rings / Discs: For cheap or costume jewelry with smooth (un-notched) posts, silicone friction discs provide vastly superior grip to metal butterfly backs. They are also hypoallergenic, creating a barrier between base-metal posts and sensitive skin.
Cartilage Complications: Threading and Gauge Mismatches
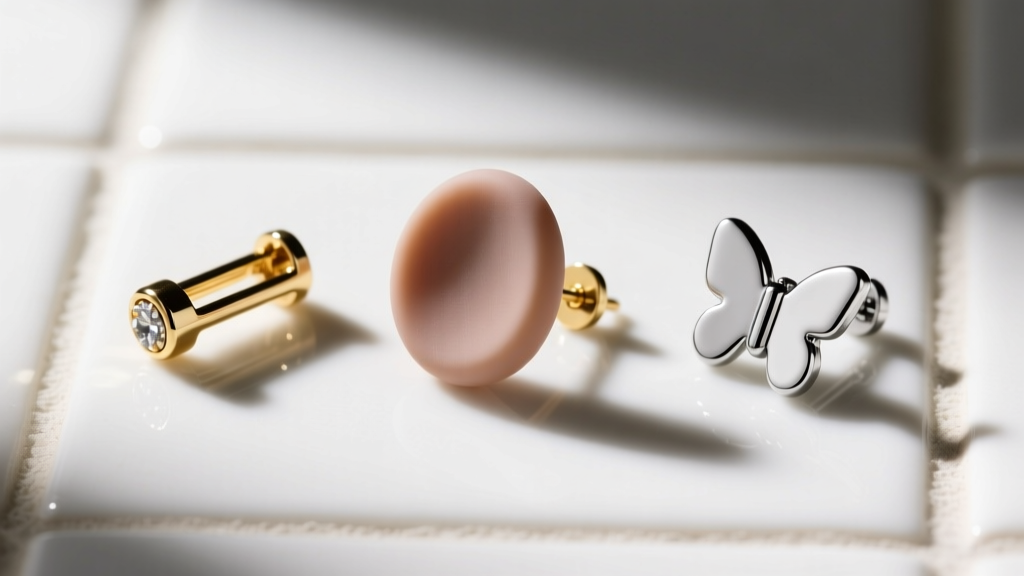
Troubleshooting cartilage earrings requires an entirely different knowledge base than lobe earrings. Cartilage piercings (helix, tragus, conch, daith) are typically performed at 16-gauge (1.29mm) or 14-gauge (1.63mm) to prevent the 'cheese cutter effect,' where a thin wire slowly migrates through the tissue. If you attempt to force a standard 18-gauge or 20-gauge lobe earring into a healed 16-gauge cartilage fistula, you risk micro-tearing the tissue, leading to irritation bumps and potential rejection.
Furthermore, the Association of Professional Piercers (APP) strongly advises against externally threaded jewelry for cartilage. Externally threaded posts have the screw pattern carved into the post itself. When you push this through a piercing, the sharp threads act like a file, scraping and damaging the delicate fistula lining. Always opt for internally threaded or threadless (press-fit) titanium jewelry for cartilage. In internally threaded pieces, the screw is on the decorative end, and the post is perfectly smooth, gliding through the tissue without causing trauma.
Step-by-Step Emergency Repair Guide for Snagged Earrings
When an earring snags and the decorative head separates from the post, or the post bends at a severe 90-degree angle, follow this emergency triage protocol:
- Assess the Solder Joint: Use a magnifying loupe to inspect where the post meets the earring head. If you see a dark line or a gap, the silver or gold solder has fractured. Do not attempt to bend the post; the head will fall off entirely. Place the piece in a ziplock bag and take it to a jeweler for laser welding or torch soldering.
- Straightening a Kinked Post: If the post is merely bent but the joint is intact, secure the earring head in a padded vise or hold it firmly with taped pliers. Use your nylon-jaw pliers to grip the post just above the kink. Apply slow, firm pressure to coax it back to a 90-degree alignment relative to the head. Do not overcorrect past the center line.
- Smoothing Burrs: If the tip of the post is scratched or burred from a snag, gently drag the tip across a fine-grit (600+) emery board or jeweler's polishing cloth. A rough tip will tear the fistula upon insertion, causing immediate swelling and pain.
When to Abandon Repair: Recognizing Structural Fatigue
Part of expanding your earring ken is knowing when a piece is beyond saving. Metals suffer from fatigue limits—the maximum number of stress cycles they can endure before microscopic cracks propagate into total failure. If a sterling silver post has been bent and straightened more than twice, the internal crystalline structure is compromised. Even if it looks straight to the naked eye, the next time it is subjected to the pressure of a tight clutch or a minor snag, it will snap, potentially leaving a sharp shard of metal embedded in your earlobe.
In these cases, the most cost-effective and safest solution is to have a jeweler cut off the old post and solder on a fresh one. This routine repair typically costs between $25 and $45 for standard precious metals, a small price to pay to salvage a beloved or valuable piece of jewelry. By respecting the physical limits of your metals and upgrading your backing mechanisms, you ensure your collection remains secure, comfortable, and structurally sound for decades to come.


