Expert Earring Tutorial: Cartilage Mapping & Gauge Sizing
Master cartilage anatomy and jewelry mechanics with this expert earring tutorial. Learn gauge sizing, ASTM titanium grades, and threadless hardware.

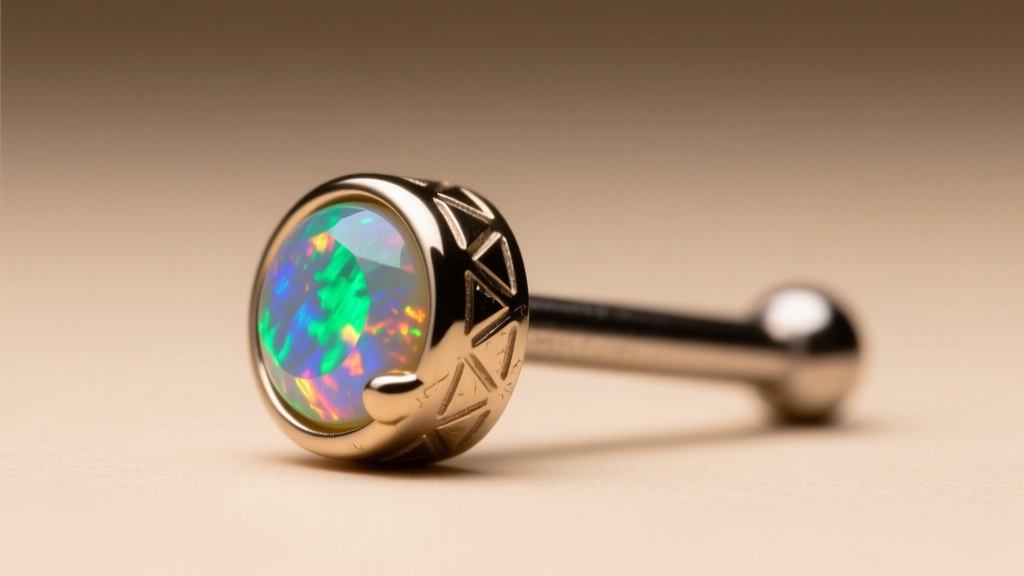
The Biomechanics of Cartilage: Why Anatomy Dictates Jewelry
When approaching a curated ear project, treating jewelry selection as a mere aesthetic afterthought is a critical failure point. Cartilage is an avascular tissue, meaning it lacks a direct blood supply. Instead, it relies on perichondrium diffusion for nutrients and healing. This biological reality dictates that any earring tutorial aimed at advanced collectors must prioritize biomechanical compatibility over visual trends. As of 2026, the industry standard has firmly shifted away from generic "hypoallergenic" marketing, demanding a rigorous understanding of tissue vectors, swelling accommodation, and hardware mechanics.
The angle of the needle insertion—determined by the unique folds of your scapha, helix, or conch—creates a specific fistula (the piercing channel). If the jewelry's post or hoop does not perfectly align with this vector, the body will attempt to reject or migrate the metal, leading to hypertrophic scarring or localized necrosis. Understanding these micro-anatomical constraints is the foundation of high-end ear curation.
Metallurgical Standards: Beyond "Hypoallergenic" Marketing
The term "hypoallergenic" is largely unregulated and scientifically meaningless in the context of body jewelry. For fresh piercings and long-term cartilage wear, the only acceptable baseline is implant-grade titanium. However, not all titanium is created equal. Professional piercers and metallurgists rely on specific ASTM (American Society for Testing and Materials) certifications to ensure biocompatibility.
According to the Association of Professional Piercers (APP), the gold standard for initial piercings is ASTM F-136 (Ti-6Al-4V ELI). This alloy contains aluminum and vanadium but is processed to have extremely low interstitial elements, making it highly resistant to corrosion and completely nickel-free. Conversely, ASTM F-67 (Commercially Pure Titanium) is also excellent but slightly softer, making it more prone to scratching during insertion.
Material Grade Comparison Chart
| Material | Standard / Grade | Nickel Content | Best Use Case |
|---|---|---|---|
| Implant-Grade Titanium | ASTM F-136 (Ti-6Al-4V ELI) | 0% (Nickel-Free) | Fresh piercings, long-term wear, MRI safe |
| Niobium | Unalloyed (Reactive Metal) | 0% (Nickel-Free) | Custom bent hoops, daith piercings, anodizing |
| Surgical Steel | ASTM F-138 (316L VM) | 8% - 10.5% | Healed piercings only (if no nickel allergy) |
| White Gold (14k/18k) | Alloyed with Nickel/Palladium | Varies (High Risk) | Healed piercings (Palladium alloys preferred) |
Furthermore, advanced collectors are increasingly utilizing anodized titanium. By applying specific voltages to the titanium surface, a controlled oxide layer is created that refracts light into vibrant colors without using dyes or plating. For instance, 18 volts yields a yellow-gold hue, while 90 volts produces a deep green. This process maintains the biocompatibility of the underlying ASTM F-136 titanium while allowing for bespoke color matching.
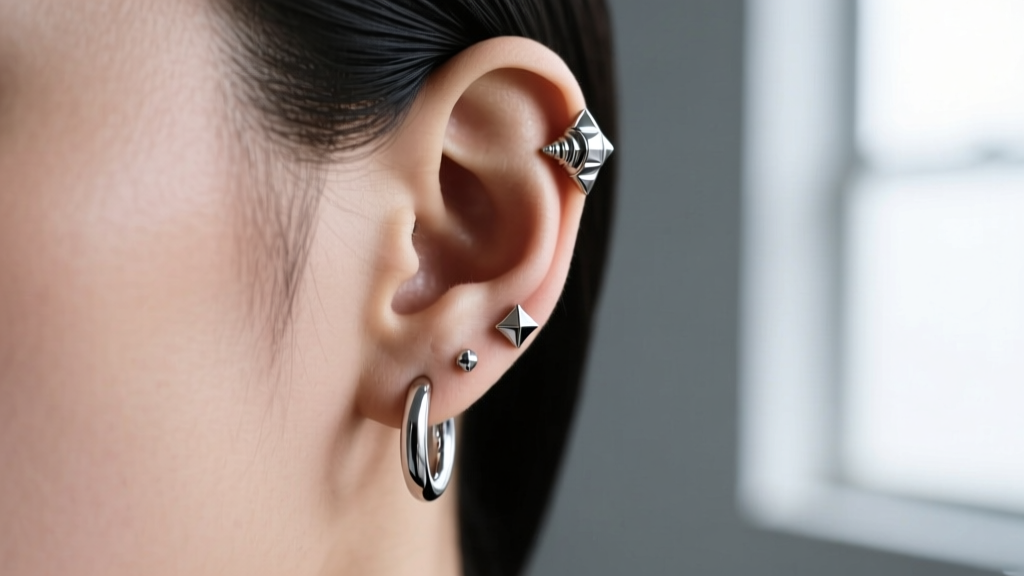
Gauge Sizing and Post Length: The Mathematics of Swelling
A common point of failure in cartilage projects is the misuse of gauge thickness and inner diameters. The "cheese-cutter effect" occurs when a hoop is too thin or too tight, causing the metal to slowly slice through the cartilage under the weight of gravity or accidental snags.
Standard Cartilage Gauge Dimensions
- 18 Gauge (1.0mm): Standard for delicate helix studs and rook piercings. Prone to migration if used in high-stress areas like the conch.
- 16 Gauge (1.2mm): The universal standard for most cartilage piercings (helix, forward helix, conch, tragus). Provides excellent stability and minimizes the cheese-cutter effect.
- 14 Gauge (1.6mm): Typically reserved for industrial scaffolds, large conch hoops, or daith piercings where structural integrity is paramount.
Post Length and Swelling Vectors
Initial cartilage piercings require accommodation for severe localized edema (swelling). A standard flat-back labret post for a fresh helix should be 3/8" (9.5mm) or 5/16" (8mm). Once the swelling subsides (usually between 4 to 8 weeks), downsizing to a 1/4" (6mm) or 3/16" (4.7mm) post is mandatory. Leaving a long post in a healed fistula creates a lever arm that amplifies impact forces, leading to irritation bumps and delayed healing.
Threadless vs. Internally Threaded: An Earring Tutorial on Hardware
The mechanism by which the decorative end attaches to the post is just as critical as the metal itself. Externally threaded jewelry—where the screw pattern is on the decorative end and must pass through the fistula—is universally condemned by professionals. The sharp threads act like a file, tearing the delicate epithelial lining of the healing channel with every insertion.
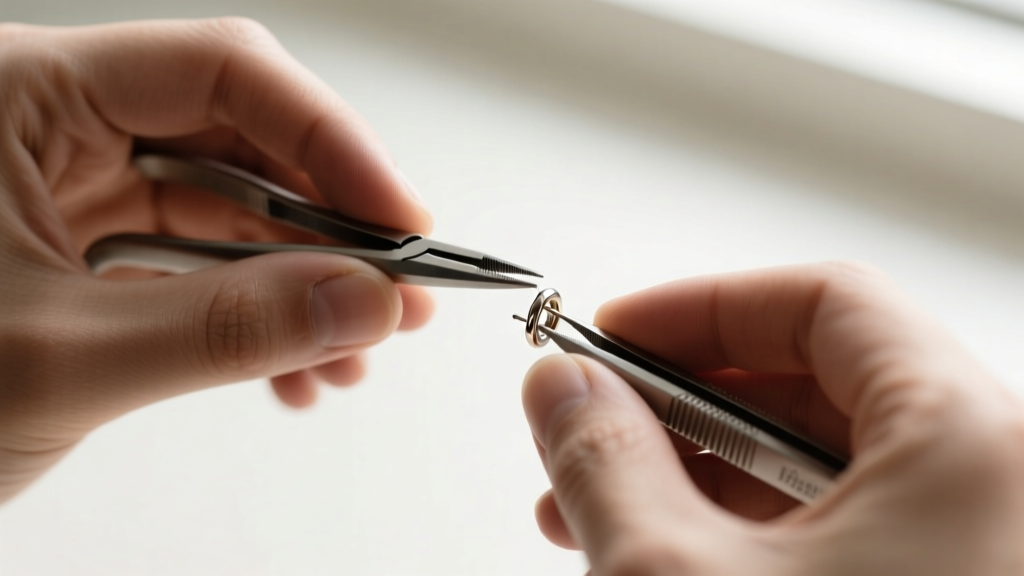
The Mechanics of Threadless (Press-Fit) Jewelry
Threadless jewelry relies on the spring tension of a bent pin. The decorative end features a slightly curved titanium or gold pin that inserts into a hollow post. By bending the pin slightly (typically at a 10 to 2 o'clock angle) before insertion, the metal's natural memory creates outward pressure against the inner wall of the post, locking it securely in place.
"Threadless hardware allows for seamless insertion and removal without the cross-threading risks associated with internally threaded ends. It is the superior choice for intricate gemstone clusters and heavy cartilage ends." — Advanced Body Jewelry Mechanics Review, 2025.
Internally Threaded Hardware
In internally threaded jewelry, the screw is located on the inside of the post, and the decorative end features a smooth pin that passes through the tissue. This is highly recommended for heavy gauge industrial bars or thick conch labrets where the tension of a threadless pin might not provide enough shear strength to support the weight of large gem clusters.
Mapping the Curated Ear: Healing Vectors and Sequential Piercing
A successful curated ear is not achieved in a single session. The body's immune system has a finite capacity for wound healing. Piercing more than three cartilage sites simultaneously, or piercing both ears at the same time, will overwhelm the localized immune response, leading to systemic fatigue and chronic irritation bumps.
The golden rule of sequential mapping is to prioritize the most complex and longest-healing piercings first. A conch or daith piercing can take 9 to 14 months to fully mature due to the thickness of the tissue and the angle of the jewelry. Meanwhile, a standard outer helix may heal in 6 to 8 months. By staggering your sessions—allowing at least 3 to 4 months between major additions—you ensure that each fistula receives the biological resources required to stabilize. Always consult with an APP-certified piercer who can map your specific auricular anatomy, ensuring that hoop diameters and stud placements complement the natural ridges of your ear rather than fighting against them.


