How to Remove Earrings That Are Stuck: Expert Extraction Guide
Learn how to remove earrings that are stuck with our expert technical guide. Discover safe extraction methods for butterfly, screw-back, and embedded studs.

There are few jewelry emergencies more panic-inducing than a seized earring backing. Whether you are dealing with a calcified butterfly clutch, a cross-threaded screw-back, or an encapsulated post, brute force is the enemy. Tissue trauma, torn earlobes, and damaged jewelry are the immediate consequences of improper extraction. As jewelry hardware has evolved, so too have the mechanical failure modes that trap these pieces in the ear. Understanding the precise metallurgy, gauge dimensions, and locking mechanisms of your jewelry is the first step toward safe removal.
In this expert deep dive, we break down the exact technical protocols for how to remove earrings that are stuck, categorizing the solutions by jewelry mechanism and tissue condition. We will cover everything from standard 20-gauge friction backs to advanced threadless body jewelry.
The Anatomy of a Stuck Earring: Why Backings Fail
To safely extract trapped jewelry, you must first understand why the mechanical failure occurred. Earring backings generally fail due to three primary factors:
- Biological Calcification: Sebum, dead epithelial cells, and dried lymph fluid accumulate inside the clutch tube or threading. Over time, this organic matter hardens into a cement-like substance, effectively gluing the backing to the post.
- Mechanical Cross-Threading: Common in M1.0 and M1.2 internally threaded jewelry, applying the backing at an angle strips the microscopic threads, locking the backing in place under tension.
- Tissue Encapsulation: When a post is too short for the swelling (common in 16G or 14G cartilage piercings), the body heals over the back of the post, burying the backing entirely within the dermis.
Triage Protocol: Identifying Your Earring Mechanism
Before attempting any extraction, identify the exact hardware you are dealing with. Using the wrong removal technique will permanently ruin the jewelry and risk severe lacerations.
| Mechanism Type | Standard Gauge | Primary Failure Mode | Required Extraction Tool |
|---|---|---|---|
| Friction (Butterfly) Back | 20G (0.81mm) / 18G (1.02mm) | Sebum impaction in the clutch tube | Hemostats, warm saline compress |
| Internally Threaded Screw | 16G (1.29mm) / 14G (1.60mm) | Cross-threading, overtightening | Rubber grips, downward pressure |
| Threadless (Press-Fit) | 18G to 12G | User attempts to unscrew (no threads) | Pliers with nylon jaws, bending motion |
| Hinged Segment Hoop | Various | Debris in the hinge clicker joint | Ultrasonic cleaner, taper pin |
Step-by-Step Extraction Protocols
Below are the clinical techniques used by professional piercers and dermatologists to resolve stuck jewelry scenarios without causing tissue avulsion.
Scenario A: The Seized Butterfly Clutch (Friction Back)
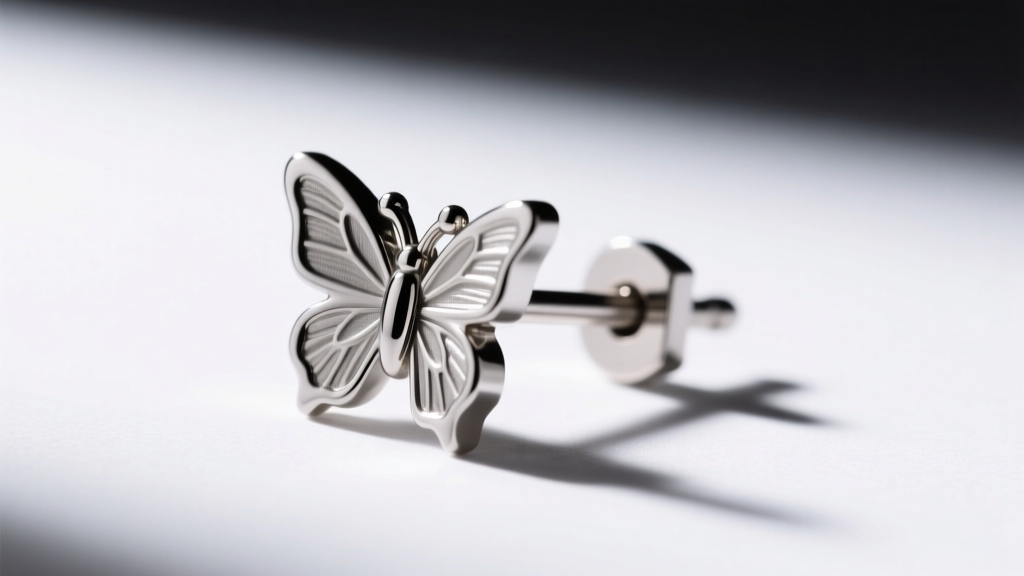
Standard friction backs rely on two tiny metal dimples inside the tube to grip the notched post. When sebum hardens around these dimples, the clutch locks. Do not simply pull. Pulling against a locked clutch will tear the fistula (the piercing hole).
- Rehydrate the Matrix: Soak a sterile gauze pad in warm (not hot) sterile saline solution. Press it firmly against the front and back of the earlobe for 5 to 10 minutes. This softens the hardened sebum.
- Apply Torsion, Not Traction: Using clean fingers, grip the post firmly at the base of the earlobe to prevent pulling the skin. With your other hand, gently twist the butterfly back back-and-forth (like a steering wheel) while applying very slight outward pressure.
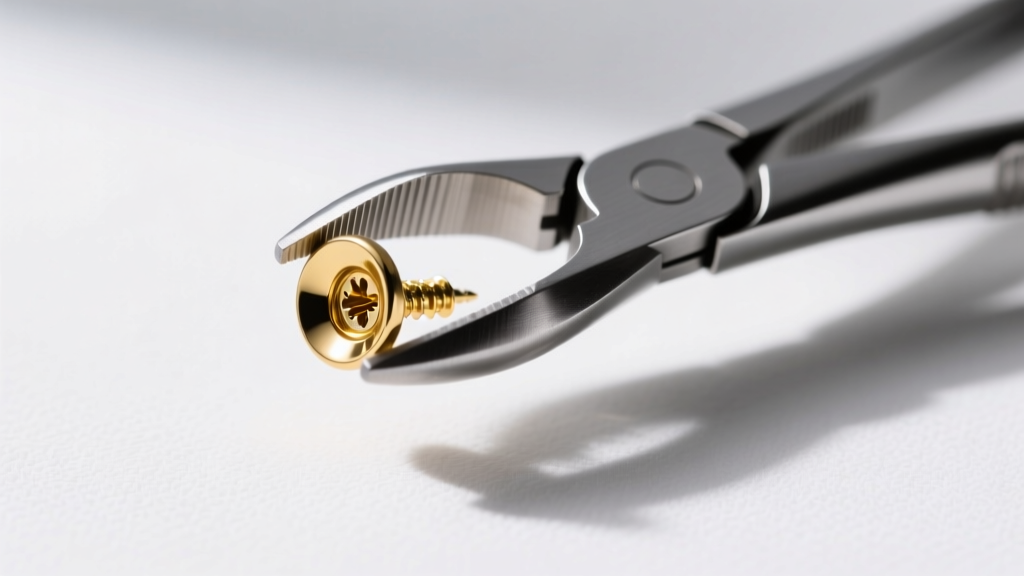
- Mechanical Leverage: If fingers fail, use a pair of sterilized stainless steel hemostats. Clamp the hemostats gently onto the butterfly back and use the tool's leverage to twist and ease the clutch off the notched post.
Scenario B: Cross-Threaded or Seized Screw-Backs
High-end body jewelry typically uses ASTM F136 implant-grade titanium with internal threading. If a screw-back is stuck, it is almost always cross-threaded or overtightened against swollen tissue.
- The Decompression Technique: Swelling pushes the tissue against the backing, creating immense friction on the threads. You must relieve this pressure. Press the front of the earring stud inward slightly to compress the tissue, taking the load off the threads.
- Counter-Clockwise Extraction: While maintaining inward pressure on the front stud, use a textured silicone grip pad to turn the backing counter-clockwise. If it resists, do not force it. Apply a drop of sterile jojoba oil to the seam where the backing meets the post to lubricate the threads, wait 60 seconds, and try again.
Scenario C: Threadless (Press-Fit) Jewelry Misconceptions
Threadless jewelry is the industry standard for secure body piercing, but it causes massive confusion. The end piece has a tiny, slightly bent pin that inserts into the hollow post. Tension holds it in place. There are no threads. If you are twisting a threadless end, you are just tightening the bend and locking it further. To remove it, grip the front end and the back post with two pairs of nylon-jawed pliers (or rubber-gripped fingers), bend the jewelry slightly at a 45-degree angle to break the tension lock, and pull apart.
Scenario D: Embedded Post (Tissue Encapsulation)
If the backing has disappeared entirely into the skin, the tissue has epithelialized over the metal. This is common with flat-back labret studs in cartilage piercings when a post that is too short (e.g., 6mm) is used during the swelling phase.
According to the Association of Professional Piercers (APP), attempting to dig out an embedded backing with tweezers or needles at home guarantees secondary infection and severe scarring. Embedded hardware requires professional intervention.
A professional piercer or dermatologist will use a sterile scalpel to make a micro-incision over the backing, followed by the insertion of a steel taper to push the jewelry out safely.
Chemical and Mechanical Aids: What Actually Works
When manual manipulation fails, specific lubricants and solvents can break the biological bonds trapping the jewelry.
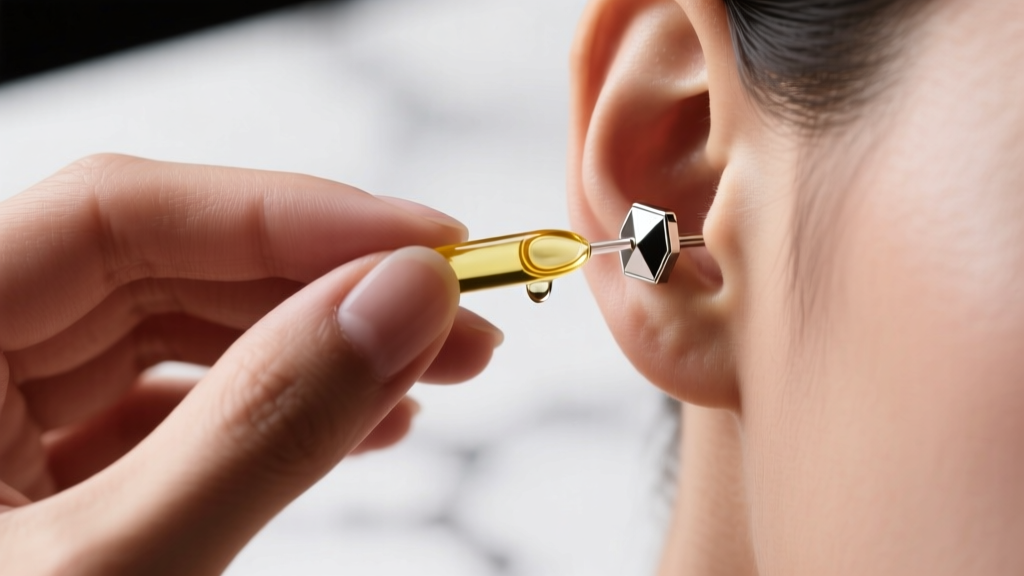
- 100% Pure Jojoba Oil: Jojoba closely mimics human sebum. It penetrates hardened organic matter inside a clutch tube better than water or saline. Apply one drop with a sterile cotton swab directly to the seam.
- Sterile Saline (0.9% NaCl): Best for softening dried lymph and crusties. Avoid using tap water, as the varying osmotic pressure can cause further tissue swelling.
- Medical-Grade Silicone Lubricant: A tiny amount applied to a cross-threaded screw-back can reduce metal-on-metal friction. Ensure it is pure silicone, not petroleum-based (like Vaseline), which can degrade certain O-rings or trap bacteria in the piercing tract.
- Nitrile Gloves: Skin oils cause fingers to slip on smooth titanium or gold. Wearing textured nitrile examination gloves increases your grip torque by up to 400%, often providing the exact friction needed to unscrew a stubborn backing.
When to Abort: Medical Intervention Thresholds
Knowing when to stop is a critical component of expert jewelry management. You must abandon home extraction and seek immediate medical or professional piercing assistance if you observe any of the following clinical signs:
- Purulent Discharge: Thick, yellow, or green exudate accompanied by a foul odor indicates a bacterial infection (often Staphylococcus aureus). Manipulating the jewelry will push bacteria deeper into the cartilage or bloodstream.
- Systemic Symptoms: Fever, chills, or red streaks radiating from the earlobe (lymphangitis) are medical emergencies requiring oral antibiotics and immediate clinical removal.
- Allergic Contact Dermatitis: If the ear is intensely itchy, blistering, and swollen, you may be experiencing a severe nickel allergy (common in cheap 316L surgical steel that is not properly passivated). The swelling creates a tourniquet effect, making mechanical removal impossible without a doctor's local anesthetic and ring-cutting tools.
For comprehensive guidelines on managing piercing infections and allergic reactions, refer to the Mayo Clinic's dermatological resources regarding body art complications.
Preventative Maintenance for Earring Hardware
The most effective way to handle stuck earrings is to prevent the mechanical failure from occurring in the first place. Implement these maintenance protocols for your jewelry collection:
- Upgrade Your Hardware: Discard cheap friction backs. Upgrade to internally threaded titanium (ASTM F136) or threadless press-fit jewelry. These mechanisms do not trap sebum inside a tiny tube and are vastly superior for long-term wear.
- Weekly Clutch Purging: If you must wear butterfly backs, remove them weekly. Use an interdental brush or a soft toothbrush dipped in antibacterial soap to scrub the inside of the clutch tube and the notches on the earring post.
- Respect the Thread Pitch: When screwing in a backing, always turn it counter-clockwise first until you feel or hear a tiny 'click'. This aligns the threads perfectly. Only then should you turn it clockwise to tighten. This single habit eliminates 99% of cross-threading incidents.
- Size for Swelling: For fresh cartilage piercings, always start with a longer post (8mm or 10mm) to accommodate the initial inflammatory phase, then downsize to a snug fit (6mm) after 4 weeks to prevent snagging and tissue overgrowth.
By treating your jewelry as precision mechanical hardware rather than disposable accessories, you ensure that removal is always a smooth, painless process. Keep your tools sterile, your lubricants pure, and your patience intact.