Beginner Guide to Earrings That Look Like Multiple Piercings
Discover how to rock earrings that look like multiple piercings without the needle. Learn about ear cuffs, chain links, and secure fit tips.

The Appeal of the 'Curated Ear' Without the Commitment
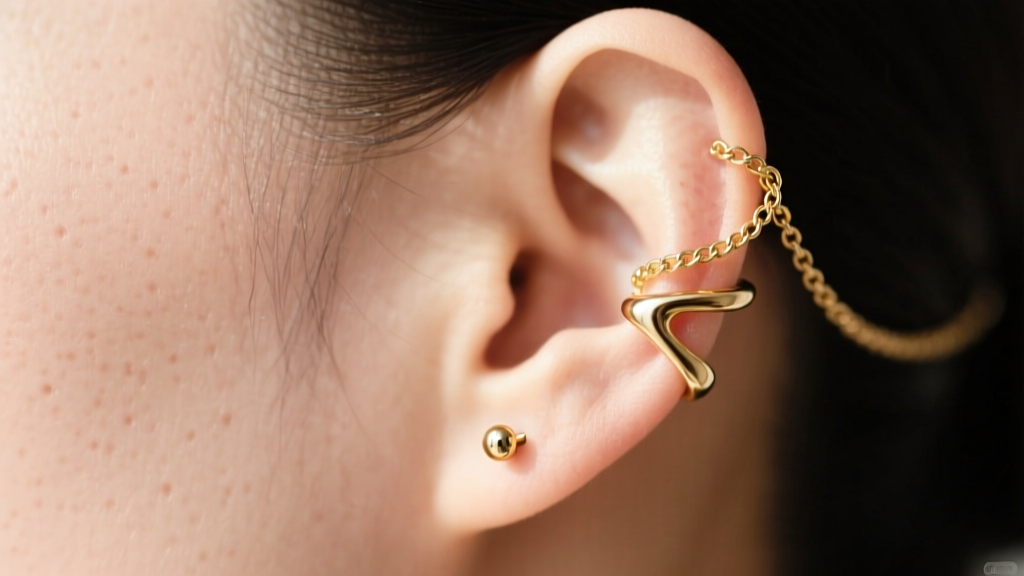
The 'curated ear' aesthetic—characterized by a carefully orchestrated stack of studs, hoops, and cartilage jewelry—has dominated style trends for years. However, achieving this look traditionally requires committing to multiple piercings, enduring months (or years) of cartilage healing, and spending hundreds of dollars on professional jewelry and piercing fees. For those who want the aesthetic without the pain, downtime, or permanence, the market for earrings that look like multiple piercings has exploded.
This beginner-friendly guide breaks down the mechanics of illusion jewelry. We will explore the specific styles that mimic a multi-hole setup, the exact material grades you need to avoid contact dermatitis, and the physical adjustments required to keep these pieces securely anchored to your ear anatomy throughout the day.
Anatomy of Illusion: Types of Faux Piercing Earrings
To successfully mimic a heavily pierced ear, you need to understand the different structural categories of illusion jewelry. Each type interacts with your ear's anatomy differently.
1. Chain and Connector Earrings
Chain earrings are the most convincing way to simulate multiple piercings, but they typically require at least one real, healed piercing to act as an anchor. A standard chain connector features a stud or small hoop for your primary lobe piercing (usually 20-gauge or 18-gauge, which translates to 0.8mm or 1.0mm in thickness). A delicate chain, often measuring between 1.5 to 3 inches, extends upward to attach to a non-pierced ear cuff placed on the helix or upper cartilage. Because the chain physically links two points, the eye naturally reads it as a cohesive, multi-hole stack.
2. Multi-Point Ear Cuffs
If you have absolutely zero piercings, multi-point cuffs are your best option. Unlike standard single-band cuffs that grip only the outer helix, multi-point designs feature a rigid or semi-rigid wire that wraps around the upper cartilage and extends downward, terminating in a magnetic or tension-based clip that rests on the earlobe. These create the illusion of a helix-to-lobe connection.
3. Tension and Magnetic Studs
To mimic isolated piercings like the tragus, conch, or rook, jewelers use specialized tension clips or neodymium magnetic studs. Magnetic earrings consist of two halves: a decorative front and a flat back, held together by high-strength magnets clamping the thin cartilage between them. Tension studs use a sprung metal clasp with silicone padding to grip the tragus without slipping.
Material Grades and Skin Safety
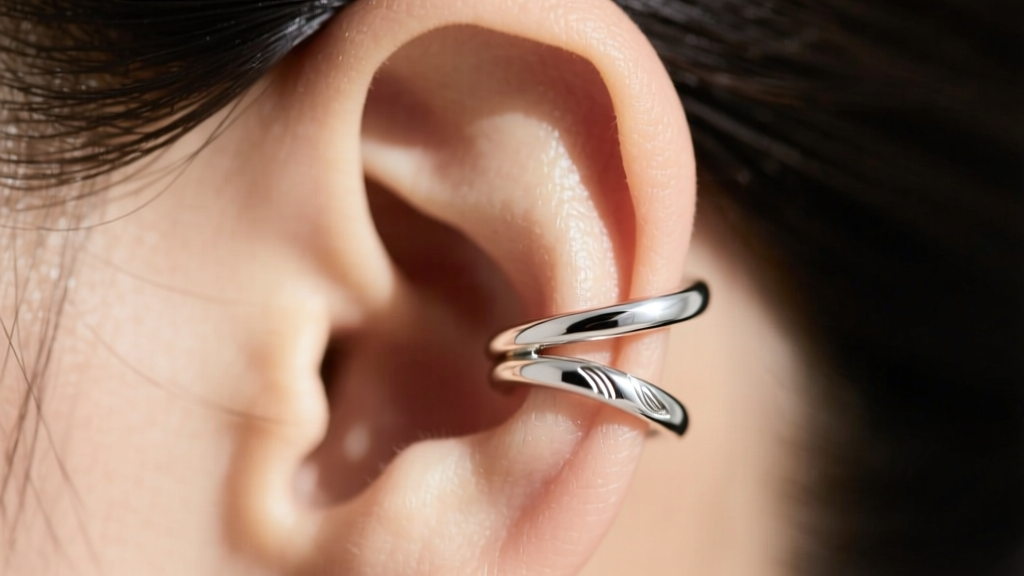
A common beginner mistake is assuming that because faux piercings do not break the skin, you can wear cheap, base-metal alloys. This is a fast track to allergic contact dermatitis. The skin on the helix, behind the ear, and on the tragus is incredibly thin and highly reactive to prolonged pressure and friction.
According to the Association of Professional Piercers (APP), even external jewelry should ideally meet high biocompatibility standards if worn for extended periods. Furthermore, the Mayo Clinic notes that nickel is the most common culprit for metal allergies, often triggered by sweat and friction.
Expert Rule of Thumb: If an ear cuff is going to clamp down on your cartilage for more than four hours, treat it with the same material respect as an internal piercing.
What to Buy (and What to Avoid)
- Implant-Grade Titanium (ASTM F136): The gold standard. It is completely nickel-free, lightweight, and will not tarnish or react with your skin's natural oils. Ideal for tension cuffs.
- 925 Sterling Silver: Acceptable for external cuffs, provided it is not plated over brass. Ensure it is solid 925. Note that silver can oxidize and leave a dark mark on the skin if exposed to heavy sweat.
- 14k or 18k Solid Gold: Excellent for chain connectors and luxury cuffs. Avoid gold-plated brass, as the friction of a cuff will quickly wear away the plating, exposing the reactive brass underneath.
- Avoid: 'Tibetan Silver,' 'Alpaca,' or unmarked fashion alloys. These are almost always nickel-heavy and will cause severe itching and redness under the pressure point of a cuff.
Troubleshooting: How to Keep Faux Piercings From Falling Off
The number one failure mode of earrings that look like multiple piercings is gravity and hair snags. Ear cuffs do not have a backing to secure them, meaning a sudden tug from a sweater or a brush of long hair can send a $60 piece of jewelry into a storm drain. Here is the professional framework for securing them.
The 'Pinch, Slide, and Squeeze' Method
Most beginners try to push an ear cuff straight onto the side of their ear. This bends the metal outward, permanently widening the gap and ruining the tension. Instead, follow this protocol:
- Pinch: Gently squeeze the cuff to make the gap slightly smaller than the thickness of your cartilage.
- Slide: Find the thinnest part of your ear (usually the very top tip of the helix or the lower lobe edge) and slide the cuff over that thin point.
- Squeeze: Once the cuff is positioned over the cartilage where you want it to sit, gently squeeze the sides together so it hugs the ear snugly. It should feel secure but should not cause throbbing pain, which indicates restricted blood flow.
Placement and Anatomy
Not all ears are shaped the same. If your helix folds over sharply (a 'folded helix'), standard round cuffs will slide off. Look for 'contoured' or 'shield' cuffs that have a flattened inner surface designed to sit flush against a folded ridge. For magnetic tragus earrings, always ensure the decorative front is slightly heavier than the back magnet to prevent it from flipping upside down during the day.
Pricing, Brands, and What to Expect
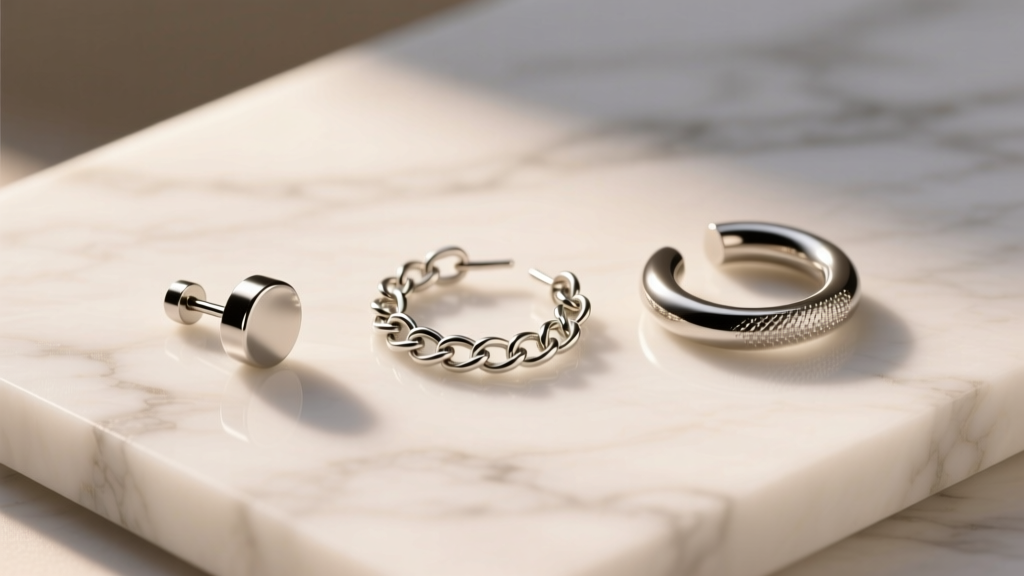
When shopping for illusion jewelry, pricing is heavily dictated by the base metal and the complexity of the clasp mechanism. Below is a breakdown of what you should expect to pay for quality pieces that will not ruin your skin or fall apart after a week.
| Earring Type | Best Material | Avg. Price Range | Security Level |
|---|---|---|---|
| Chain Connector (Lobe to Helix) | 14k Solid Gold / 925 Silver | $45 - $120 | High (Requires 1 real piercing) |
| Standard Helix Cuff | ASTM F136 Titanium | $25 - $60 | Medium (Adjustable tension) |
| Magnetic Tragus/Conch Stud | Surgical Steel + Neodymium | $15 - $35 | Low to Medium (Prone to snagging) |
| Multi-Point Lobe-to-Helix Wrap | Brass with Heavy Gold Plate | $30 - $80 | High (Wraps entire ear edge) |
Brands like Maria Tash and Mejuri offer high-end, solid-gold chain connectors and cuffs that mimic the exact gauge thickness (usually 1.0mm to 1.2mm) of real piercing jewelry, making the illusion nearly flawless. For budget-friendly but skin-safe options, look for specialized Etsy jewelers who fabricate custom cuffs from raw ASTM F136 titanium wire, allowing you to specify your exact cartilage thickness for a perfect, slip-proof fit.
Final Thoughts on Building Your Faux Stack
Mastering the curated ear look without a needle is entirely about understanding tension, anatomy, and material science. By investing in titanium or solid gold, utilizing the slide-and-squeeze application method, and mixing chain connectors with isolated magnetic studs, you can build a stunning, multi-piercing illusion that you can take off the moment you want to sleep. Start with one high-quality chain connector and a matching titanium helix cuff, and build your stack from there.


