How to Size and Change Cartilage Ear Piercing Earrings Safely
Learn how to safely size, insert, and style cartilage ear piercing earrings. Our step-by-step guide covers gauges, flatbacks, and avoiding irritation bumps.

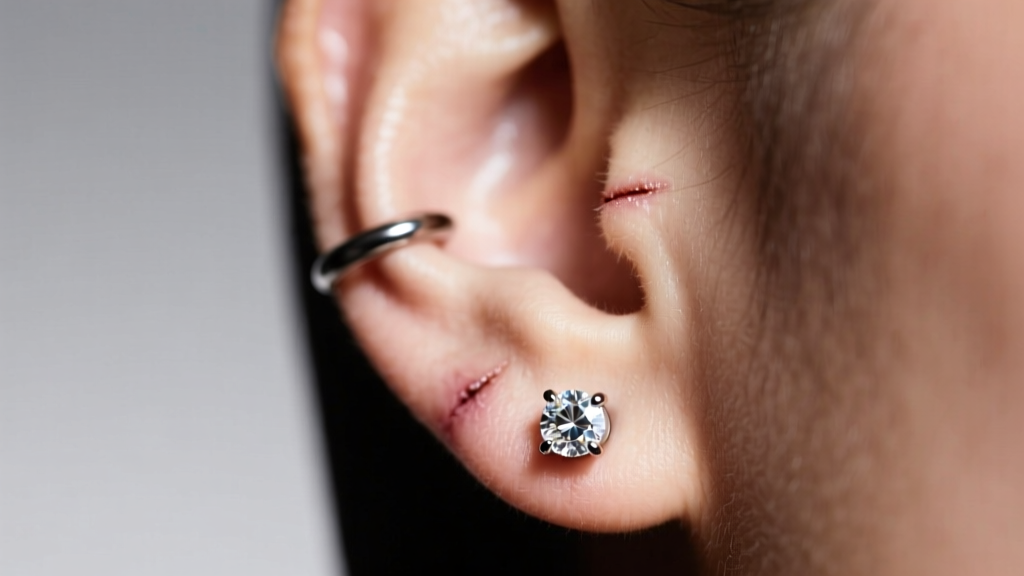
Curating a flawless ear stack is an art form, but when it comes to cartilage ear piercing earrings, precision and patience are your most critical tools. Unlike the soft, vascular tissue of the earlobe, the upper ear is composed of dense, avascular cartilage. This means it heals slower, is highly prone to irritation bumps, and demands exact jewelry measurements to avoid complications like embedding or the dreaded 'cheese-cutter' effect. Whether you are managing a fresh helix piercing or upgrading a healed conch with custom gold, understanding the mechanics of cartilage jewelry is non-negotiable.
In this comprehensive 2026 guide, we break down the exact step-by-step process for sizing, selecting, and safely changing your cartilage ear piercing earrings. From deciphering threadless push-pins to calculating post lengths down to the millimeter, this guide replaces guesswork with professional piercer methodologies.
Step 1: Verify Your Gauge and Post Length
The most common reason cartilage piercings develop stubborn irritation bumps is improper jewelry sizing. Cartilage ear piercing earrings must sit flush against the skin. If the post is too long, it will snag on hair and clothing, pulling at the delicate fistula (the piercing channel). If it is too short, the backing will compress the tissue, restricting lymphatic drainage and causing the jewelry to embed.
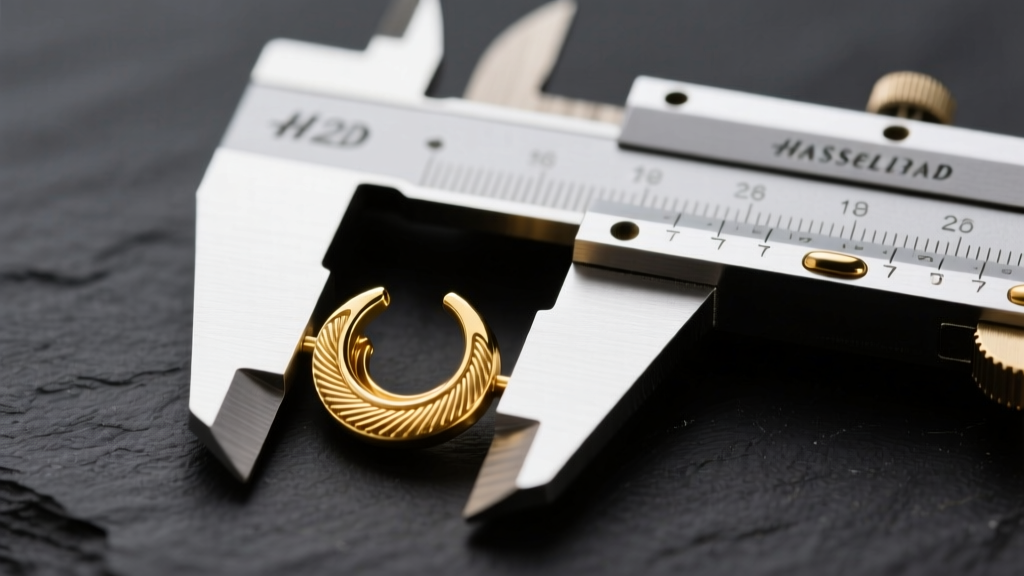
Before purchasing or changing your jewelry, you must know your exact gauge (thickness) and required post length. While standard lobe earrings often use 20G or 18G butterfly backs, cartilage requires specialized flatback labrets or clickers. Below is the industry-standard sizing chart utilized by professional piercers.
| Piercing Type | Standard Gauge | Initial Post (Swelling) | Healed Post (Flush Fit) |
|---|---|---|---|
| Helix / Mid-Helix | 16G (1.2mm) | 5/16" (8mm) | 1/4" (6mm) or 3/16" (4.7mm) |
| Conch | 16G (1.2mm) or 14G (1.6mm) | 5/16" (8mm) or 3/8" (10mm) | 1/4" (6mm) |
| Tragus | 16G (1.2mm) | 5/16" (8mm) | 3/16" (4.7mm) or 1/4" (6mm) |
| Forward Helix | 18G (1.0mm) or 16G (1.2mm) | 5/16" (8mm) | 3/16" (4.7mm) |
| Flat | 16G (1.2mm) | 5/16" (8mm) or 3/8" (10mm) | 1/4" (6mm) |
Pro Tip: Always measure from the base of the decorative end to the flat disc. Do not include the threading or the push-pin in your length calculation.
Step 2: Selecting the Right Material to Prevent Irritation Bumps
When shopping for cartilage ear piercing earrings, the material is just as important as the size. The upper ear is highly reactive to porous metals and nickel alloys. According to the Association of Professional Piercers (APP), only specific implant-grade materials should be worn in healing or sensitive cartilage piercings.
The Safe List:
- Implant-Grade Titanium (ASTM F-136): The undisputed gold standard. It is completely nickel-free, highly polished, and biocompatible. If you are prone to contact dermatitis, this is your safest option.
- Niobium: A highly reactive element that is naturally hypoallergenic and can be anodized into vibrant colors without using paints or coatings.
- Solid 14k or 18k Gold (Nickel-Free): Must be alloyed for biocompatibility. Avoid gold-plated or gold-filled jewelry, as the thin outer layer can wear away inside the fistula, exposing reactive base metals.
The 'Avoid' List:
- Surgical Steel: Despite the clinical-sounding name, surgical steel contains up to 13% nickel. It is perfectly fine for scalpels that are used once and discarded, but terrible for long-term wear in a cartilage piercing.
- Sterling Silver: Prone to oxidation and tarnishing, which can permanently stain the cartilage fistula gray (a condition known as localized argyria).
Step 3: The Step-by-Step Insertion Technique
Changing cartilage ear piercing earrings requires a different physical technique than swapping out standard lobe studs. In 2026, threadless (push-pin) jewelry has largely overtaken internally threaded options due to its seamless insertion, but both require specific handling.
How to Insert Threadless (Push-Pin) Flatbacks
Threadless jewelry stays together via tension. The decorative end has a slightly bent pin that snaps securely into the hollow post.
- Prepare your workspace: Wash your hands thoroughly and lay a clean towel over your sink or a table. Dropping a tiny titanium end down the drain is a rite of passage you want to avoid.
- Insert the post: Hold the flat disc against the back of your ear and gently push the post through the fistula from back to front. Do not force it; if there is resistance, check your angle.
- Bend the pin: Take the decorative end and insert the pin about one-third of the way into the post. Give it a very slight bend (about a 5-to-10-degree angle). Note: The deeper you insert and bend, the tighter the fit.
- Snap it shut: Push the decorative end all the way into the post until it snaps flush. You should feel a distinct, secure click.
How to Insert Internally Threaded Jewelry
Internally threaded jewelry features the screw mechanism on the inside of the post, protecting your fistula from sharp threads.
- Insert the post from the back of the ear to the front.
- Align the threaded decorative end with the hollow post.
- Turn the decorative end counter-clockwise to thread it in. Remember the golden rule: 'Lefty-loosey' applies to the initial threading to ensure you don't cross-thread and damage the mechanism.
"Never use external threading for cartilage piercings. The sharp screw threads act like a cheese grater on the delicate healing tissue of the fistula, leading to micro-tears and hypertrophic scarring." — Professional Piercer Guidelines
Step 4: When Can You Switch to Hoops?
One of the most frequent questions we receive is when a client can swap their flatback for a hoop. While flatback labrets provide a straight, stable environment for the fistula to form, hoops introduce curvature and movement.
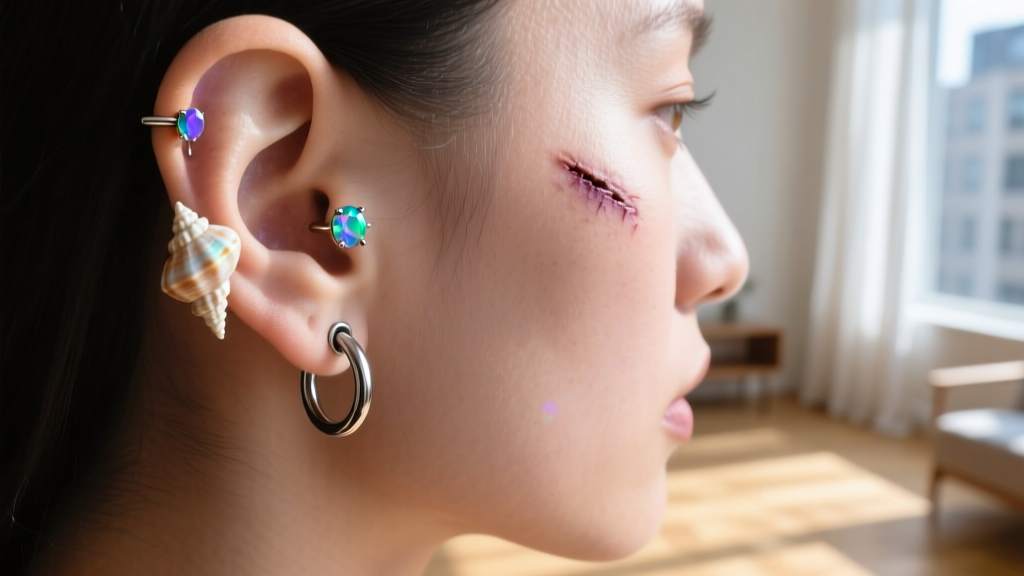
According to dermatological and piercing experts cited by the Mayo Clinic, cartilage takes significantly longer to heal than soft tissue. While a lobe may heal in 8 weeks, cartilage requires a minimum of 6 to 12 months to fully mature.
The Hoop Transition Checklist:
- No pain or tenderness: The piercing should not hurt when gently pressed or when sleeping on it.
- No crusties: Lymph fluid secretion should have completely ceased.
- Correct diameter: When buying a hoop (like a seamless ring or clicker), ensure the inner diameter is large enough to accommodate the natural angle of the piercing. A hoop that is too tight will pull upward on the fistula, causing immediate irritation.
For conch and helix piercings, hinged segment rings (clickers) are highly recommended over captive bead rings, as they eliminate the need for pliers and reduce the risk of dropping tiny metal beads.
Troubleshooting: Snags, Swelling, and Stubborn Backs
Even with perfect technique, issues can arise. Here is how to troubleshoot common cartilage ear piercing earrings problems like a seasoned professional.
Problem: The Threadless End Won't Come Out
Solution: Do not use metal pliers, which will scratch your jewelry and crush the gemstones. Instead, put on a pair of nitrile gloves. The rubber grip provides immense traction. Grip the post with one hand and the decorative end with the other, and pull straight apart with a slight wiggling motion.
Problem: Sudden Swelling and an Irritation Bump
Solution: Irritation bumps on cartilage are rarely infections; they are mechanical responses to trauma. If a bump appears, evaluate your jewelry. Is the post too long, allowing the earring to wobble? Did you sleep on it? Downsize to a shorter post to eliminate movement, and switch to sterile saline spray twice a day. Avoid tea tree oil, aspirin pastes, and harsh soaps, which will only cause chemical burns on sensitive cartilage tissue.
Problem: The Post is Stuck in the Ear
Solution: If the flatback disc is flush against swollen tissue and you cannot grip it, apply a warm, sterile saline compress for 5 minutes to reduce localized swelling. Use a piece of clean, dry gauze to grip the flat disc from behind while unscrewing or pulling the front end. If the skin has grown over the disc (embedding), do not attempt DIY surgery; visit a professional piercer or a dermatologist immediately.
Final Thoughts on Cartilage Curation
Mastering the art of changing cartilage ear piercing earrings comes down to respecting the biology of the ear. By investing in ASTM F-136 titanium, meticulously measuring your post lengths, and utilizing proper insertion techniques, you ensure your ear stack remains as healthy as it is beautiful. Patience is your greatest asset—allow the cartilage the time it needs to heal, and it will reward you with a lifetime of effortless styling.


