Mastering Beaded Hoop Earrings: Style, Clean, and Repair
Learn how to style, clean, and repair beaded hoop earrings. Discover wire gauge tips, bead care, and step-by-step maintenance for lasting wear.


Beaded hoop earrings represent a perfect intersection of bohemian flair and structural elegance. Unlike solid metal hoops or simple stud earrings, hoops adorned with gemstones, glass, or seed beads require a nuanced understanding of both jewelry styling and material science. Whether you are wearing vintage turquoise wraps or modern architectural glass bead designs, knowing how to properly style, clean, and repair these pieces is essential for maximizing their lifespan. In this comprehensive guide, we break down the exact specifications, maintenance routines, and repair techniques needed to keep your beaded hoops in pristine condition.
The Anatomy of Beaded Hoop Earrings
To properly care for beaded hoops, you must first understand their structural anatomy. A high-quality beaded hoop relies on two distinct wire components:
- The Core Wire (18 to 20-gauge): This is the structural foundation that passes through the earlobe. According to jewelry manufacturing standards outlined by Rio Grande, 18-gauge (1.02mm) wire is ideal for heavy stone beads like jasper or agate, while 20-gauge (0.81mm) is the standard for lighter glass or seed beads. This wire must possess high tensile strength to prevent the hoop from warping under the weight of the beads.
- The Wrapping Wire (26 to 28-gauge): This ultra-thin, dead-soft wire is used to bind the beads to the core wire. It is typically made of gold-filled, sterling silver, or niobium to prevent skin irritation and tarnishing.
- The Clasp Mechanism: Most beaded hoops utilize a latch-back or a fish-hook-and-catch mechanism. The tension of the latch is critical; if the wire wrapping is too thick near the hinge, the clasp will fail to close securely, leading to lost earrings.
Step-by-Step Guide to Styling Beaded Hoops
Styling beaded hoops requires balancing the visual weight of the beads with your facial structure and hair volume. Because the beads add significant texture and color, the diameter of the hoop dictates the overall aesthetic.
Round and Oval Face Shapes
For round faces, avoid small, chunky beaded huggies that emphasize the width of the jawline. Instead, opt for elongated, teardrop-shaped beaded hoops or medium-sized hoops (30mm-40mm) where the beads are concentrated at the bottom third of the wire. This draws the eye downward, creating an illusion of length. Oval faces possess natural symmetry and can pull off continuous, fully-wrapped beaded hoops ranging from 20mm to 50mm in diameter without overwhelming their features.
Square and Heart Face Shapes
Square faces benefit from the softening effect of organic, irregularly shaped beads like freshwater pearls or raw turquoise wrapped around a circular 35mm hoop. Avoid hoops with harsh, geometric glass beads that mimic the sharp angles of the jaw. For heart-shaped faces, choose beaded hoops that are wider at the bottom than at the top, such as a chandelier-style beaded hoop, to add visual volume to the narrower lower half of the face.
How to Clean Beaded Hoops Without Damaging the Stones
The most common mistake jewelry owners make is treating all beaded earrings as if they were solid metal. Submerging porous stones in harsh chemicals or using ultrasonic cleaners can cause irreversible micro-fractures and color leaching. The Gemological Institute of America (GIA) strictly advises against ultrasonic cleaning for organic and porous gems.
Bead Material and Cleaning Matrix
| Bead Material | Recommended Cleaning Method | What to Avoid |
|---|---|---|
| Glass & Crystal | Warm water, mild dish soap, soft toothbrush | Hydrofluoric acid, extreme thermal shock |
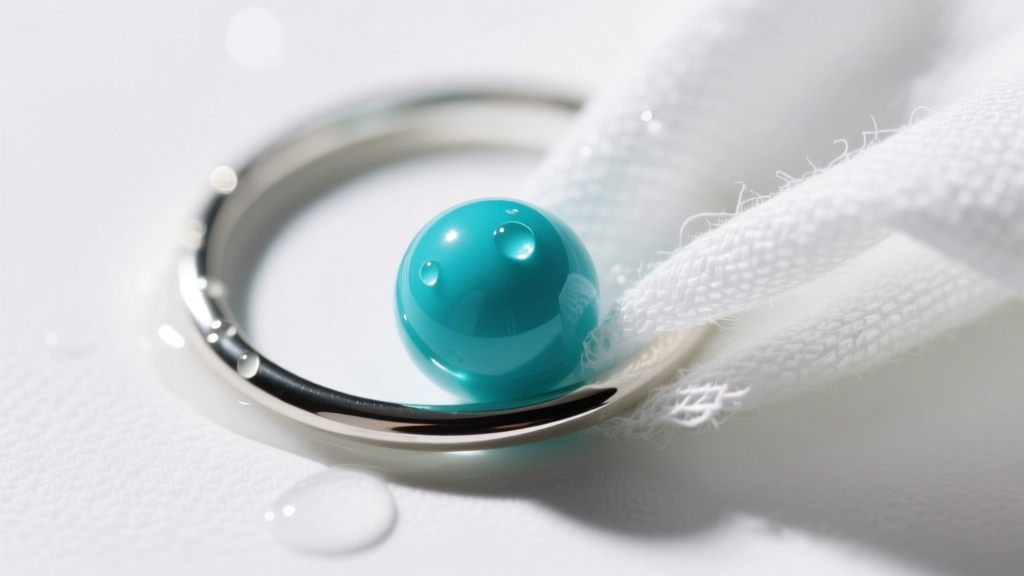
| Turquoise & Opal | Damp microfiber cloth only, dry immediately | Ultrasonic cleaners, soaking in water, steam |
| Freshwater Pearls | Wipe with a cloth dampened in distilled water | Tap water (chlorine), ammonia, vinegar |
| Sterling Silver Beads | Silver polishing cloth, mild soap for crevices | Bleach, baking soda paste (causes micro-scratches) |
The Safe Cleaning Protocol: Mix three drops of pH-neutral dish soap into a bowl of distilled water. Dip a soft-bristled baby toothbrush into the solution and gently agitate the metal wire and non-porous beads. For porous stones like turquoise, simply dip the microfiber cloth into the solution, wring it out until it is barely damp, and wipe the beads individually. Always dry the wire wrapping thoroughly with a lint-free cloth to prevent moisture from becoming trapped between the bead and the core wire, which leads to localized oxidation.
DIY Repair: Fixing a Broken Wire or Missing Bead
Wire fatigue is the primary failure mode for beaded hoops. The constant tension of putting the earring on, combined with the friction against the earlobe, eventually causes the metal to work-harden and snap, usually right below the clasp or near the bottom curve.
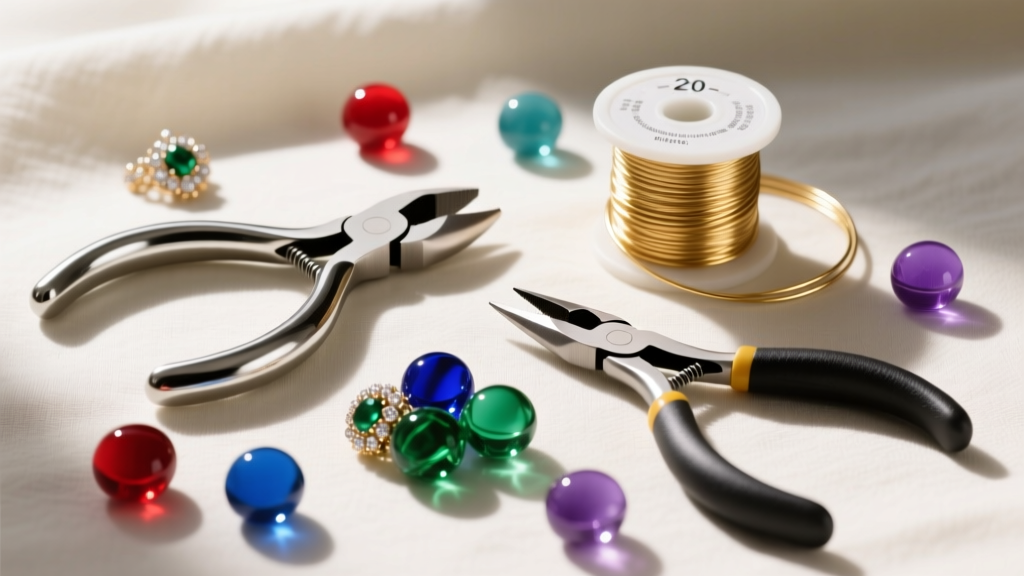
Tools Required for Rewiring
- Flush cutters (for clean, flat wire cuts)
- Round-nose pliers (for creating wrapped loops)
- Chain-nose pliers (for tightening wraps)
- Nylon jaw pliers (for work-hardening the wire without marring it)
- Replacement 20-gauge gold-filled or niobium core wire
Step-by-Step Rewiring Process
- Remove the Old Wire: Using your flush cutters, carefully snip the old core wire at the base of the clasp. Gently unspool the wrapping wire and slide the beads off into a velvet-lined tray to prevent them from rolling away.
- Create the Bottom Loop: Cut a 4-inch piece of 20-gauge wire. Grip the very tip with your round-nose pliers and roll it to create a small, closed loop. This acts as the stopper for your beads.
- String and Wrap: Thread your beads back onto the wire in the original pattern. Once all beads are on, bend the wire upward to form the hoop shape. If you are adding decorative wrapping wire, tightly coil 28-gauge wire around the core wire between each bead to lock them in place and prevent clicking sounds when worn.
- Form the Clasp and Harden: Create a hook at the top of the hoop using the round-nose pliers. Finally, run the entire hoop through the nylon jaw pliers, squeezing gently and bending the wire slightly back and forth. This process, known as work-hardening, realigns the metal's crystalline structure, ensuring the hoop retains its circular shape and spring-back tension when inserted into the ear.
Preventing Wire Fatigue and Bead Discoloration
Prevention is vastly superior to repair when dealing with intricate beaded jewelry. The environment in which you store your earrings dictates their longevity.
Expert Storage Tip: Never store beaded hoop earrings hanging on a standard jewelry tree. The weight of the beads pulling downward over weeks or months will stretch the bottom curve of the core wire, turning a perfect circle into an oval. Always store them flat in a compartmentalized box or lay them on their side.
Furthermore, environmental sulfur and humidity are the enemies of the wrapping wire. If your beaded hoops utilize sterling silver wire, store them in sealed polyethylene bags with anti-tarnish silica strips. For the beads themselves, keep organic materials like amber, coral, and pearls away from direct sunlight and heat sources, which can dehydrate the stones and cause surface crazing or cracking. By treating your beaded hoop earrings as delicate, multi-material instruments rather than simple accessories, you ensure they remain a vibrant, structural staple in your jewelry rotation for years to come.


