First Piercing Gift Guide: How to Take Off an Earring
Discover the best first-piercing jewelry gifts and learn exactly how to take off an earring safely, from flat-back labrets to butterfly studs.

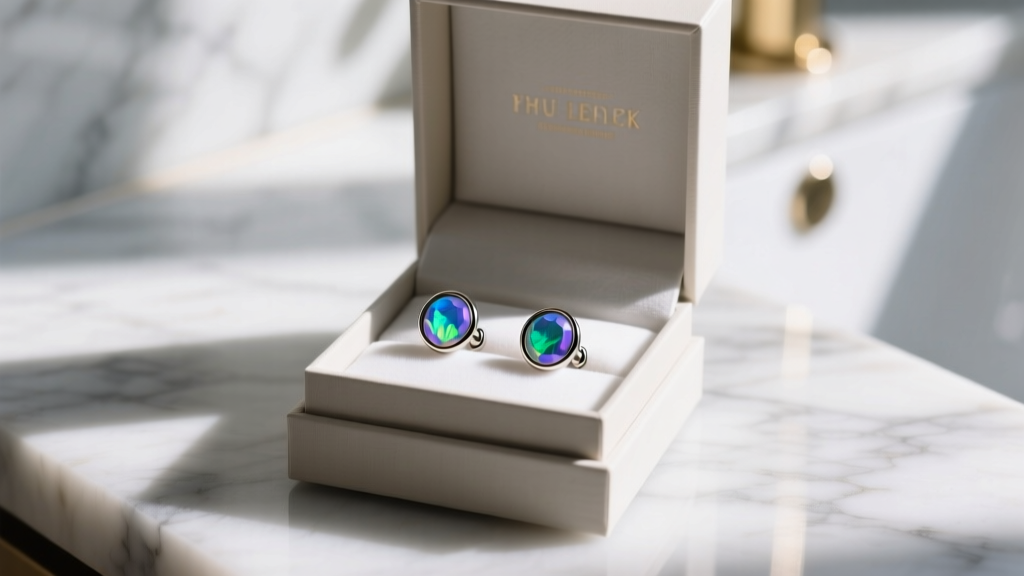
Gifting jewelry for a newly pierced ear or a milestone piercing upgrade is a deeply personal and exciting gesture. However, the joy of receiving high-end body jewelry is often quickly followed by a universal moment of panic: figuring out the mechanics of the new hardware. Whether you are gifting a teenager their first professional lobe piercing or treating a partner to a curated constellation of cartilage studs, understanding the functional anatomy of the jewelry is just as important as the aesthetic. In this comprehensive guide, we will explore the best materials for gifting, match styles to milestone occasions, and provide a masterclass on how to take off an earring based on its specific backing mechanism.
The Anatomy of a Perfect Piercing Gift: Material and Gauge Specs
When selecting jewelry for a fresh or healing piercing, the material is non-negotiable. According to the Association of Professional Piercers (APP), the gold standard for initial and healing piercings is implant-grade titanium (specifically ASTM F-136 or F-1295). Unlike traditional "surgical steel," which contains nickel and can trigger contact dermatitis, implant-grade titanium is completely nickel-free, lightweight, and highly biocompatible.
If you prefer the warmth of precious metals, opt for 14k or 18k solid gold that is nickel-free and cadmium-free. Avoid gold-plated or gold-filled options for healing piercings, as the microscopic wear can expose the base metal to the fistula (the piercing channel).
Understanding Gauge and Post Length
- Standard Lobes: Typically pierced at 18g (1.0mm) or 16g (1.2mm). Gifting 16g jewelry is highly recommended as it provides better stability and prevents the "cheese-cutter effect" where thin jewelry can migrate through the tissue.
- Cartilage (Helix, Conch, Tragus): Almost exclusively pierced at 16g (1.2mm).
- Post Lengths: Fresh piercings require longer posts (8mm to 10mm) to accommodate swelling. Once healed (usually 3-6 months), the jewelry must be "downsized" to a 5mm or 6mm post to sit flush against the ear and prevent snagging.
Occasion Matching: Milestones and Jewelry Styles
Matching the jewelry style to the occasion elevates the gift from a simple accessory to a lasting memory.
"A first piercing is a rite of passage. Gifting a high-quality, internally threaded or threadless flat-back labret not only ensures proper healing but also sets a standard for body jewelry safety that lasts a lifetime." — Senior Piercer at Jewel Style Radar
- 16th or 18th Birthdays: A classic 16g titanium flat-back labret with a bezel-set synthetic opal or lab-grown diamond. It is secure, comfortable for sleeping, and perfect for a first professional piercing.
- College Graduation: An elevated cartilage constellation. Gift a set of three 16g threadless studs in varying sizes (e.g., 2mm, 3mm, and 4mm gemstones) to map out a helix constellation.
- Anniversaries: Upgrade existing healed piercings with 14k solid gold hinged segment rings or intricate ear cuffs that require no additional piercing but offer a high-impact visual.
Masterclass: How to Take Off an Earring by Backing Type
The most common question we receive after a jewelry upgrade is how to safely remove it without damaging the fistula or losing a tiny gemstone down the sink drain. The removal method depends entirely on the engineering of the earring back.
1. Threadless Flat-Back Labrets (Push-Pin)
Threadless jewelry relies on tension. The decorative end has a tiny metal pin that is slightly bent before being pushed into the hollow post.
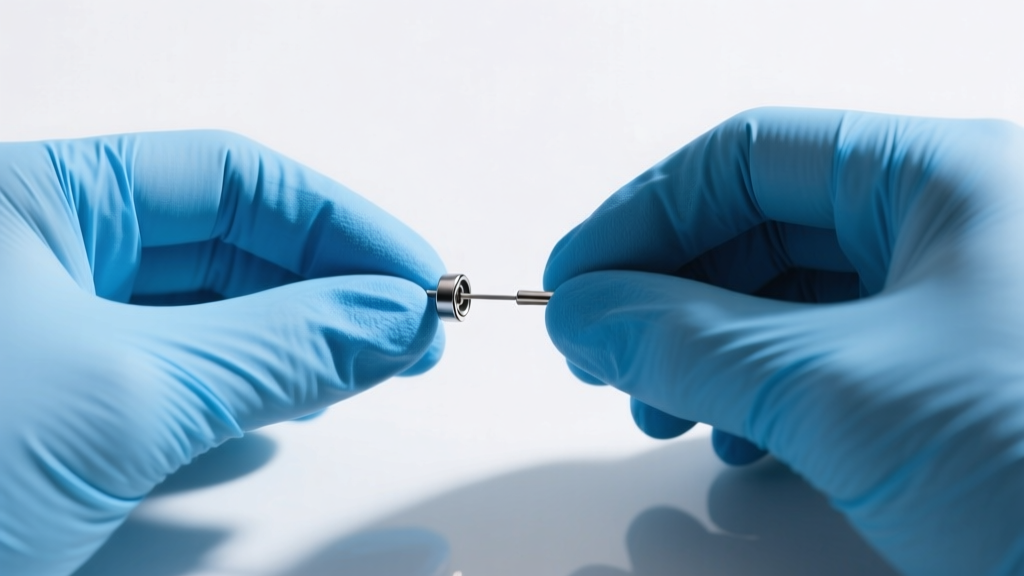
- Prep: Wash your hands and ensure your grip is dry. Putting on a pair of nitrile gloves provides immense grip strength.
- Grip: Pinch the flat back disc firmly between the thumb and index finger of one hand. Pinch the decorative front gem with the other hand.
- Separate: Do not twist. Instead, push your hands together slightly to bow the post, then pull them apart in a swift, snapping motion. The tension will release, and the pieces will separate.
2. Internally Threaded Flat-Backs
In internally threaded jewelry, the screw mechanism is inside the hollow post, and the decorative end has a smooth pin with external threads. This is vastly superior to externally threaded jewelry, which damages the piercing channel during insertion and removal.
- Grip: Use nitrile gloves or a piece of rubber jar-grip material. Hold the flat back disc completely still.
- Twist: Turn the decorative front counter-clockwise (lefty-loosey).
- Extract: Once unscrewed, gently slide the post out of the ear from the back to the front, following the natural angle of the piercing.
3. Standard Friction / Butterfly Backs
Common in mall-kiosk and commercial jewelry, these feature a grooved post that a metal "butterfly" clutch snaps onto.
- Stabilize: Hold the front stud securely so it doesn't twist and irritate the ear.
- Pull: Pinch the wings of the butterfly back and pull straight away from the ear. Never twist or unscrew a butterfly back, as this will only tighten its grip on the post grooves.
- Slide: Once the back is off, slide the post out gently.
Troubleshooting Stuck Earrings: A Step-by-Step Rescue
Sometimes, knowing how to take off an earring isn't enough because the jewelry simply won't budge. This is usually caused by dried lymph fluid (crusties) acting as a biological glue, or a lack of friction on the metal.
The Mayo Clinic advises against using excessive force, which can cause tissue tearing and severe swelling. Instead, follow this rescue protocol:
- The Saline Soak: Saturate a non-woven gauze pad with sterile wound wash saline (0.9% sodium chloride). Press it against the front and back of the earring for 3-5 minutes. This will rehydrate and dissolve any dried lymph locking the threads or tension pin.
- The Nitrile Glove Trick: Skin oils make metal incredibly slippery. A pair of tight-fitting nitrile examination gloves will give you the exact torque needed to unscrew a stubborn internally threaded end.
- The Hemostat Warning: While professional piercers use rubber-tipped hemostats to grip and unscrew stuck jewelry, doing this at home with bare metal pliers will crush the gemstone setting and scratch the titanium. Leave the tools to the professionals.
Earring Backing Removal Matrix
| Backing Type | Removal Mechanism | Best Grip Tool | Swelling Accommodation | Suitability for Gifts |
|---|---|---|---|---|
| Threadless (Push-Pin) | Bow and pull apart | Nitrile Gloves | Moderate (Requires downsizing) | Excellent (Secure & easy) |
| Internally Threaded | Counter-clockwise twist | Rubber Grip Pad | Moderate (Requires downsizing) | Excellent (High-end feel) |
| Butterfly / Friction | Straight pull (No twisting) | Bare fingers | Poor (Traps bacteria) | Poor (Avoid for fresh piercings) |
| Hinged Segment Ring | Click-open hinge | Bare fingers | High (Continuous ring) | Great for healed cartilage |
Post-Removal Care and Gifting Aftercare Kits
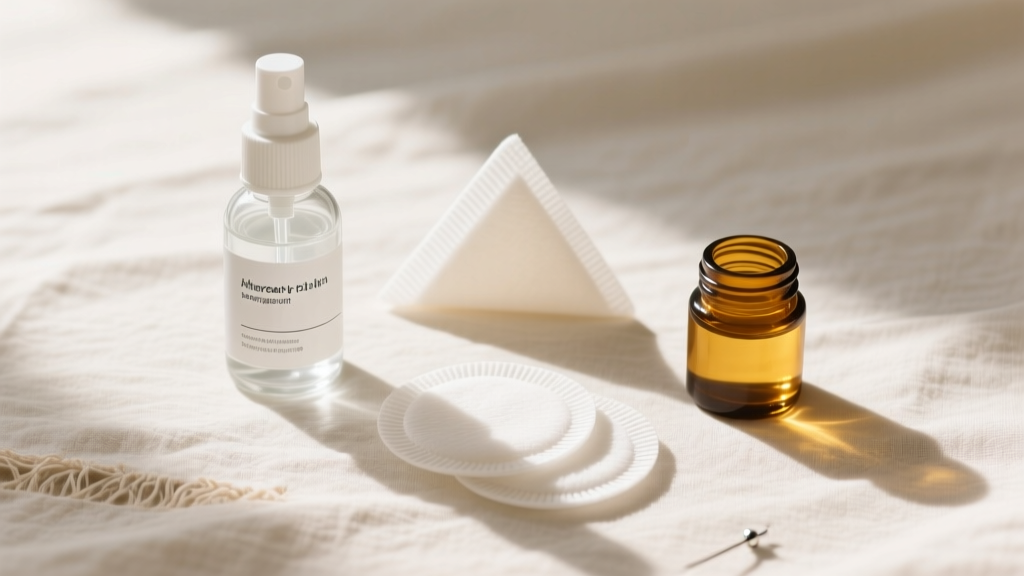
If you are gifting jewelry, consider pairing it with a high-end aftercare kit to ensure the recipient has everything they need for safe maintenance and removal. A premium aftercare bundle should include:
- Sterile Saline Wound Wash: Must be an aerosol can with a fine mist nozzle, containing only 0.9% sterile saline and no preservatives or additives.
- Non-Woven Gauze: Cotton balls and swabs leave microscopic fibers trapped in the piercing channel, which can cause infection and make future jewelry removal a nightmare. Non-woven gauze is lint-free and safe.
- Organic Jojoba Oil: Once the piercing is fully healed (usually 6-12 months for cartilage), a drop of jojoba oil massaged into the tissue keeps the fistula elastic, making it significantly easier to figure out how to take off an earring when it's time to change styles.
- Nitrile Gloves: A small box of powder-free nitrile gloves is the ultimate secret weapon for jewelry changes, providing the grip needed to handle tiny, slippery titanium components.
Gifting body jewelry is an investment in someone's self-expression and bodily autonomy. By choosing implant-grade materials, avoiding outdated butterfly backs, and equipping the recipient with the knowledge of exactly how to remove their new hardware safely, you are giving a gift that is as functional and thoughtful as it is beautiful.


