How to Authenticate and Fix Vintage 14k Gold Earrings
Learn how to authenticate, clean, and repair vintage 14k gold earrings. Expert troubleshooting for broken posts, worn hallmarks, and clip-on conversions.

The Allure and Pitfalls of Estate Jewelry
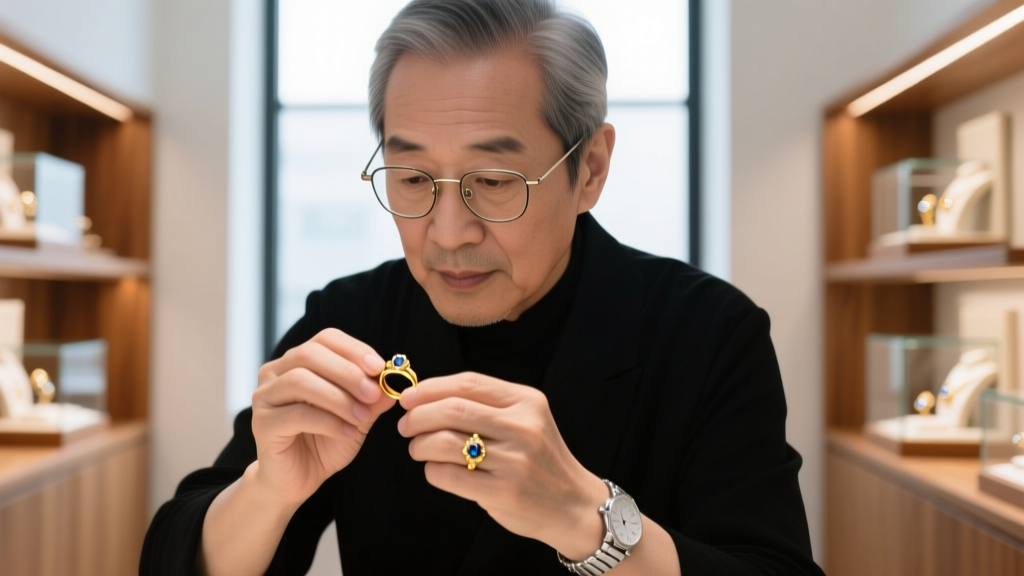
Collecting and wearing vintage 14k gold earrings offers a unique blend of historical charm and enduring value. Unlike modern mass-produced jewelry, mid-century and Victorian-era pieces boast superior craftsmanship, intricate hand-engraving, and durable alloy compositions. However, the secondary market is fraught with mislabeled items, structural fatigue, and botched historical repairs. Whether you have inherited a pair of 1950s screw-backs or purchased estate studs at auction, troubleshooting these pieces requires a deep understanding of gold metallurgy, gauge sizing, and lapidary safety. This guide provides a masterclass in authenticating, repairing, and preserving vintage 14k gold earrings.
Authentication: Decoding Hallmarks and Alloys
The first step in troubleshooting any estate piece is verifying its metal purity. Solid 14k gold consists of 58.5% pure gold, with the remaining 41.5% composed of alloy metals like copper, silver, and zinc. These alloys give vintage 14k gold earrings their distinct warm hue and structural rigidity, but they also complicate authentication when hallmarks are worn away.
Visual Hallmark Troubleshooting
According to the Federal Trade Commission (FTC) Jewelry Guides, gold items must be accurately marked. However, vintage pieces often feature stamps that have been polished away or obscured by decades of friction. Look for the following indicators:
- The "585" Stamp: Many European vintage pieces use the millesimal fineness mark (585) instead of "14K".
- Gold-Filled Deception: A stamp reading "1/20 14K GF" means the item is gold-filled, not solid. Gold-filled vintage earrings cannot be soldered or laser-welded without exposing the brass or copper base metal underneath.
- Maker's Marks: Use a 10x triplet loupe to search for maker's marks near the clutch or on the back of the setting. These tiny pictograms often provide more reliable provenance than a faded purity stamp.
The Magnet and Acid Test Protocols
If visual inspection fails, proceed to physical testing. Pure gold and standard 14k alloys are non-magnetic. If your vintage 14k gold earrings are attracted to a neodymium magnet, they contain a ferrous base metal and are likely plated. For definitive proof, jewelers use a touchstone and nitric acid test. By rubbing the earring post on a black touchstone and applying a drop of 14k testing acid, the resulting streak color will confirm the gold content. A bright, milky-green reaction indicates base metal, while a dark brown or unchanged streak confirms 14k purity. The Gemological Institute of America (GIA) strongly recommends professional acid testing for high-value estate pieces to avoid damaging the jewelry.
Common Structural Failures and How to Fix Them
Vintage 14k gold earrings are prone to specific mechanical failures due to age, shifting fashion standards, and metal fatigue. Troubleshooting these issues requires specialized bench techniques.
Broken or Bent Ear Posts
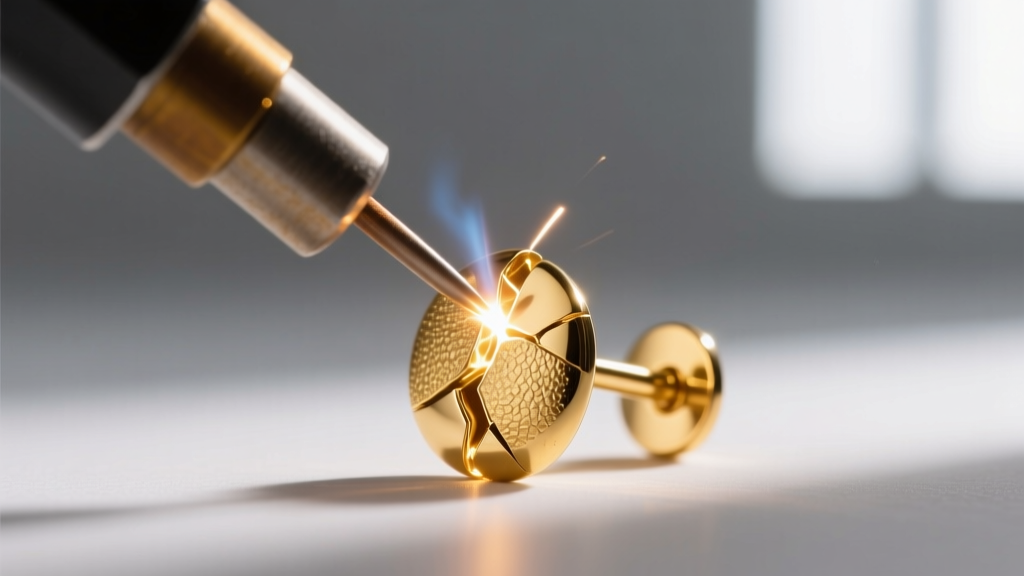
Vintage ear posts were frequently manufactured in 18-gauge or even 16-gauge thicknesses, which is noticeably thicker than the modern 20-gauge standard. If a vintage post is bent, do not simply bend it back. Decades of wear cause microscopic crystalline fractures in the alloy. Bending it back will likely cause metal fatigue and snap the post entirely. If a post breaks off at the base, traditional torch soldering can melt the intricate details of the earring face or shatter heat-sensitive vintage stones like opals, emeralds, or foiled-back rhinestones. The modern solution is laser welding, which uses a concentrated light beam to fuse a new 14k gold post to the base without transferring heat to the rest of the earring.
Worn Out Friction Backs and Clutches
Vintage friction backs (often called "butterfly clutches") lose their tension over time, leading to lost earrings. Furthermore, attempting to force a modern 20g clutch onto a thicker 18g vintage post will ruin the clutch and scratch the gold. The best troubleshooting step is to upgrade to heavy-duty, silicone-lined 18k or 14k gold locking clutches, which provide secure tension without damaging the thicker vintage post.
Converting Vintage Clip-Ons to Pierced
Many mid-century vintage 14k gold earrings were designed as clip-ons or screw-backs for unpierced ears. Converting them requires careful removal of the hinge or screw mechanism. A jeweler will use a saw blade to remove the paddle-back, file the surface flush, and laser-weld a new post. Crucially, the post must be angled slightly forward to account for the heavier weight distribution of vintage designs, ensuring the earring sits upright on the earlobe rather than drooping.
Repair Cost Estimates and Bench Timelines
Understanding the financial commitment of restoring estate jewelry is vital for collectors. Below is a breakdown of standard bench repair rates for vintage 14k gold earrings in the current market.
| Repair Type | Average Cost (USD) | Turnaround Time | Technical Notes |
|---|---|---|---|
| Laser Weld (Snapped Post) | $45 - $85 | 3 - 5 Days | Requires matching 14k gold solder wire; safe for porous gems. |
| Clip-On to Pierced Conversion | $90 - $150 | 1 - 2 Weeks | Includes post removal, filing, welding, and polishing. |
| Re-tipping Prongs (Stone Setting) | $30 - $60 per prong | 5 - 7 Days | Essential for vintage diamond or sapphire studs with worn claws. |
| Ultrasonic Deep Clean & Steam | $15 - $30 | Same Day | Strictly prohibited for foiled-back stones, turquoise, or pearls. |
Deep Cleaning and Patina Preservation
One of the most common mistakes new collectors make is aggressively polishing vintage 14k gold earrings, thereby stripping away the historical patina. The alloy metals in 14k gold (specifically copper and silver) naturally oxidize over decades, creating a dark, rich contrast in the crevices of engravings and milgrain detailing. This oxidation is highly desirable and proves the piece's age.
Safe Cleaning Protocols
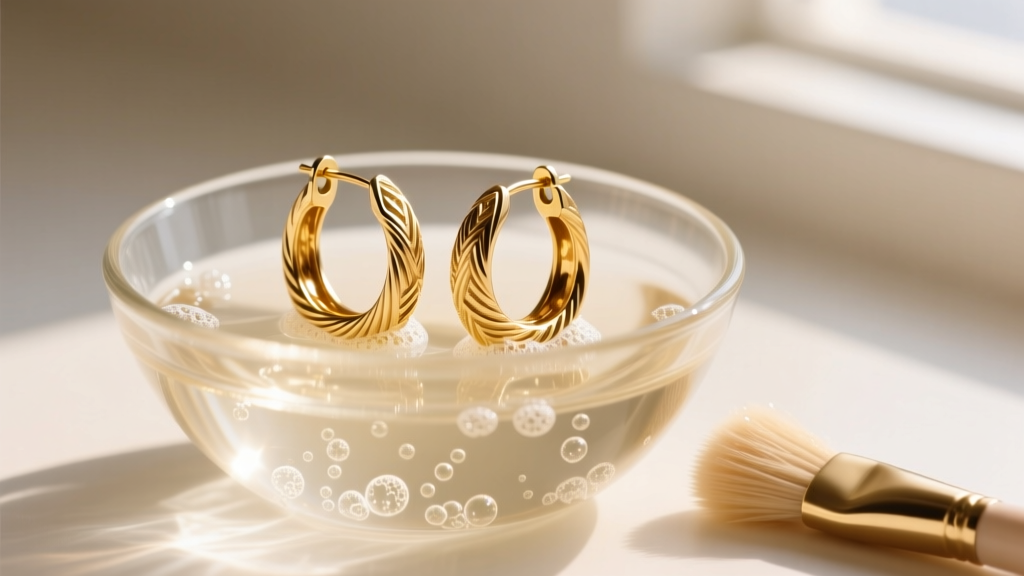
Avoid commercial jewelry dips and ultrasonic cleaners. Ultrasonic waves can easily dislodge vintage stones that were set with older, less precise lapidary techniques, or fracture stones with internal inclusions. Instead, use the following expert-approved method:
- Mix a few drops of mild, phosphate-free dish soap into a bowl of lukewarm distilled water.
- Submerge the earrings for 10 to 15 minutes to loosen sebum and cosmetic buildup.
- Gently agitate the crevices using an extra-soft baby toothbrush. Never use hard bristles, which can leave micro-scratches on the gold alloy.
- Rinse thoroughly under lukewarm running water and pat dry with a lint-free microfiber cloth.
Troubleshooting Tarnish and Discoloration
If your vintage 14k gold earrings exhibit severe, crusty tarnish (often caused by prolonged exposure to sulfur or humid storage environments), a simple soap bath will not suffice. In these cases, a jeweler will use a mild electrolytic cleaning bath or a specialized polishing cloth infused with micro-abrasives, carefully avoiding the recessed areas to maintain the antique contrast. If the gold appears pale or "brassy," it may have been exposed to harsh chemicals like bleach or chlorine, which leaches the surface alloys. This requires professional re-polishing to remove the depleted surface layer and reveal the true 14k color beneath.
Conclusion
Troubleshooting and maintaining vintage 14k gold earrings is a rewarding pursuit that bridges the gap between historical preservation and wearable art. By understanding the nuances of 585 gold alloys, recognizing the limitations of vintage gauge sizes, and employing modern laser-welding techniques for repairs, you can ensure these estate treasures survive for another century. Always prioritize gentle cleaning methods that respect the piece's natural patina, and consult a certified bench jeweler for structural conversions and stone security checks.


