Hummingbird Stud Earrings: Troubleshooting & Repair Guide
Learn how to troubleshoot and repair delicate hummingbird stud earrings. Fix bent wings, secure loose micro-gems, and choose the right post gauge.

The Unique Anatomy of Hummingbird Studs (and Why They Break)
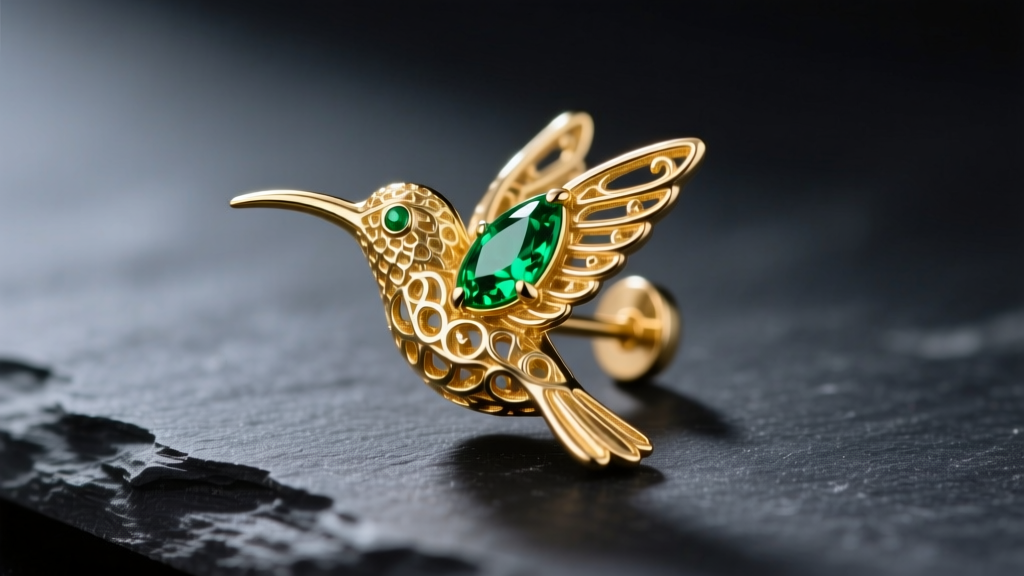
Hummingbird stud earrings are a triumph of miniature metallurgy, capturing the dynamic, mid-flight posture of these tiny birds in precious metals. However, their intricate design—characterized by cantilevered wings, elongated beaks, and micro-pave gemstone bodies—makes them uniquely susceptible to specific types of damage. Unlike simple geometric studs, a hummingbird design features asymmetric weight distribution and delicate protruding elements that frequently catch on hair, clothing, and masks.
The most common failure points for these earrings include bent filigree wings, top-heavy drooping, loose melee gemstones, and post bending. Understanding the structural mechanics of your jewelry is the first step in effective troubleshooting. Most high-end hummingbird studs are cast in 14k or 18k gold, but the wings are often hand-forged from much thinner 24-gauge or 26-gauge sheet metal to achieve a realistic, feather-light appearance. This extreme variance in metal thickness requires specialized care when things go wrong.
Troubleshooting the "Top-Heavy" Droop
One of the most frequent complaints from wearers is that the hummingbird earring droops forward, causing the beak to point downward rather than sitting flush against the earlobe. This happens because the elongated beak acts as a lever, shifting the center of gravity away from the earring post.
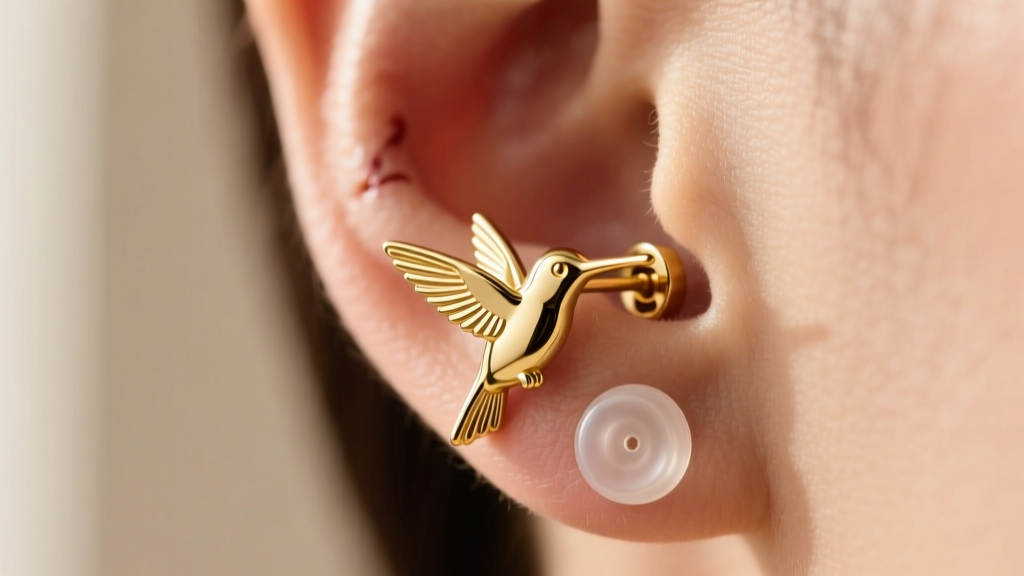
The Fix: If your earring droops, do not attempt to bend the post itself, as this will weaken the solder joint connecting the post to the bird's body. Instead, address the backing. Swap out standard 4mm butterfly backs for 10mm or 12mm flat silicone disc backs. The wider surface area of a silicone disc distributes the weight across a larger portion of the earlobe, providing the necessary counter-tension to keep the hummingbird flying straight. If the droop persists, a bench jeweler can re-solder the post slightly forward (toward the beak) to artificially re-center the gravity point.
Repairing Bent Wings and Snagged Filigree
The wings of a hummingbird stud are typically the first casualty of daily wear. Because they are crafted from ultra-thin sheet metal or delicate wire filigree, a simple snag on a sweater can bend them out of shape. Furthermore, precious metals like gold and silver work-harden when bent. This means that if you bend the wing back and forth with your fingers, the metal will quickly become brittle and snap.
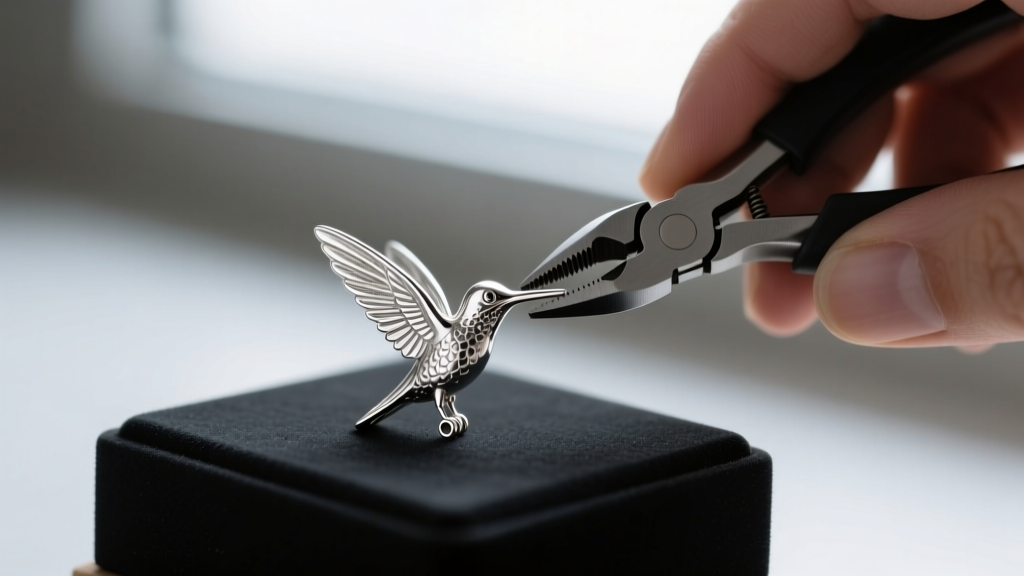
According to the jewelry tool experts at Rio Grande, you should never use standard metal steel-jaw pliers on delicate jewelry components, as the serrated teeth will permanently mar the polished finish and crush the delicate milgrain detailing.
Step-by-Step Wing Realignment
- Secure the Base: Place the earring on a soft rubber bench block. Hold the main body of the hummingbird firmly with your fingers to ensure the stress of the bend does not transfer to the solder joint where the wing meets the body.
- Use the Right Tool: Employ nylon-jaw pliers or wrap the tips of your flat-nose pliers in heat-shrink tubing or painter's tape to create a soft barrier.
- Apply Gradual Pressure: Gently squeeze the bent wing back into alignment in one smooth motion. Avoid wiggling or sawing the metal back and forth.
- Check the Profile: View the earring from a side profile to ensure the wing's aerodynamic curve matches the opposite earring.
Securing Loose Micro-Pave Gemstones
Many premium hummingbird designs feature the bird's body encrusted with micro-pave or micro-prong set melee diamonds, sapphires, or tsavorites. These stones are typically 1mm to 1.5mm in diameter, held in place by prongs that are a mere 0.3mm thick. Over time, friction and minor impacts can lift these microscopic prongs, causing stones to rattle or fall out entirely.
The Gemological Institute of America (GIA) strongly advises against using household adhesives to fix loose gemstones. Cyanoacrylate (superglue) will cloud the pavilion of the stone, destroying its light refraction and significantly lowering the jewelry's value. Furthermore, glue makes it nearly impossible for a jeweler to properly re-tighten the prongs later.
| Method | Tools Required | Risk Level | Best For |
|---|---|---|---|
| DIY Prong Pushing | Micro-prong pusher, 10x jeweler's loupe | High (Risk of scratching metal or popping stone) | Experienced hobbyists with steady hands |
| DIY Gluing | Jewelry epoxy, toothpick | Critical (Ruins stone optics, creates messy residue) | Costume jewelry or non-precious stones only |
| Professional Bench Jeweler | Microscope, pneumatic graver, burnisher | Zero (Safest and most permanent) | Fine jewelry, diamonds, and precious gems |
Post Gauge Issues: Lobe vs. Cartilage Placement
While hummingbird studs are primarily designed for the earlobe, many wearers choose to place them in the helix, tragus, or conch. This is where gauge size becomes a critical troubleshooting factor. Standard hummingbird studs are usually manufactured with a 20-gauge (0.81mm) post. This thin gauge is chosen to keep the overall weight of the earring down and to allow for a finer, less obtrusive solder joint on the bird's back.
However, wearing a 20-gauge post in a cartilage piercing introduces the risk of the "cheese-cutter effect." If the earring is snagged, the thin wire can slice through the dense cartilage tissue. Halstead Bead notes that cartilage piercings generally require a minimum of 18-gauge (1.02mm) or 16-gauge (1.29mm) jewelry for structural safety. If you intend to wear your hummingbird studs in your cartilage, consult a custom jeweler to have the 20-gauge post laser-welded off and replaced with a heavier 18-gauge titanium or 14k gold post.
Cleaning Intricate Crevices Without Damaging Enamel
To capture the iridescent plumage of a real hummingbird, jewelers frequently utilize guilloché (vitreous enamel) or cold enamel (epoxy resin) on the wings and tail feathers. This presents a massive troubleshooting hurdle when it comes to cleaning. Lotions, hairspray, and dead skin cells quickly build up in the tiny crevices between the metal feathers, dulling the sparkle of the piece.
The Ultrasonic Danger: Never place enameled hummingbird earrings in an ultrasonic cleaner. The high-frequency cavitation bubbles will shatter vitreous enamel and shake loose the micro-prongs holding your gemstones. Furthermore, steam cleaners can melt or cloud cold epoxy resins.
The Safe Cleaning Protocol:
- Mix a few drops of mild, phosphate-free dish soap (like Dawn) into a bowl of lukewarm distilled water.
- Submerge the earrings for exactly 3 to 5 minutes to soften debris.
- Use an extra-soft baby toothbrush to gently sweep the bristles along the grain of the metal feathers, never scrubbing in harsh circles.
- Rinse under a gentle stream of lukewarm water, ensuring the drain is securely plugged.
- Pat dry with a lint-free microfiber cloth and use a canned air duster to blow moisture out of the micro-prong settings.
When to Seek a Professional Bench Jeweler
While minor wing bends and cleaning can be managed at home, certain failures require professional intervention. If the earring post snaps off flush with the hummingbird's body, traditional torch soldering will likely melt the delicate enamel wings or fracture the heat-sensitive gemstones (like opals or emeralds) often used in these designs. Instead, seek out a jeweler who specializes in laser welding. Laser welders use a highly focused beam of light to fuse metal in a microscopic spot without transferring heat to the surrounding areas, allowing for a seamless post replacement without damaging the intricate artistry of your hummingbird studs.


