Troubleshooting Button Earring Droop: Fixes for Heavy Studs
Discover expert troubleshooting for heavy button earring styles. Learn how to fix drooping studs, upgrade posts, and secure vintage domed earrings.

The Physics of the Droop: Why Button Earrings Fail
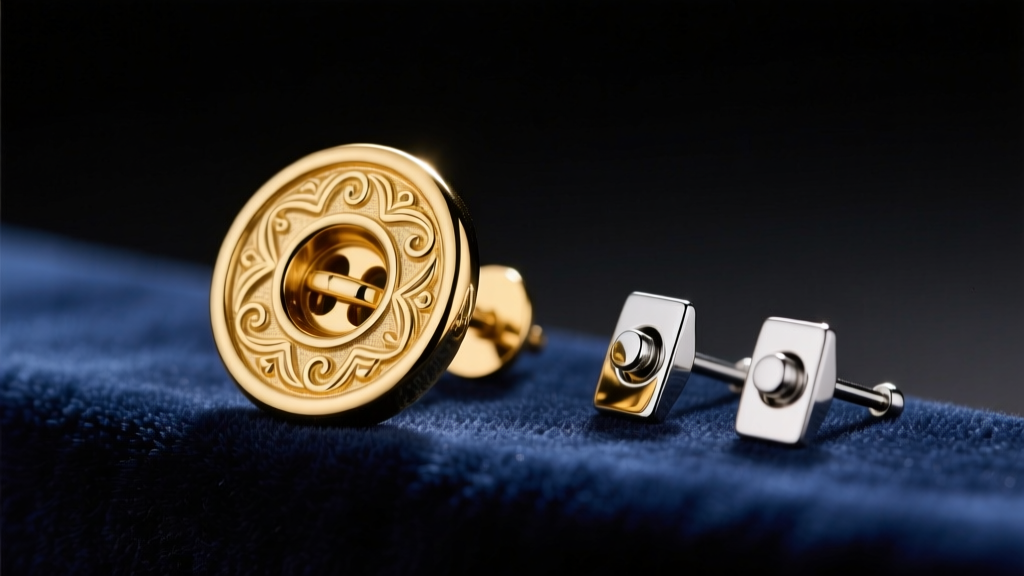
The button earring is a timeless jewelry staple. Characterized by a wide, domed, or convex face—ranging from smooth gold domes to vintage glass and large cabochon pearls—this style offers maximum visual impact with a single piercing. However, as jewelry trends in 2026 lean heavily toward oversized, sculptural, and vintage-inspired earwear, the structural limitations of the classic button earring have become glaringly apparent. The most common failure mode? The dreaded forward droop.
When a button earring droops, the domed face tilts downward, pointing at the floor rather than catching the light. This is not a flaw in your earlobe; it is a basic issue of physics and leverage. A button earring features a high center of gravity and a wide surface area. If the soldered post is positioned slightly too low on the backplate, or if the post is too thin to support the weight of the domed face, gravity acts as a lever. The earring pivots on the axis of your piercing, causing the top edge to pull away from your skin and the bottom edge to dig into your lobe.
To solve this, we must move beyond generic 'use a tighter back' advice and examine the metallurgy, post gauge, and backing mechanics that actually keep heavy earwear flush against the body.
Troubleshooting Matrix: Diagnosing Your Button Earring Issue
Before attempting a repair, accurately diagnose the mechanical failure. Use this matrix to identify why your specific button earring is failing to sit flush.
| Symptom | Root Cause | Expert Solution |
|---|---|---|
| Face tilts downward (Droop) | Post soldered too low; center of gravity is off-axis. | Have a jeweler laser-weld a new post higher on the backplate or add a counterweight pad. |
| Earring spins or wobbles constantly | Post is 20-gauge (0.8mm) but the earring back has a 1.2mm hole. | Upgrade to a 16-gauge (1.2mm) die-struck post and use a La Pousette locking back. |
| Post bends after a few wears | Cast metal post (brittle and soft) unable to handle domed weight. | Replace with a work-hardened, die-struck 18-gauge or 16-gauge titanium post. |
| Earlobe stretches or feels sore | Button face exceeds 12mm diameter and weighs over 4 grams. | Use silicone ear support patches (e.g., BlingDots) to distribute the load across a wider area. |
Hardware Upgrades: Posts, Backs, and Support Patches
If you are dealing with a heavy modern button earring, the factory-installed hardware is often the weak link. Mass-market jewelry manufacturers frequently use 20-gauge (0.81mm) cast posts to save on precious metal costs. Cast posts are porous, brittle, and highly susceptible to bending under the leveraged weight of a 15mm domed face.
Upgrading to 18-Gauge or 16-Gauge Posts
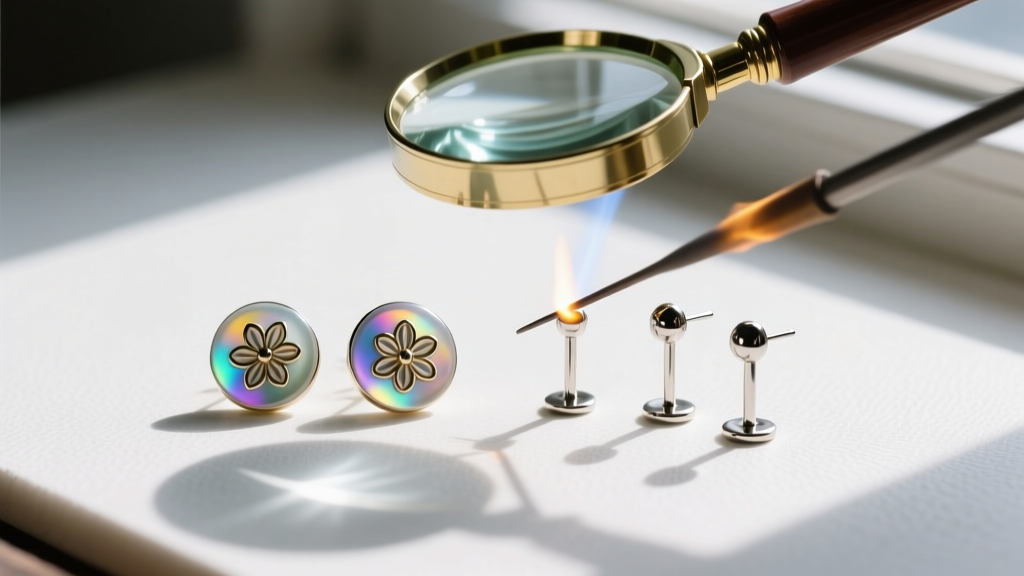
The Association of Professional Piercers notes that while 18-gauge (1.02mm) and 16-gauge (1.29mm) are standard for cartilage and structural body jewelry, they are rarely used in commercial fashion earrings. Taking your heavy button earring to a master jeweler to have the original post snipped and a die-struck 16-gauge implant-grade titanium (ASTM F136) post laser-welded to the backplate will instantly eliminate bending. Laser welding is crucial here; traditional torch soldering can melt the delicate enamel or shatter the gemstones often set into vintage button faces. Expect to pay between $45 and $85 for a professional laser-welding post conversion.

The Best Earring Backs for Domed Studs
Standard friction backs (butterfly clutches) are entirely inadequate for button earrings. The shallow groove on a standard post allows the backing to slip, creating a millimeter of 'wobble' that translates to a massive tilt at the front of the earring. You need mechanical locking backs.
- La Pousette Backs: The gold standard for heavy studs. These feature an internal spring-loaded mechanism that grips the post securely. Once clicked into place, they cannot slide off without depressing the side tabs. They cost roughly $20 to $35 per pair in 18k gold.
- Silicone O-Rings with Metal Cores: A more budget-friendly option ($8 to $12 for a multi-pack). The silicone provides high-friction grip against the skin, preventing the button earring from spinning, while the metal core prevents the post from tearing through the back.
- Screw Backs: Excellent for security, but only if the post is threaded precisely. If the threading is shallow, the button earring will still droop because the back cannot be tightened flush against the lobe.
Converting Vintage Clip-On Button Earrings to Pierced
Vintage glass, lucite, and resin button earrings from the mid-century are highly sought after, but they were originally designed as clip-ons. Converting them to pierced earrings presents a unique troubleshooting challenge because you cannot solder directly to glass, plastic, or wood.
The Two-Part Epoxy Method: For non-metal vintage buttons, you must use a structural adhesive. Jewelers recommend a two-part, high-tensile epoxy like Devcon 5-Minute Steel. First, carefully remove the clip-on mechanism using flush cutters and file the back of the button flat. Next, score the back of the button with 400-grit sandpaper to create a mechanical tooth for the glue. Apply the epoxy to a flat, 10mm sterling silver or titanium 'solder pad' (available from suppliers like Rio Grande) that already has an 18-gauge post attached. Press the pad to the button, clamp it gently, and let it cure for a full 24 hours. This creates a wide base that distributes the weight and prevents the post from snapping off the fragile vintage material.
Lobe Support Strategies: Preventing Stretch and Tear
Even with a perfectly positioned 16-gauge post and a locking La Pousette back, a 20mm domed button earring weighing 6 grams will eventually cause earlobe fatigue. The downward pressure concentrates entirely on the bottom edge of the piercing hole, leading to micro-tears, elongation, and the 'cheese-cutter effect'.
To troubleshoot this, you must alter the load distribution. Silicone ear support patches (often sold under brand names like BlingDots or EarMagic) are adhesive, medical-grade silicone discs that sit behind the earlobe. The earring post passes through the center of the patch. This increases the surface area bearing the earring's weight from a 2mm circle (the piercing hole) to a 12mm circle (the patch). This simple $10 intervention is mandatory for anyone wearing heavy domed or vintage glass button earrings for more than four hours at a time.
Expert Q&A: Common Button Earring Dilemmas
Q: My heavy pearl button earring sits perfectly flush, but it slowly rotates so the pearl's blemish faces forward. How do I stop the spin?
A: Spinning occurs when the post is perfectly round and the backing lacks friction. To stop rotation, use a square-post earring (often custom-made by bench jewelers) paired with a square-hole friction back. Alternatively, apply a tiny dot of clear, matte nail polish to the post and let it dry completely before inserting; the added texture will create enough friction against the earring back to halt rotation without damaging the metal.
Q: I bought a modern 14k gold button earring, but the post is too short for my thick earlobe, causing the back to press painfully into my skin. Can I stretch the metal?
A: Do not attempt to pull or stretch the post; you will snap the solder joint. Instead, visit a jeweler to have the post replaced. Standard commercial posts are 9mm long. A bench jeweler can easily laser-weld an 11mm or 13mm extra-long post to your button earring backplate, providing the clearance needed for a comfortable, flush fit without painful compression.
Troubleshooting a button earring requires looking past the beautiful domed face and focusing on the structural engineering happening behind the lobe. By upgrading to thicker, die-struck posts, utilizing mechanical locking backs, and employing silicone support patches, you can wear even the heaviest, most dramatic button earrings with perfect, upright confidence.


